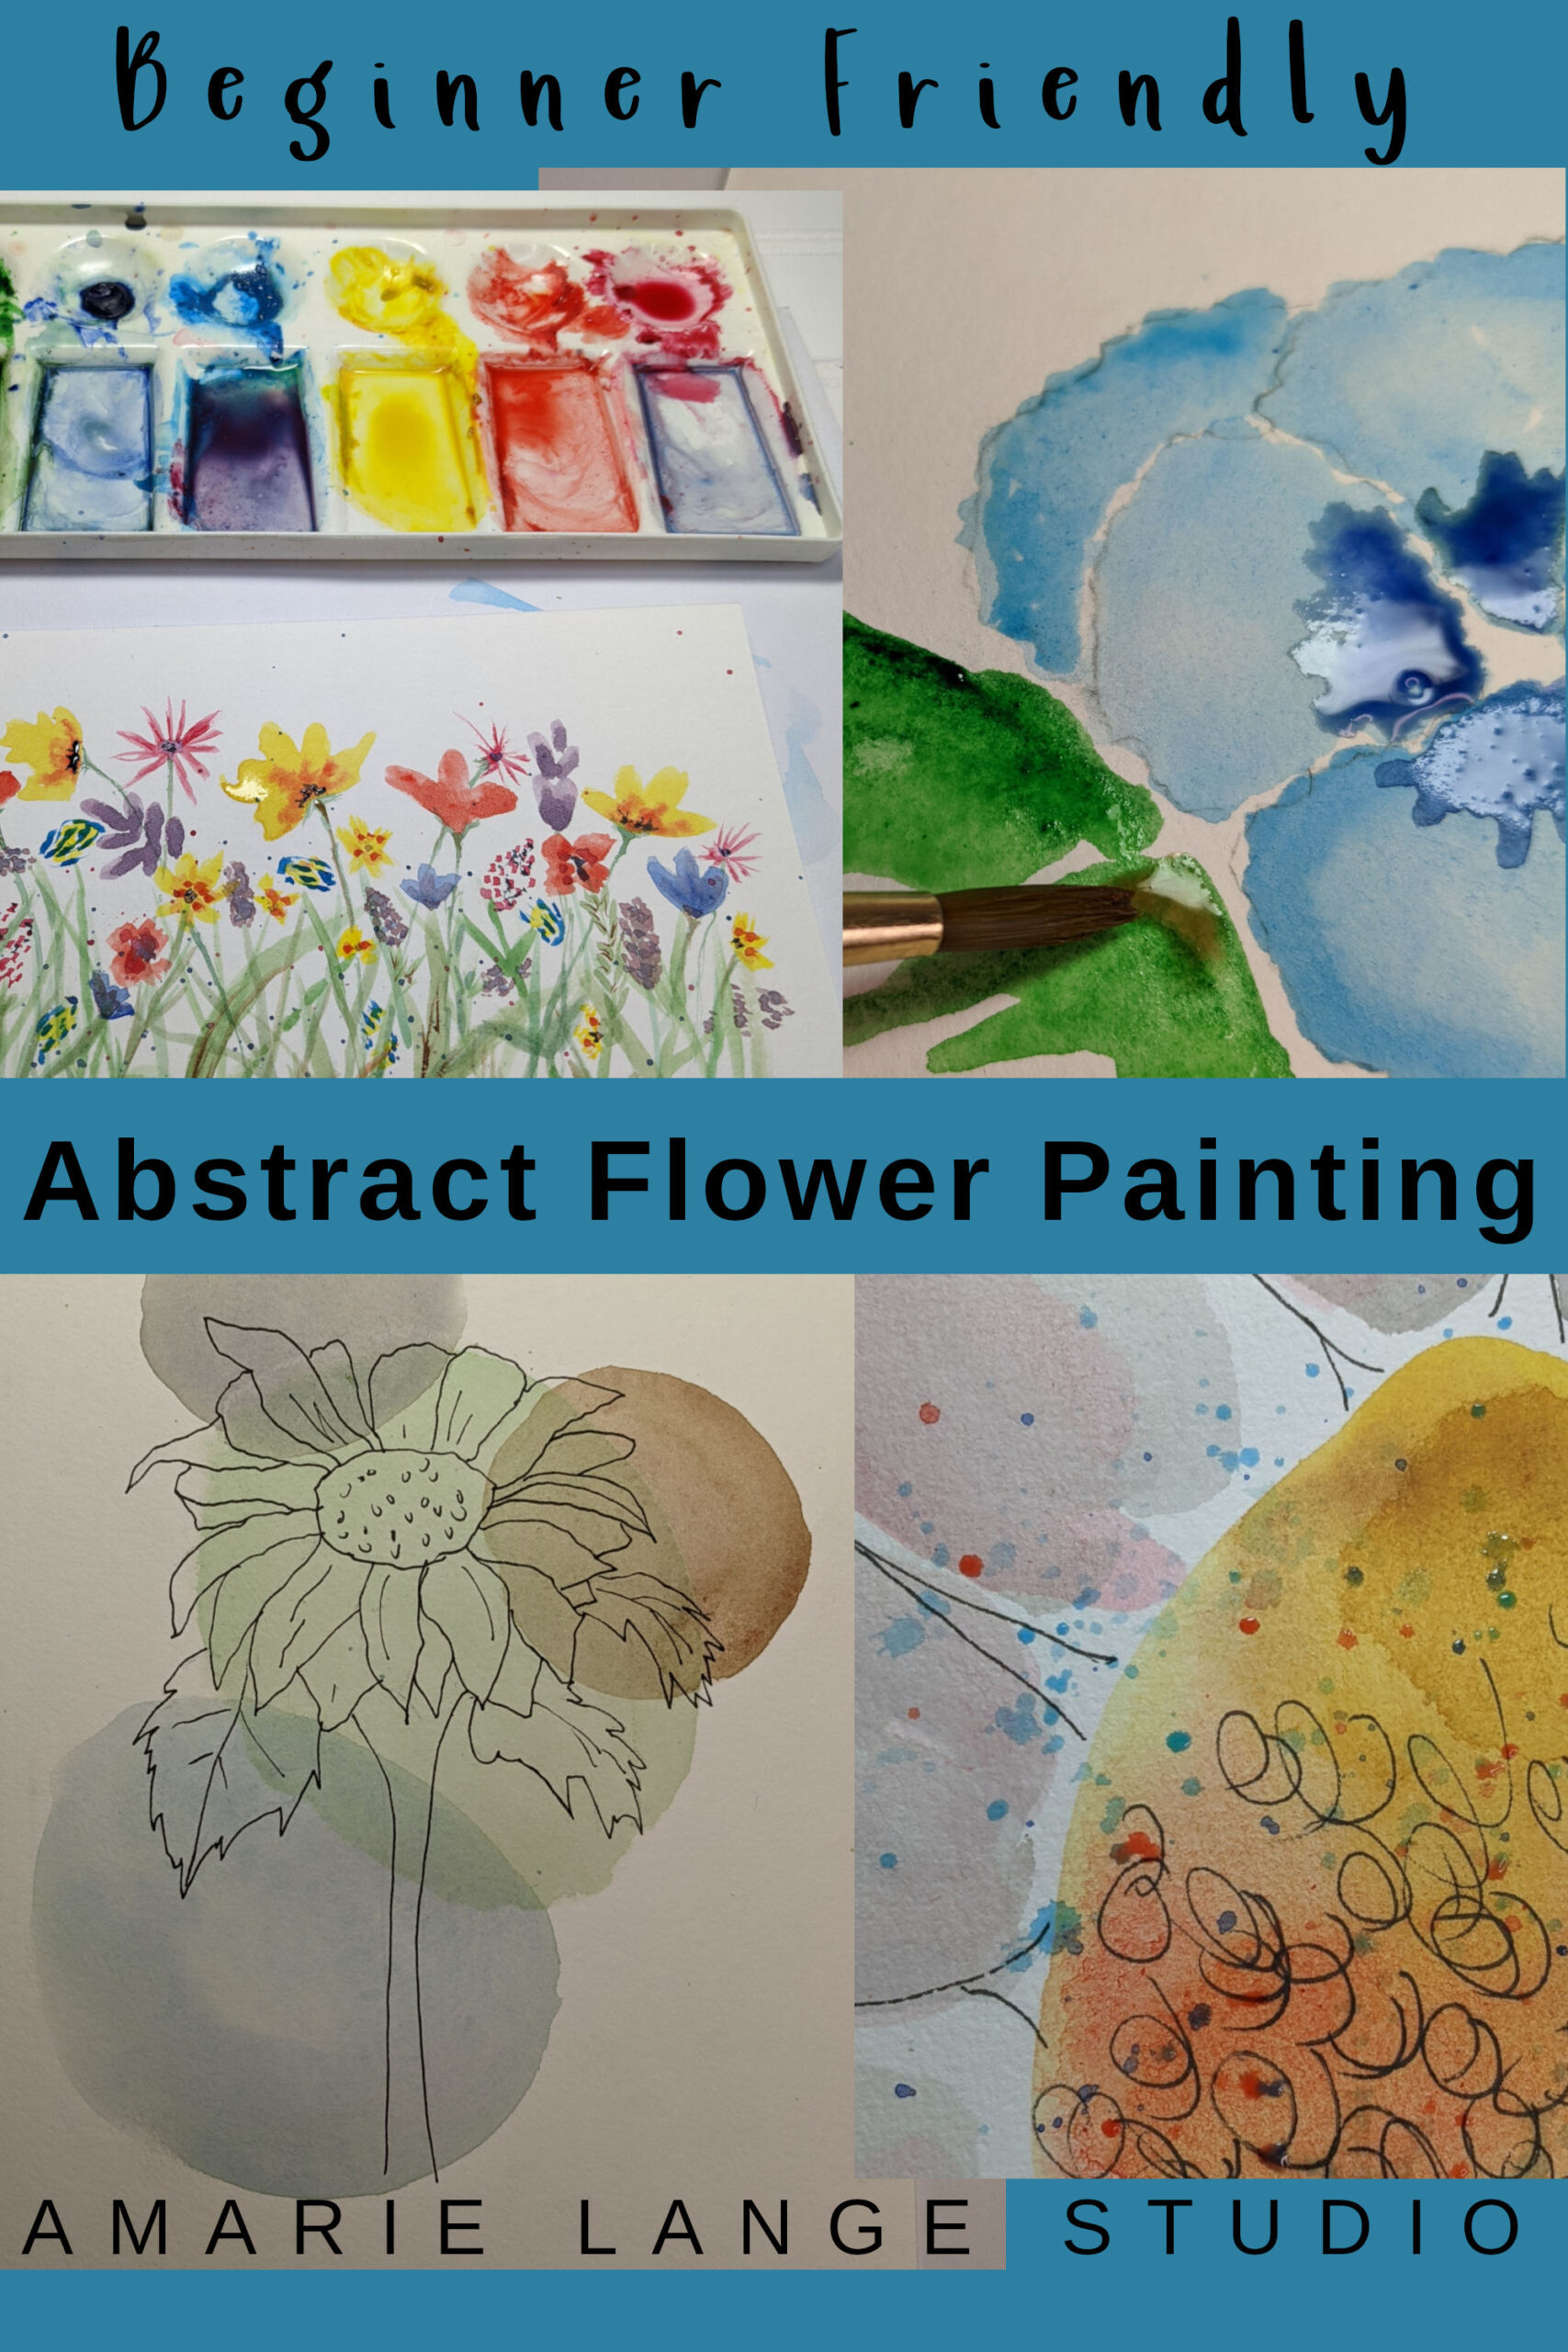
Are you wanting to learn how to create beautiful abstract watercolor flowers? Or, put another way, are you asking “how do you watercolor an abstract flower?”
Well, painting floral art is one of my favorite things to do and I’m glad to share a little of what I’ve learned with you.
Let’s dive right in, ok?
How Do You Make a Simple Flower with Watercolor?
Creating a very simple flower using watercolor paints is actually easiest by using an abstract painting method.
Steering clear from realism for a bit will – believe it or not – help you achieve more satisfying results. You’ll need to create an easy flower shape which you can freehand from reference stock photos or even easier, trace your own floral photo onto watercolor paper ready to be painted.
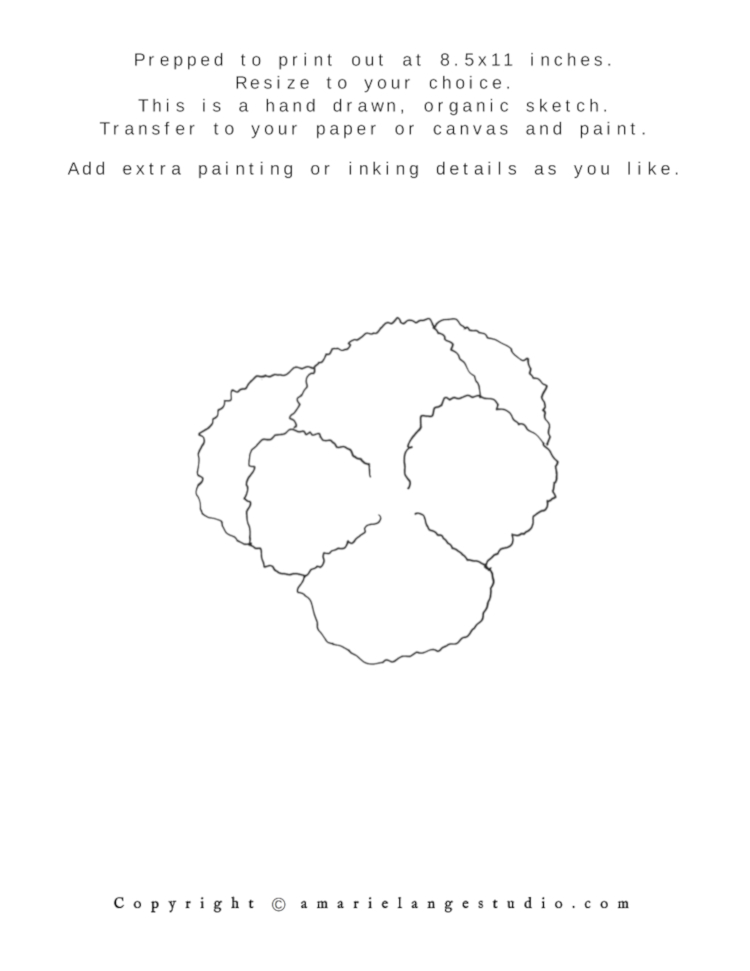
(A helpful hint: I’m glad to share my flower sketches with you if you feel a bit intimidated on making your own. There is a printable floral pencil sketch placed in this post at the top of each new tutorial section. You can download, print and trace onto the watercolor paper of your choice.
Please notice how simple my sketches are and let that lend confidence to your own ability to try some freehand flowers for yourself. Or trace over your own reference photo. I do that plenty myself from my own floral photos. These types of sketches are perfect for the abstract painting we’re exploring in this post. Now back to the good stuff!)
Since this method is abstract, keep the sketch lines to a minimum. No detail is needed in this project.
Let’s paint blue flowers first.
Some people enjoy doing abstract flower painting with acrylic paints or oil paints, but I love watercolor flowers so that will be our medium today.
Trace or draw your simple flower shape onto your watercolour paper. Keep in mind we don’t want details since we’re working abstract art, so we want to suggest and hint at what we’re thinking.
(We also want to give feeling to our work. The feelings you want to convey will determine your colors, vibrancy, design and position of the flower. Some of this you may be copying from me and that’s just fine, that’s what instruction is all about, but if you want to express something different, please do.)
We start with the basic flower shape. Dip your brush into clean water and fill in one of the lined petals with water.
Make sure you use enough water to cover exactly where you want the color to go on the paper. That will allow the color to flood that section properly.
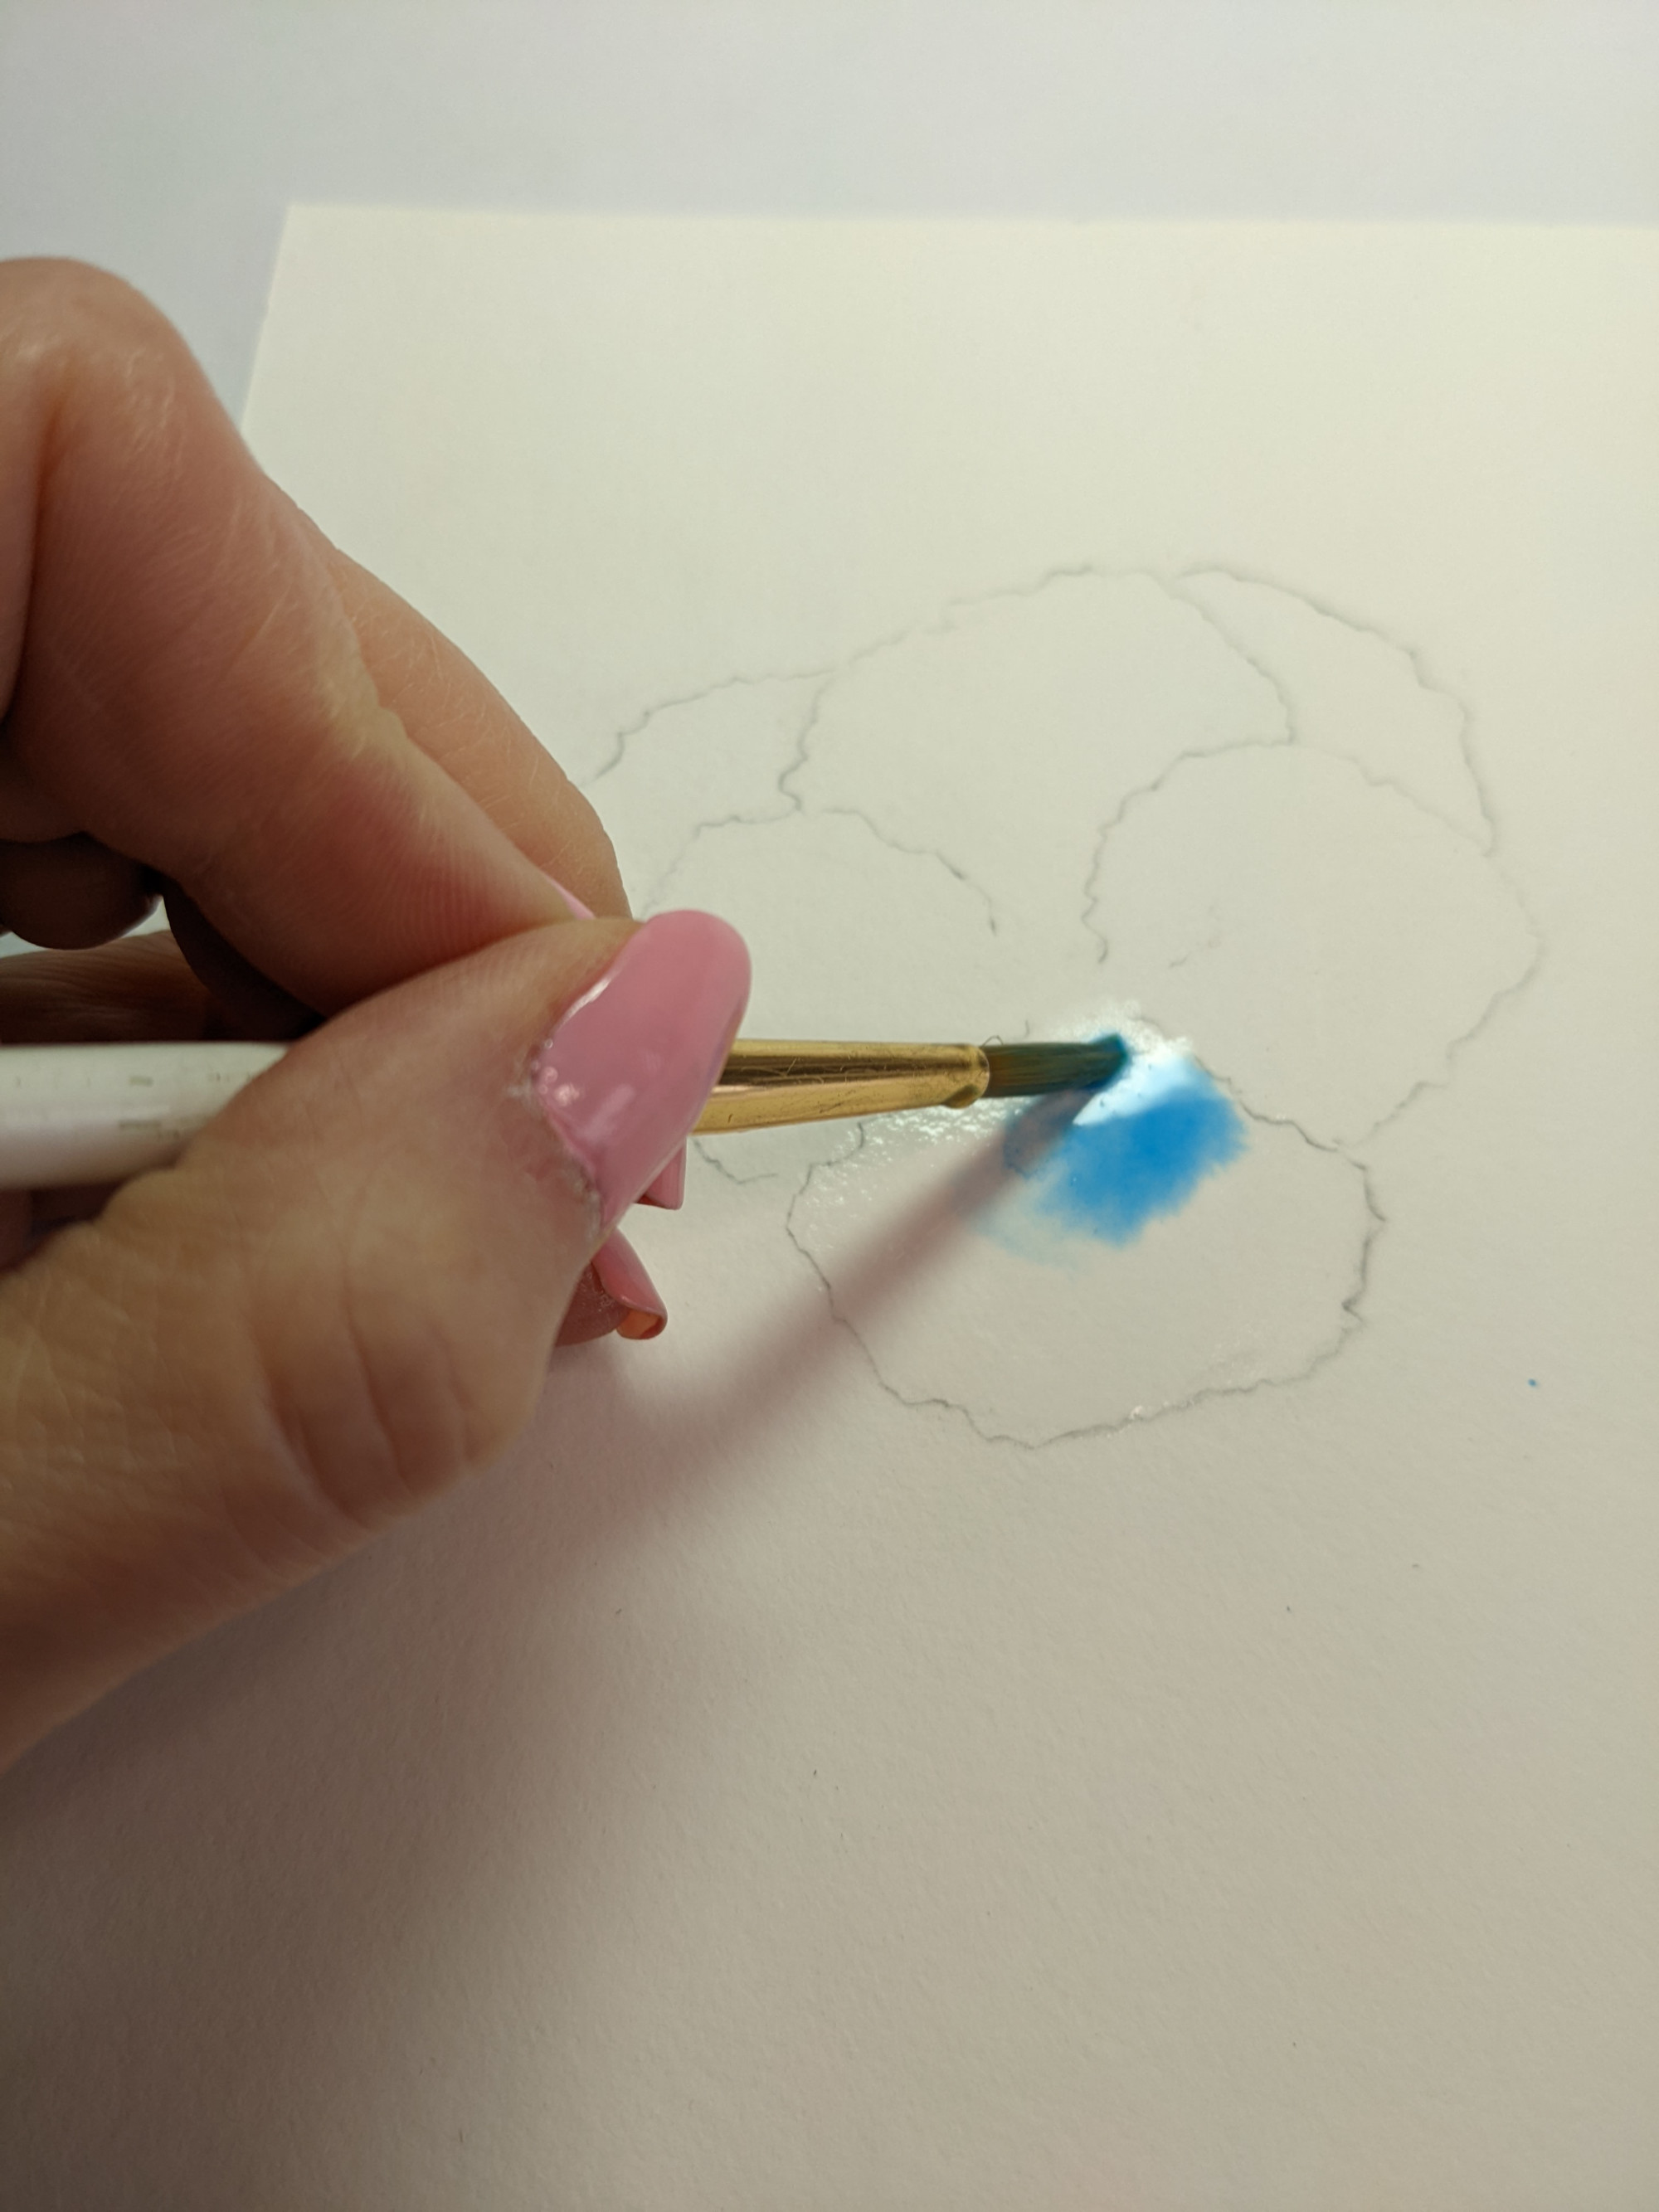
Now go back and pick up a bit of blue paint. Dap your paint-laden brush into that spot of water and watch the watercolors do their magic.
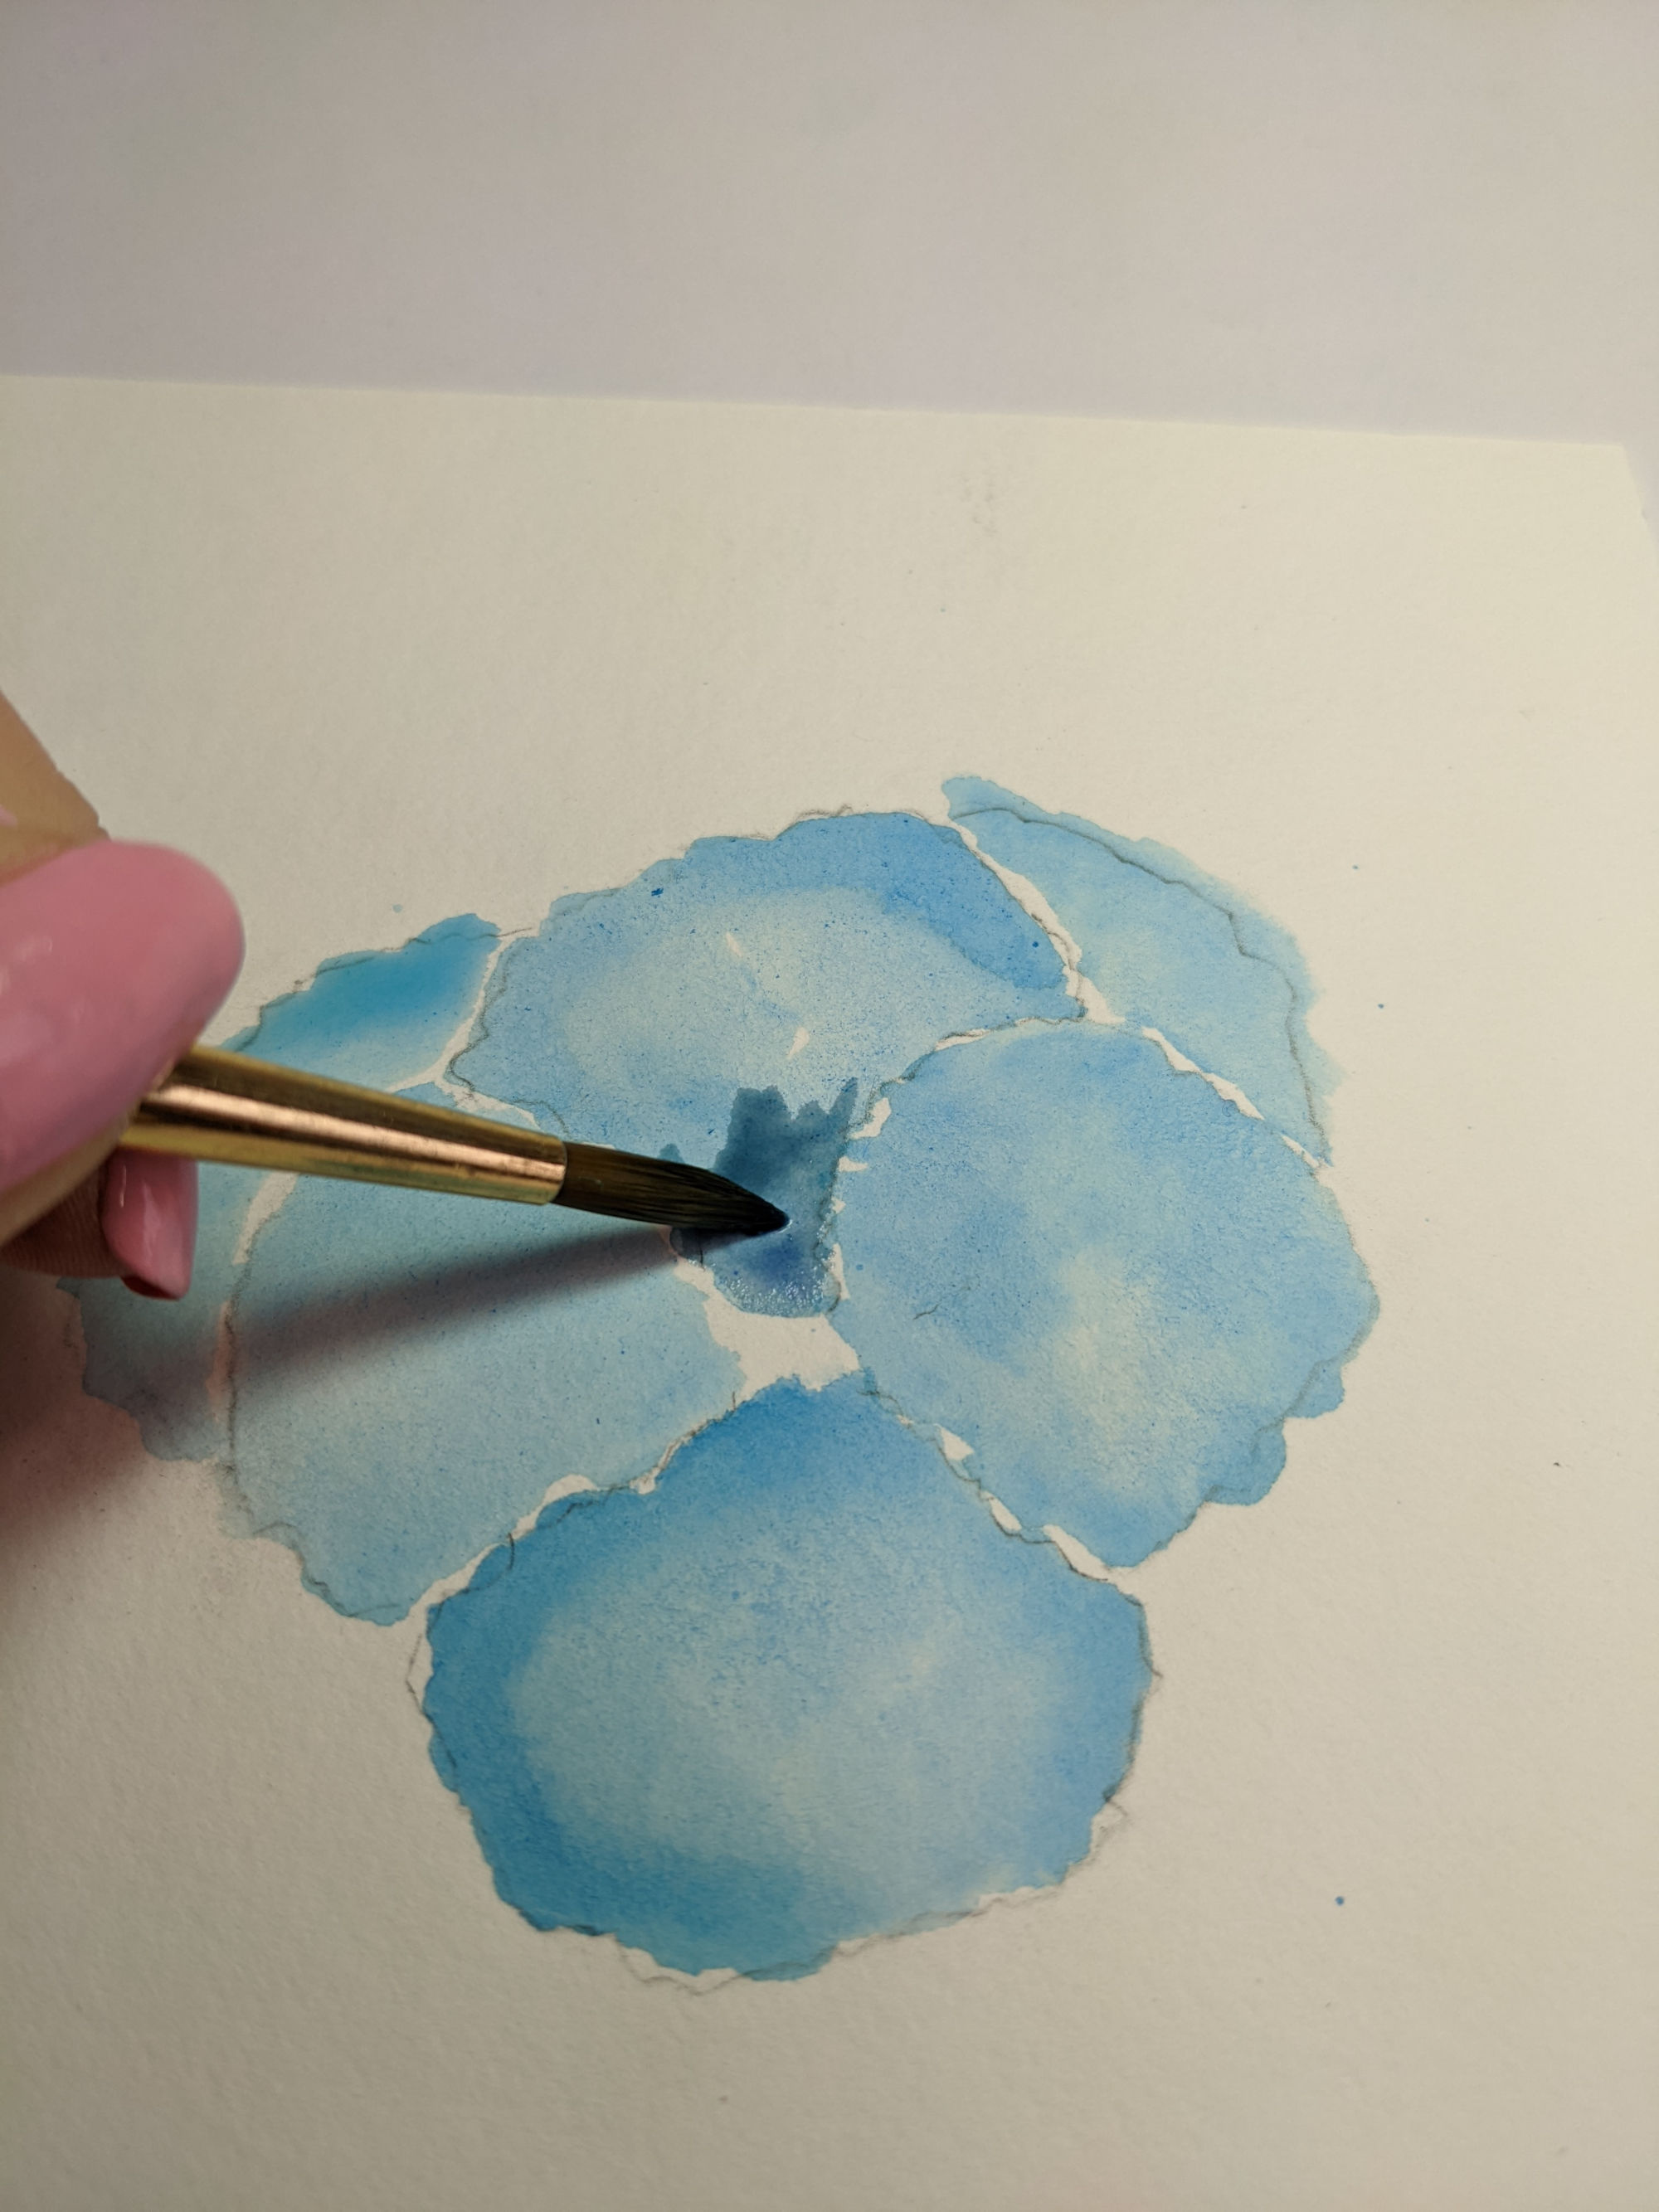
You can dab more blue paint for a more saturated look or you can let this layer dry and come back with as many layers as you like.
You can also add a 2nd shade of blue to the inside of the petals, as I’m doing here. Or you can simply add additional layers of the same color to deepen those sections.
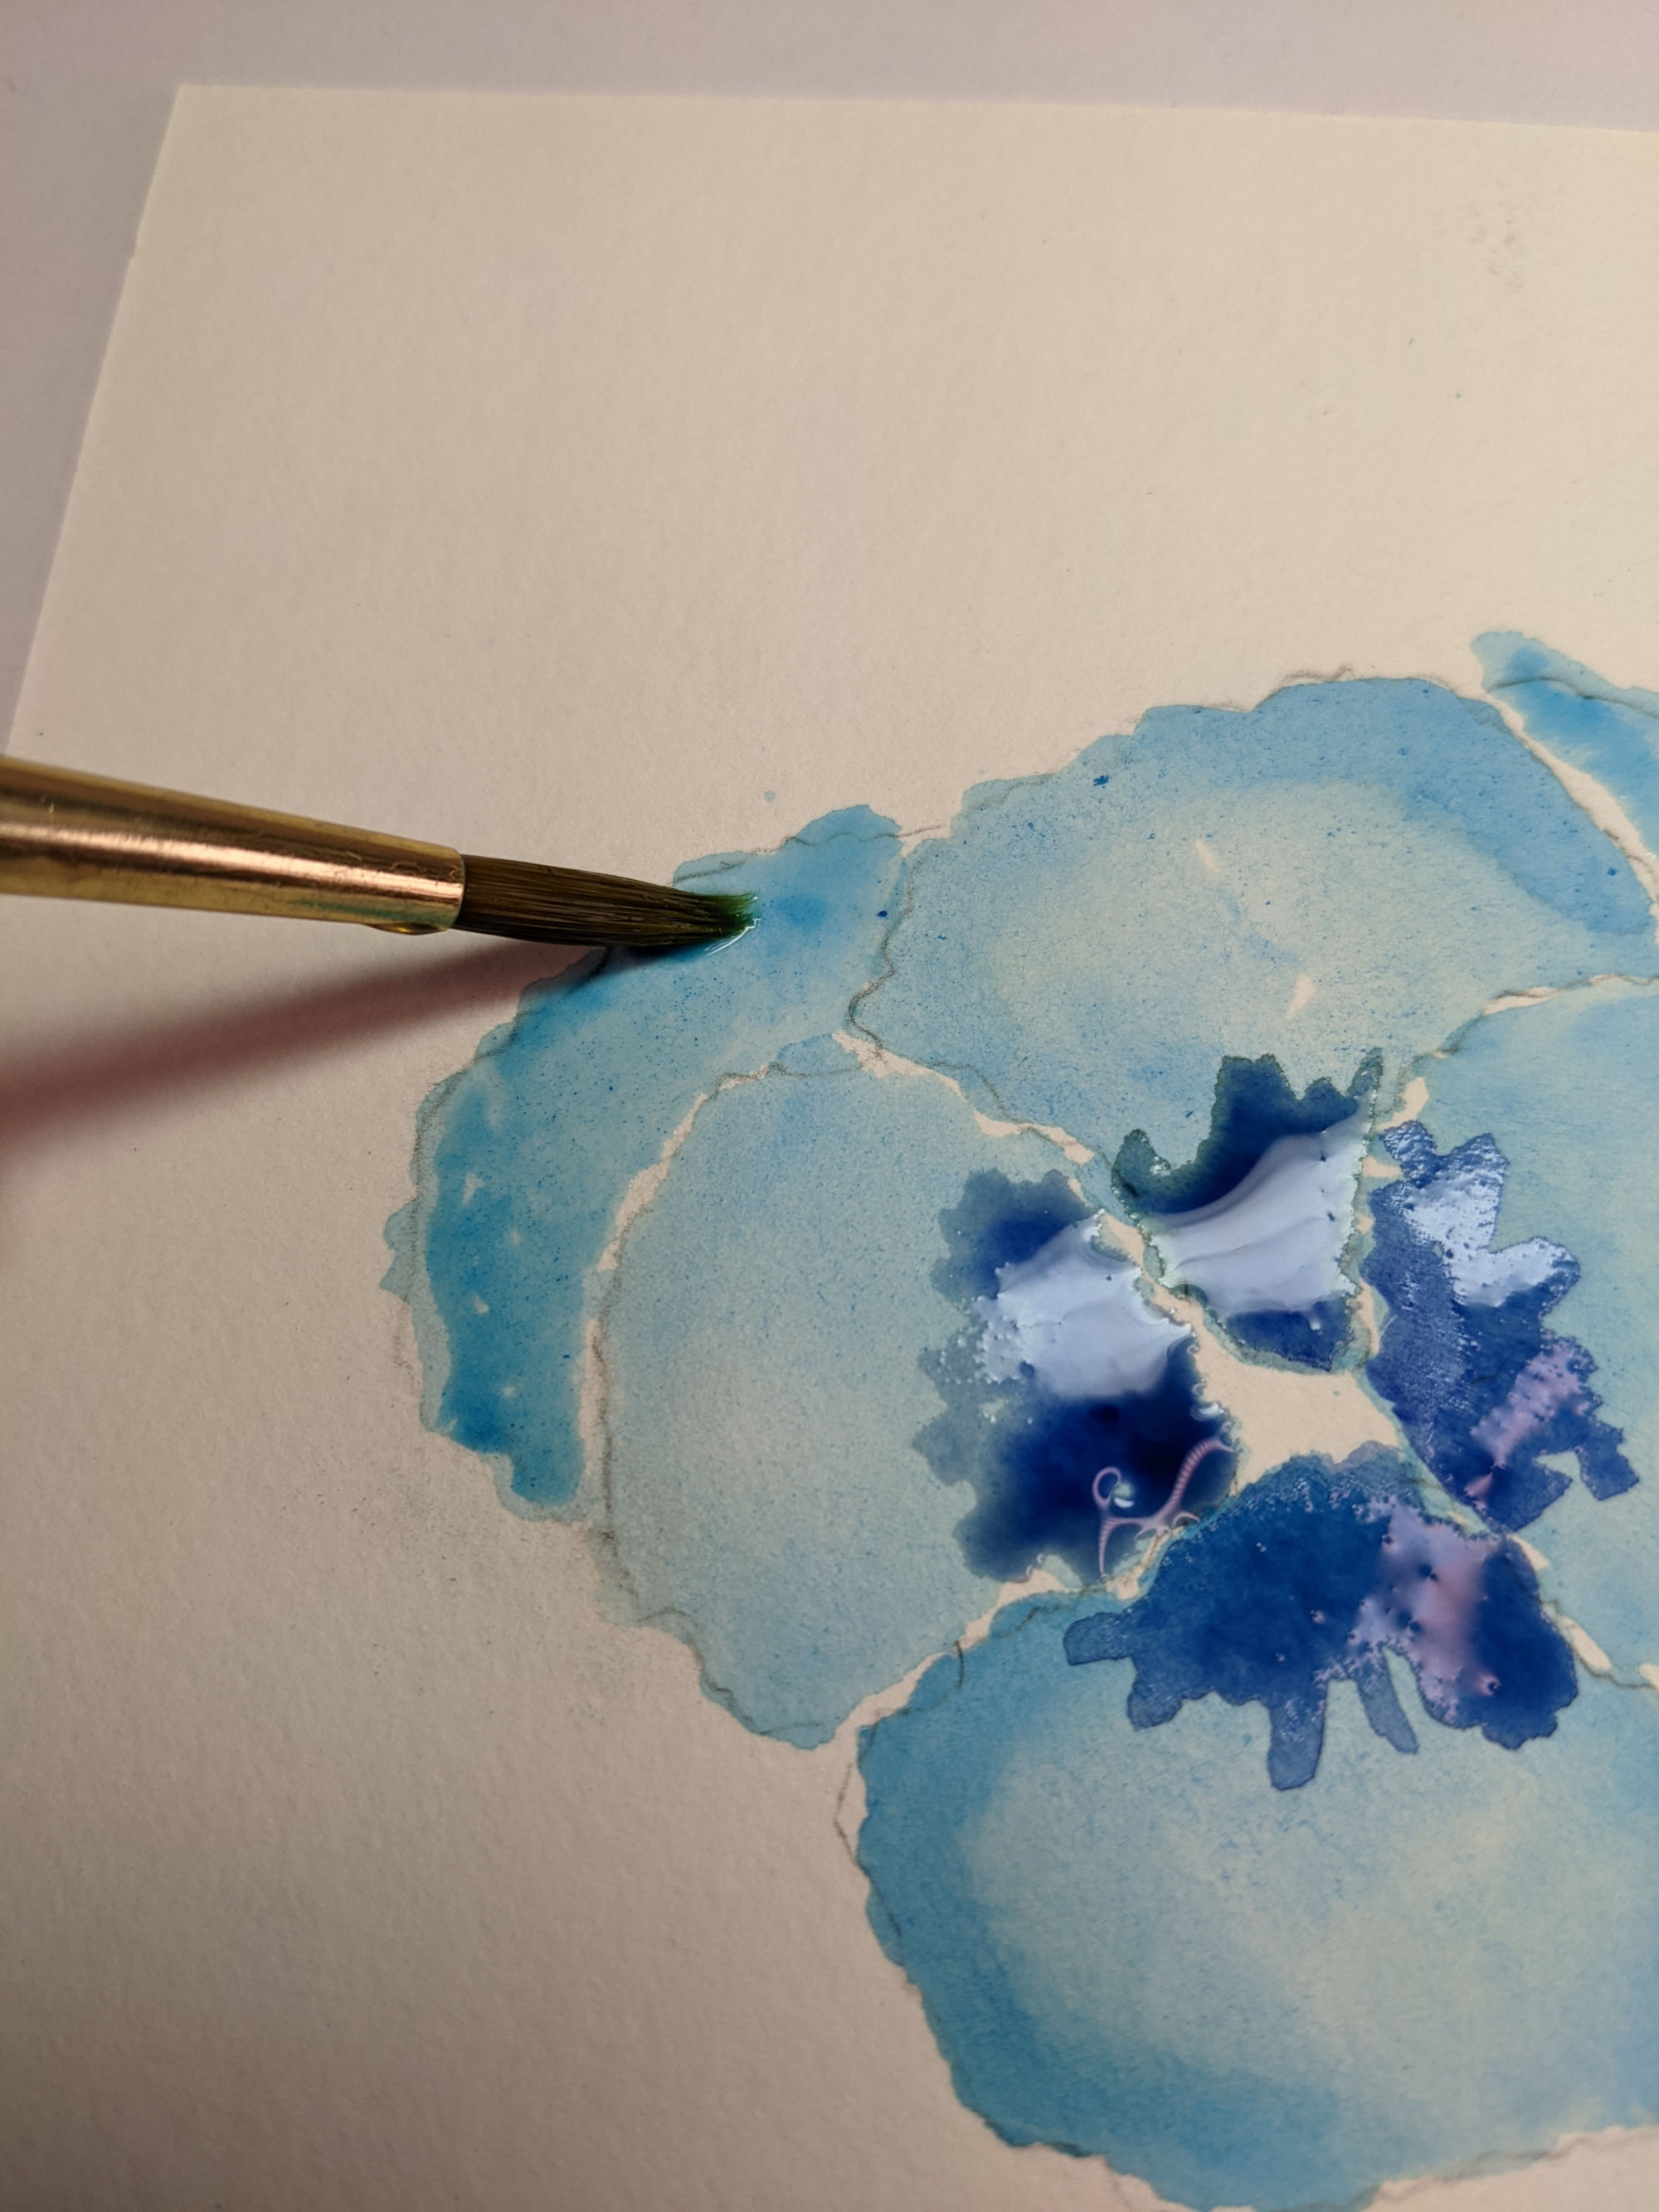
Repeat for the other petals.
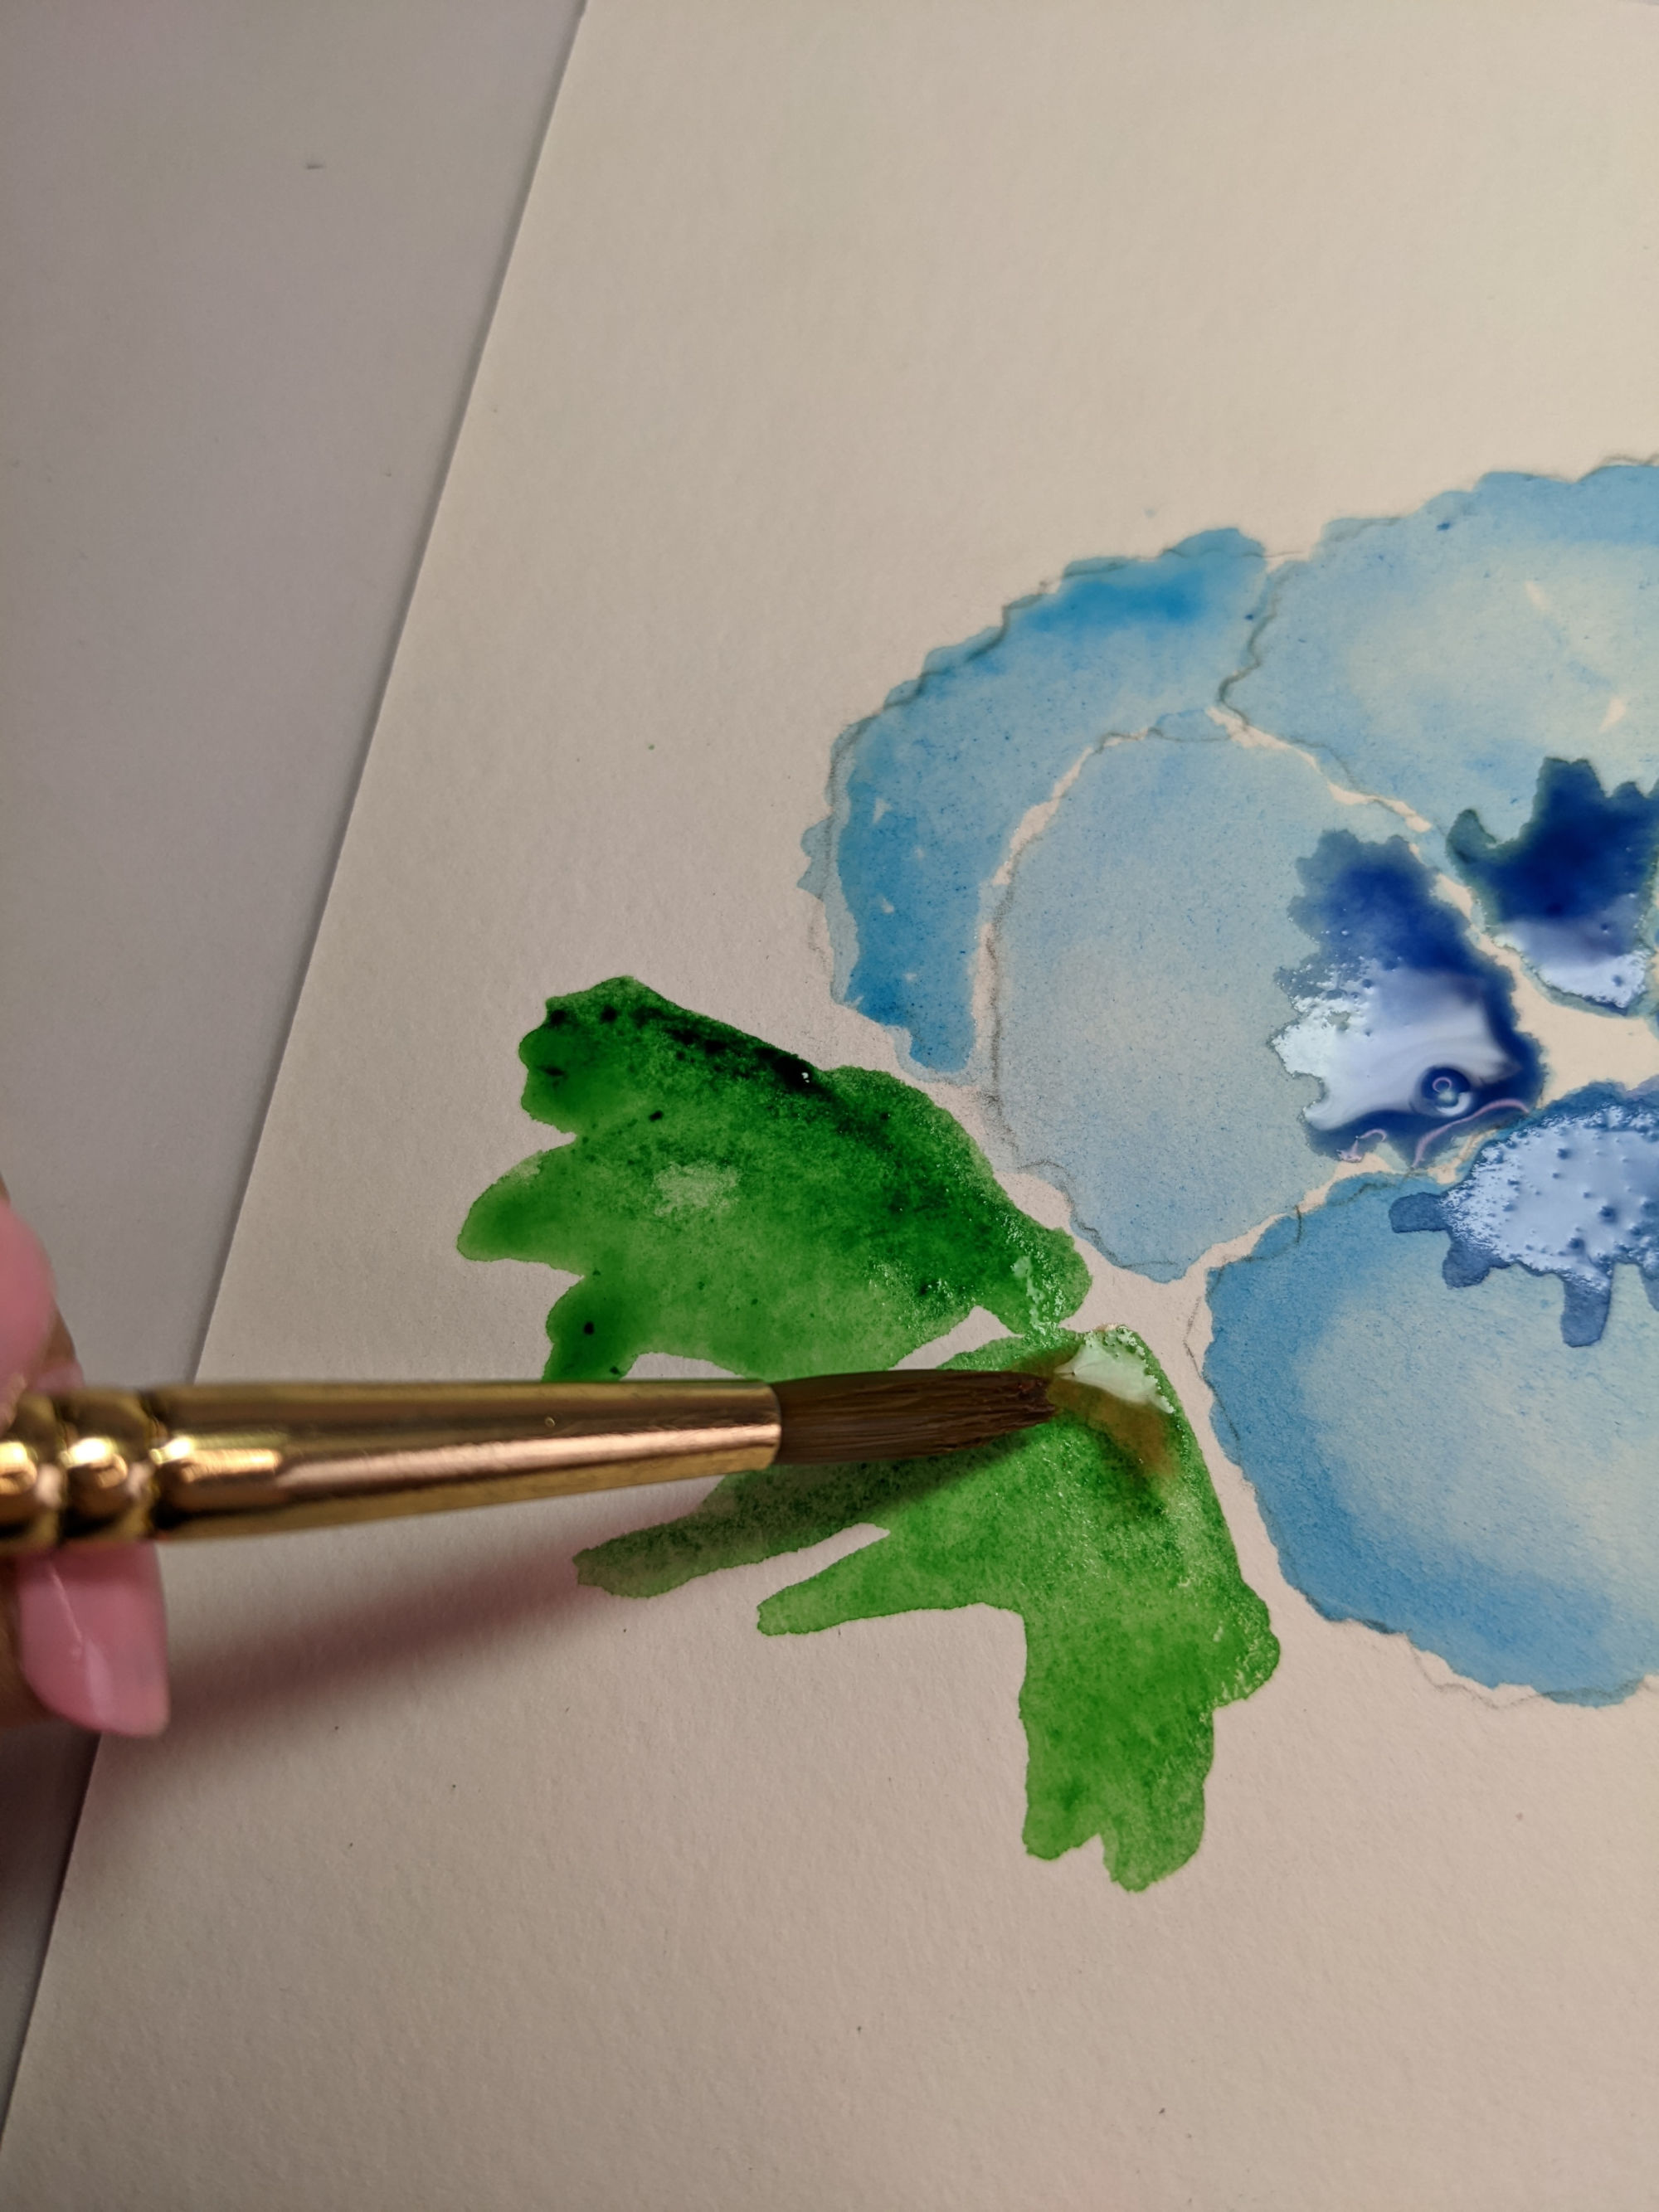
The leaves are done the same way. See how we’re giving indications of leaves. Very in keeping with the abstract method. We’re keeping things simple in this step by step tutorial, but if you feel ready you can definitely add additional different colors to your blue petals or green leaves.
(If you’re new to these topics, find color theory and color wheel information here.
If you are looking for other abstract watercolor painting ideas, I’ve got you covered there, too.)
Adding a small amount of a brown tone to your green while the water is wet on your leaves and stem will give a lot of visual interest.
But remember, this is abstract painting and so we’re keeping things conceptual with very little detail.
If you like, using the tip of the brush, add a second blue to your petals while they’re still wet and the colors will bleed together perfectly.
Remember, your goal is to hint at a floral pattern here. That’s all. Less is often more with abstract flower art and knowing when to stop is key (and hard!).
Leaving a white background will really make your flowers pop. And I like adding waterproof ink when I’m done but that’s completely optional.
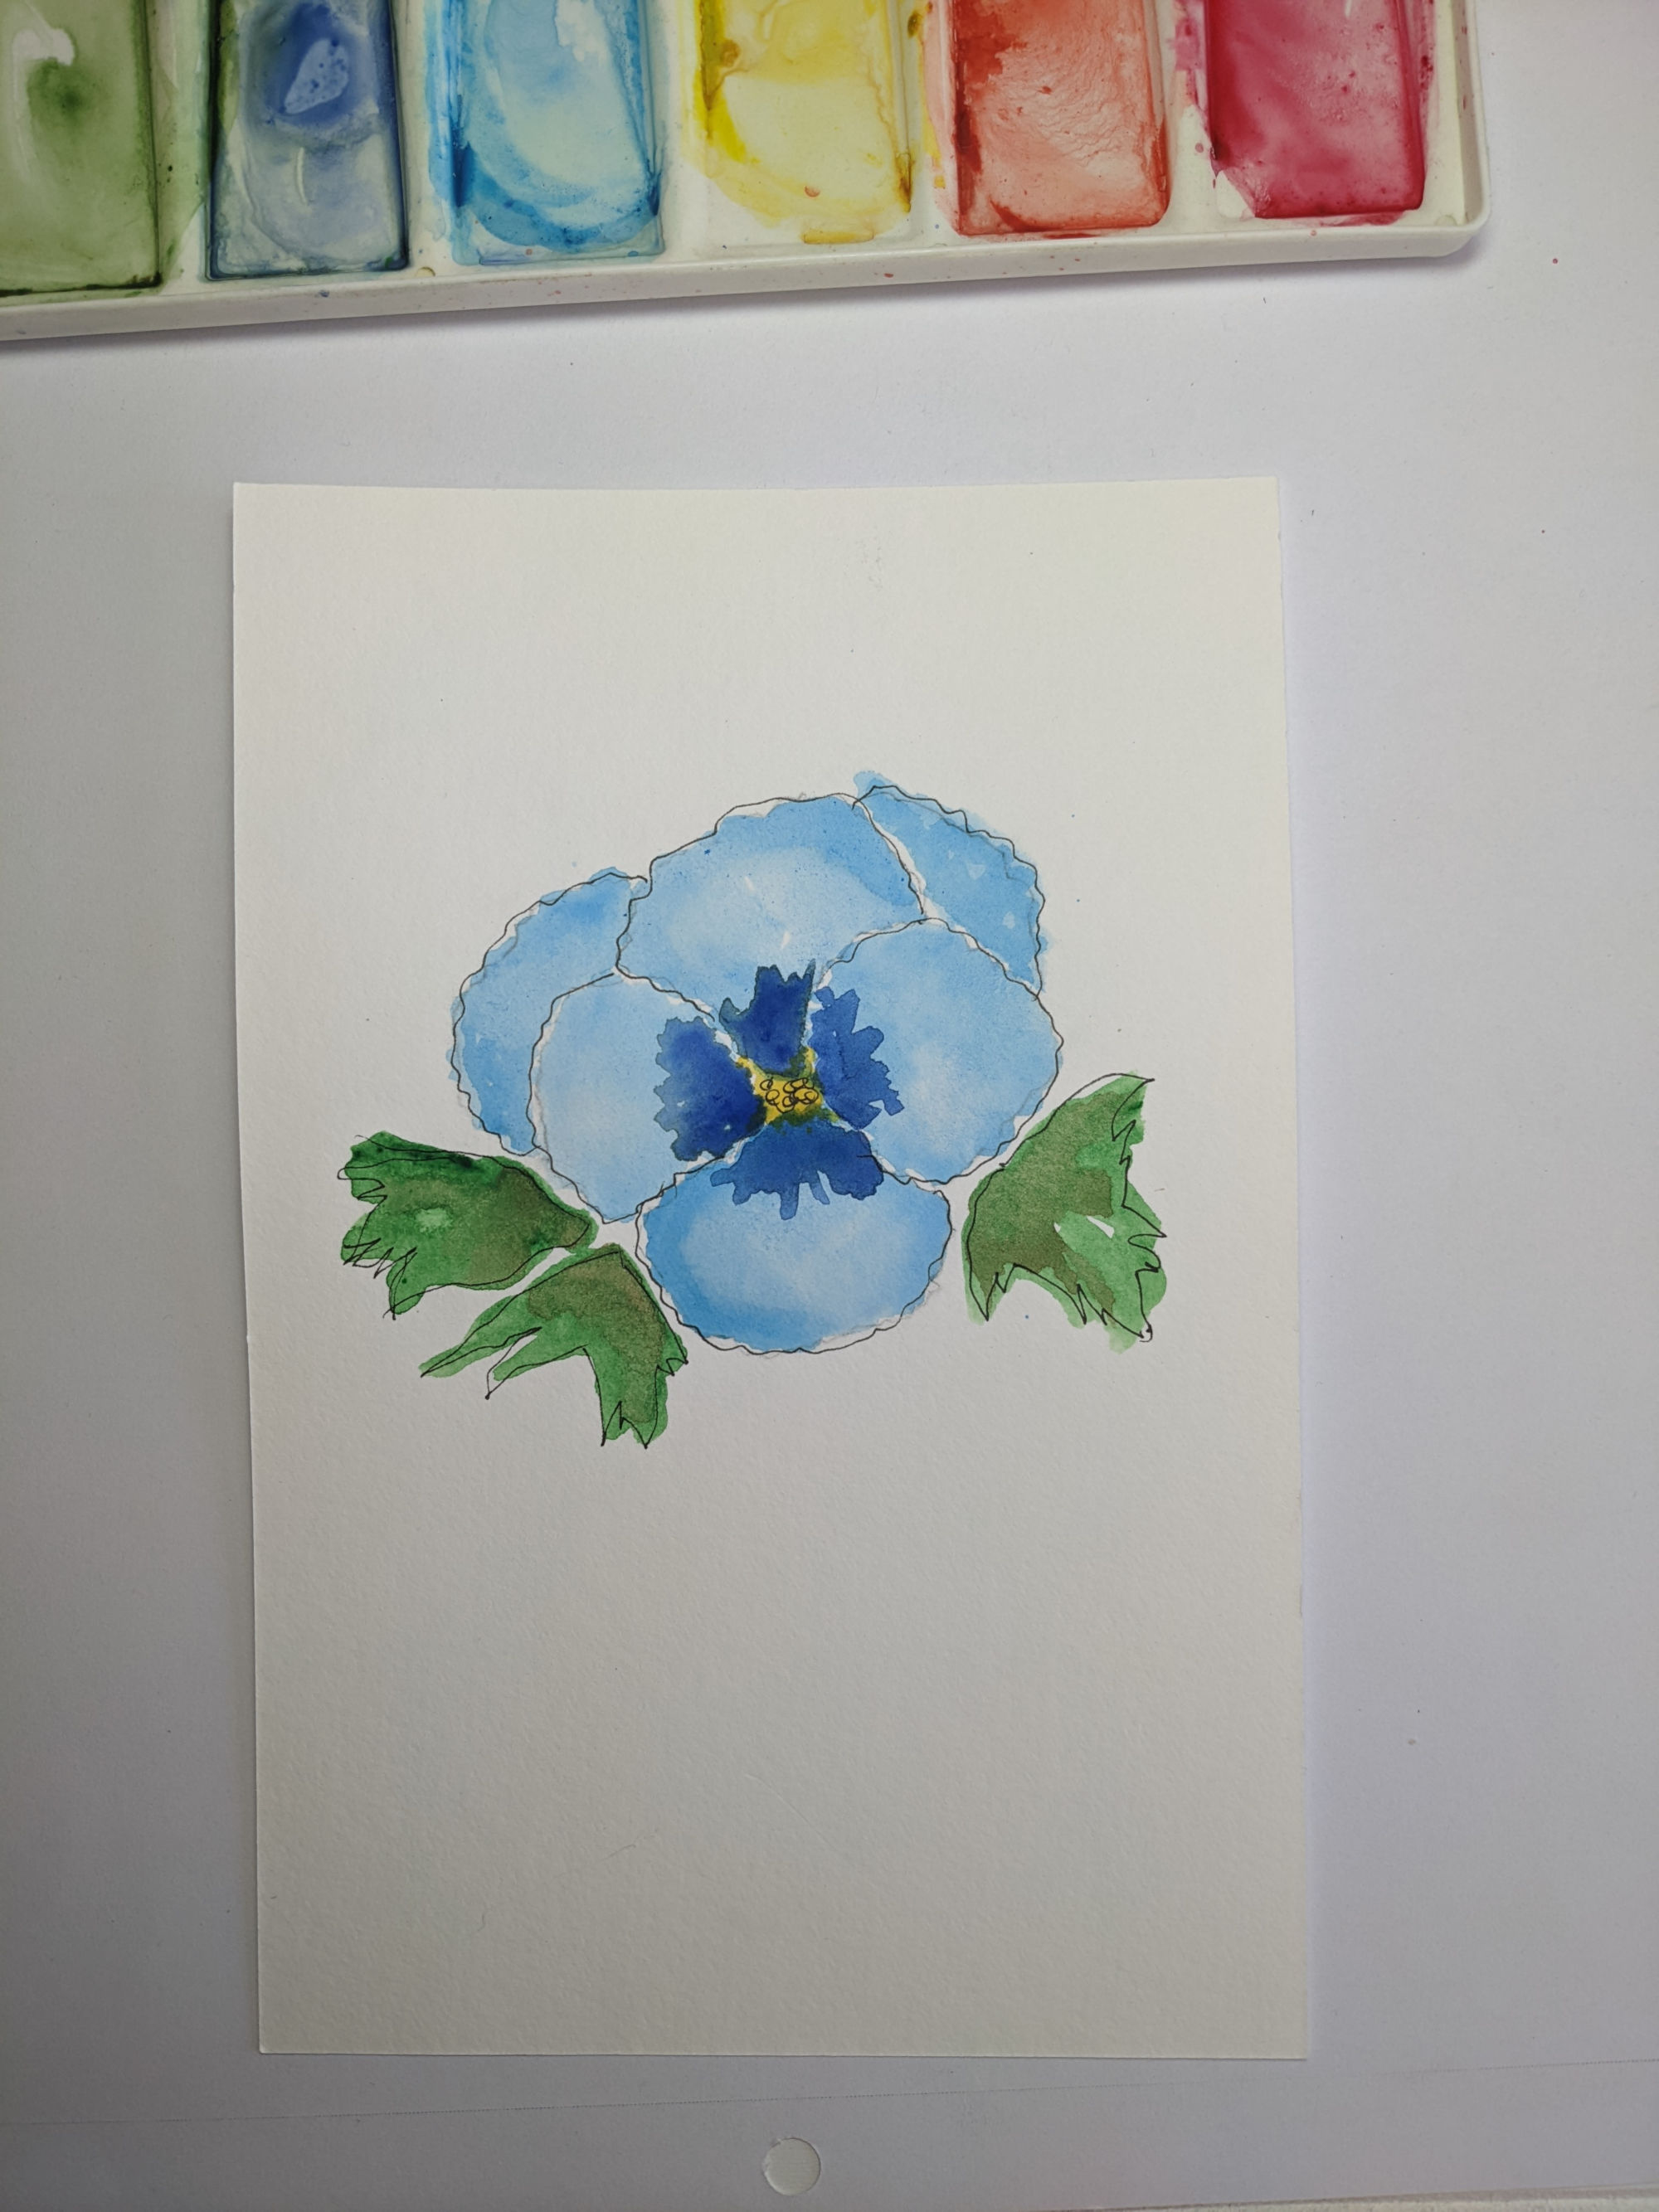
Beautiful.
How Do You Make a Transparent Flower with Watercolor?
Let’s try painting a pink flower and making the focal point its transparency.
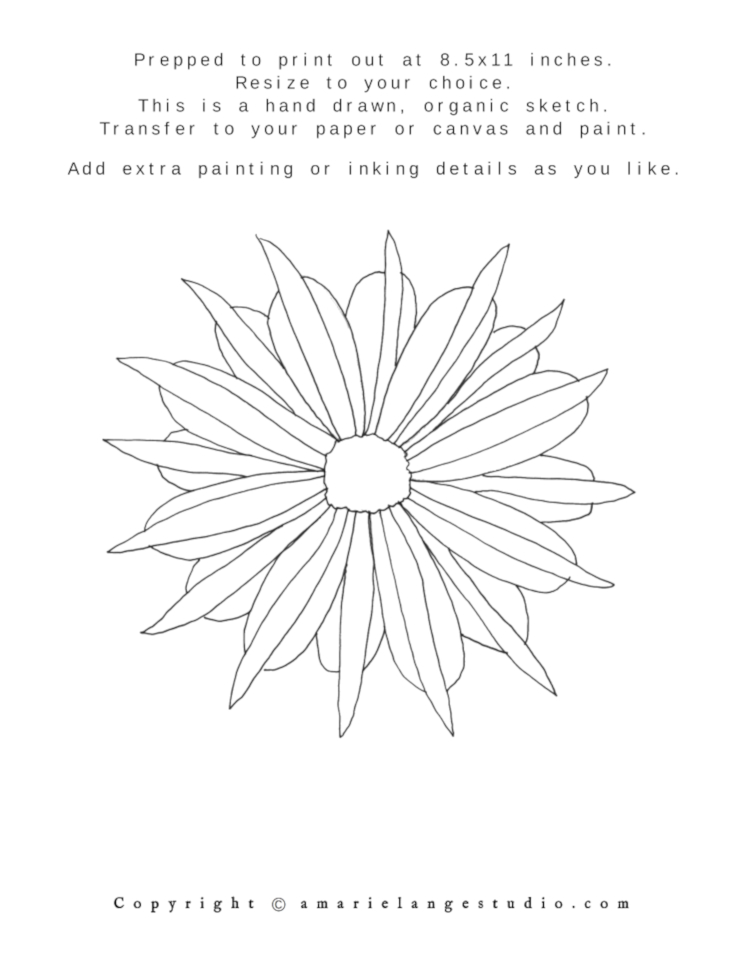
Again, draw or trace the shape of a flower onto your paper. As you can see from the pictures, you’ll need to make this a very light drawing or else your pencil marks will show through the transparent flower.
We will do things differently than we did for the abstract blue flower.
Using a pink color, lay down a thin wash on each of the back petals. To achieve transparency we will need to build up layers of color so the first layer needs to dry completely.
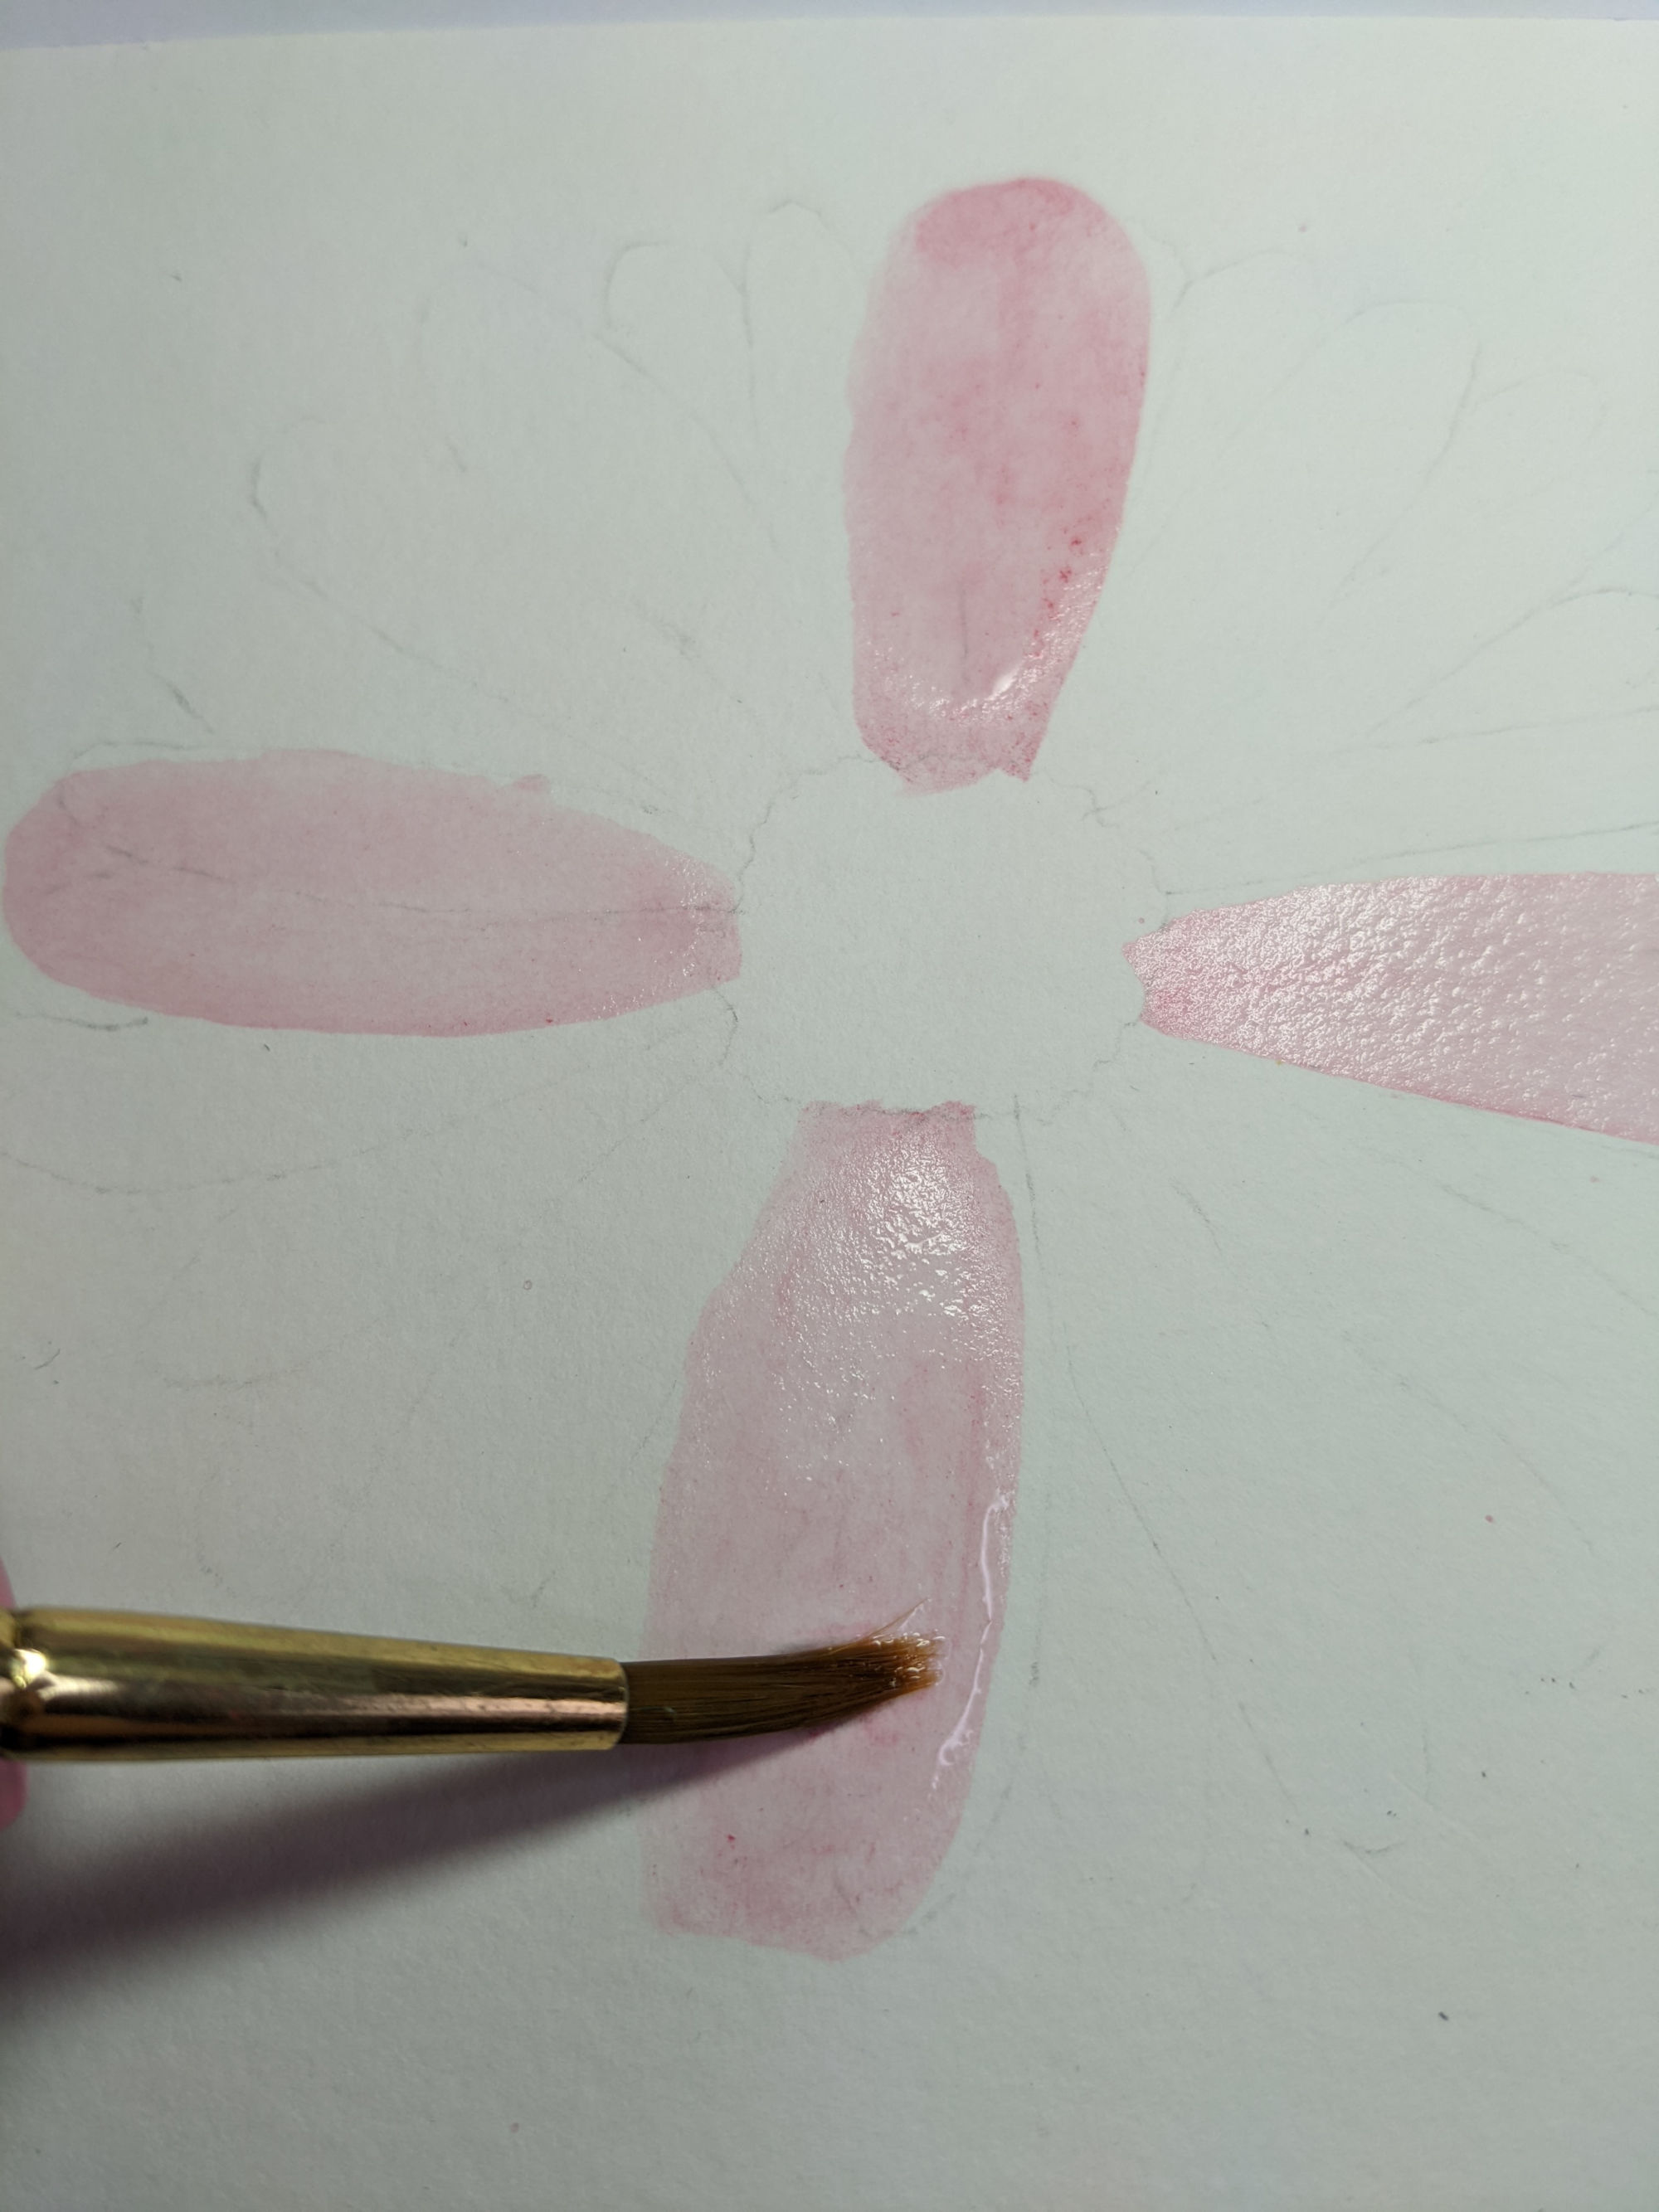
You can let the petals dry naturally or use a tool such as a heat gun or blow dryer. I personally like a blow dryer or to let things dry naturally as a heat gun is too hot and difficult to handle on small sections for me. You’ll have to decide for yourself. Bu be careful. A heat gun gets really hot!
Now it’s time to add a new wash on the next layer of petals.
After laying down a light wash on this petal layer, I add a few drops of clean water to each petal, wait a few moments, then take a clean paper towel and dab each petal.
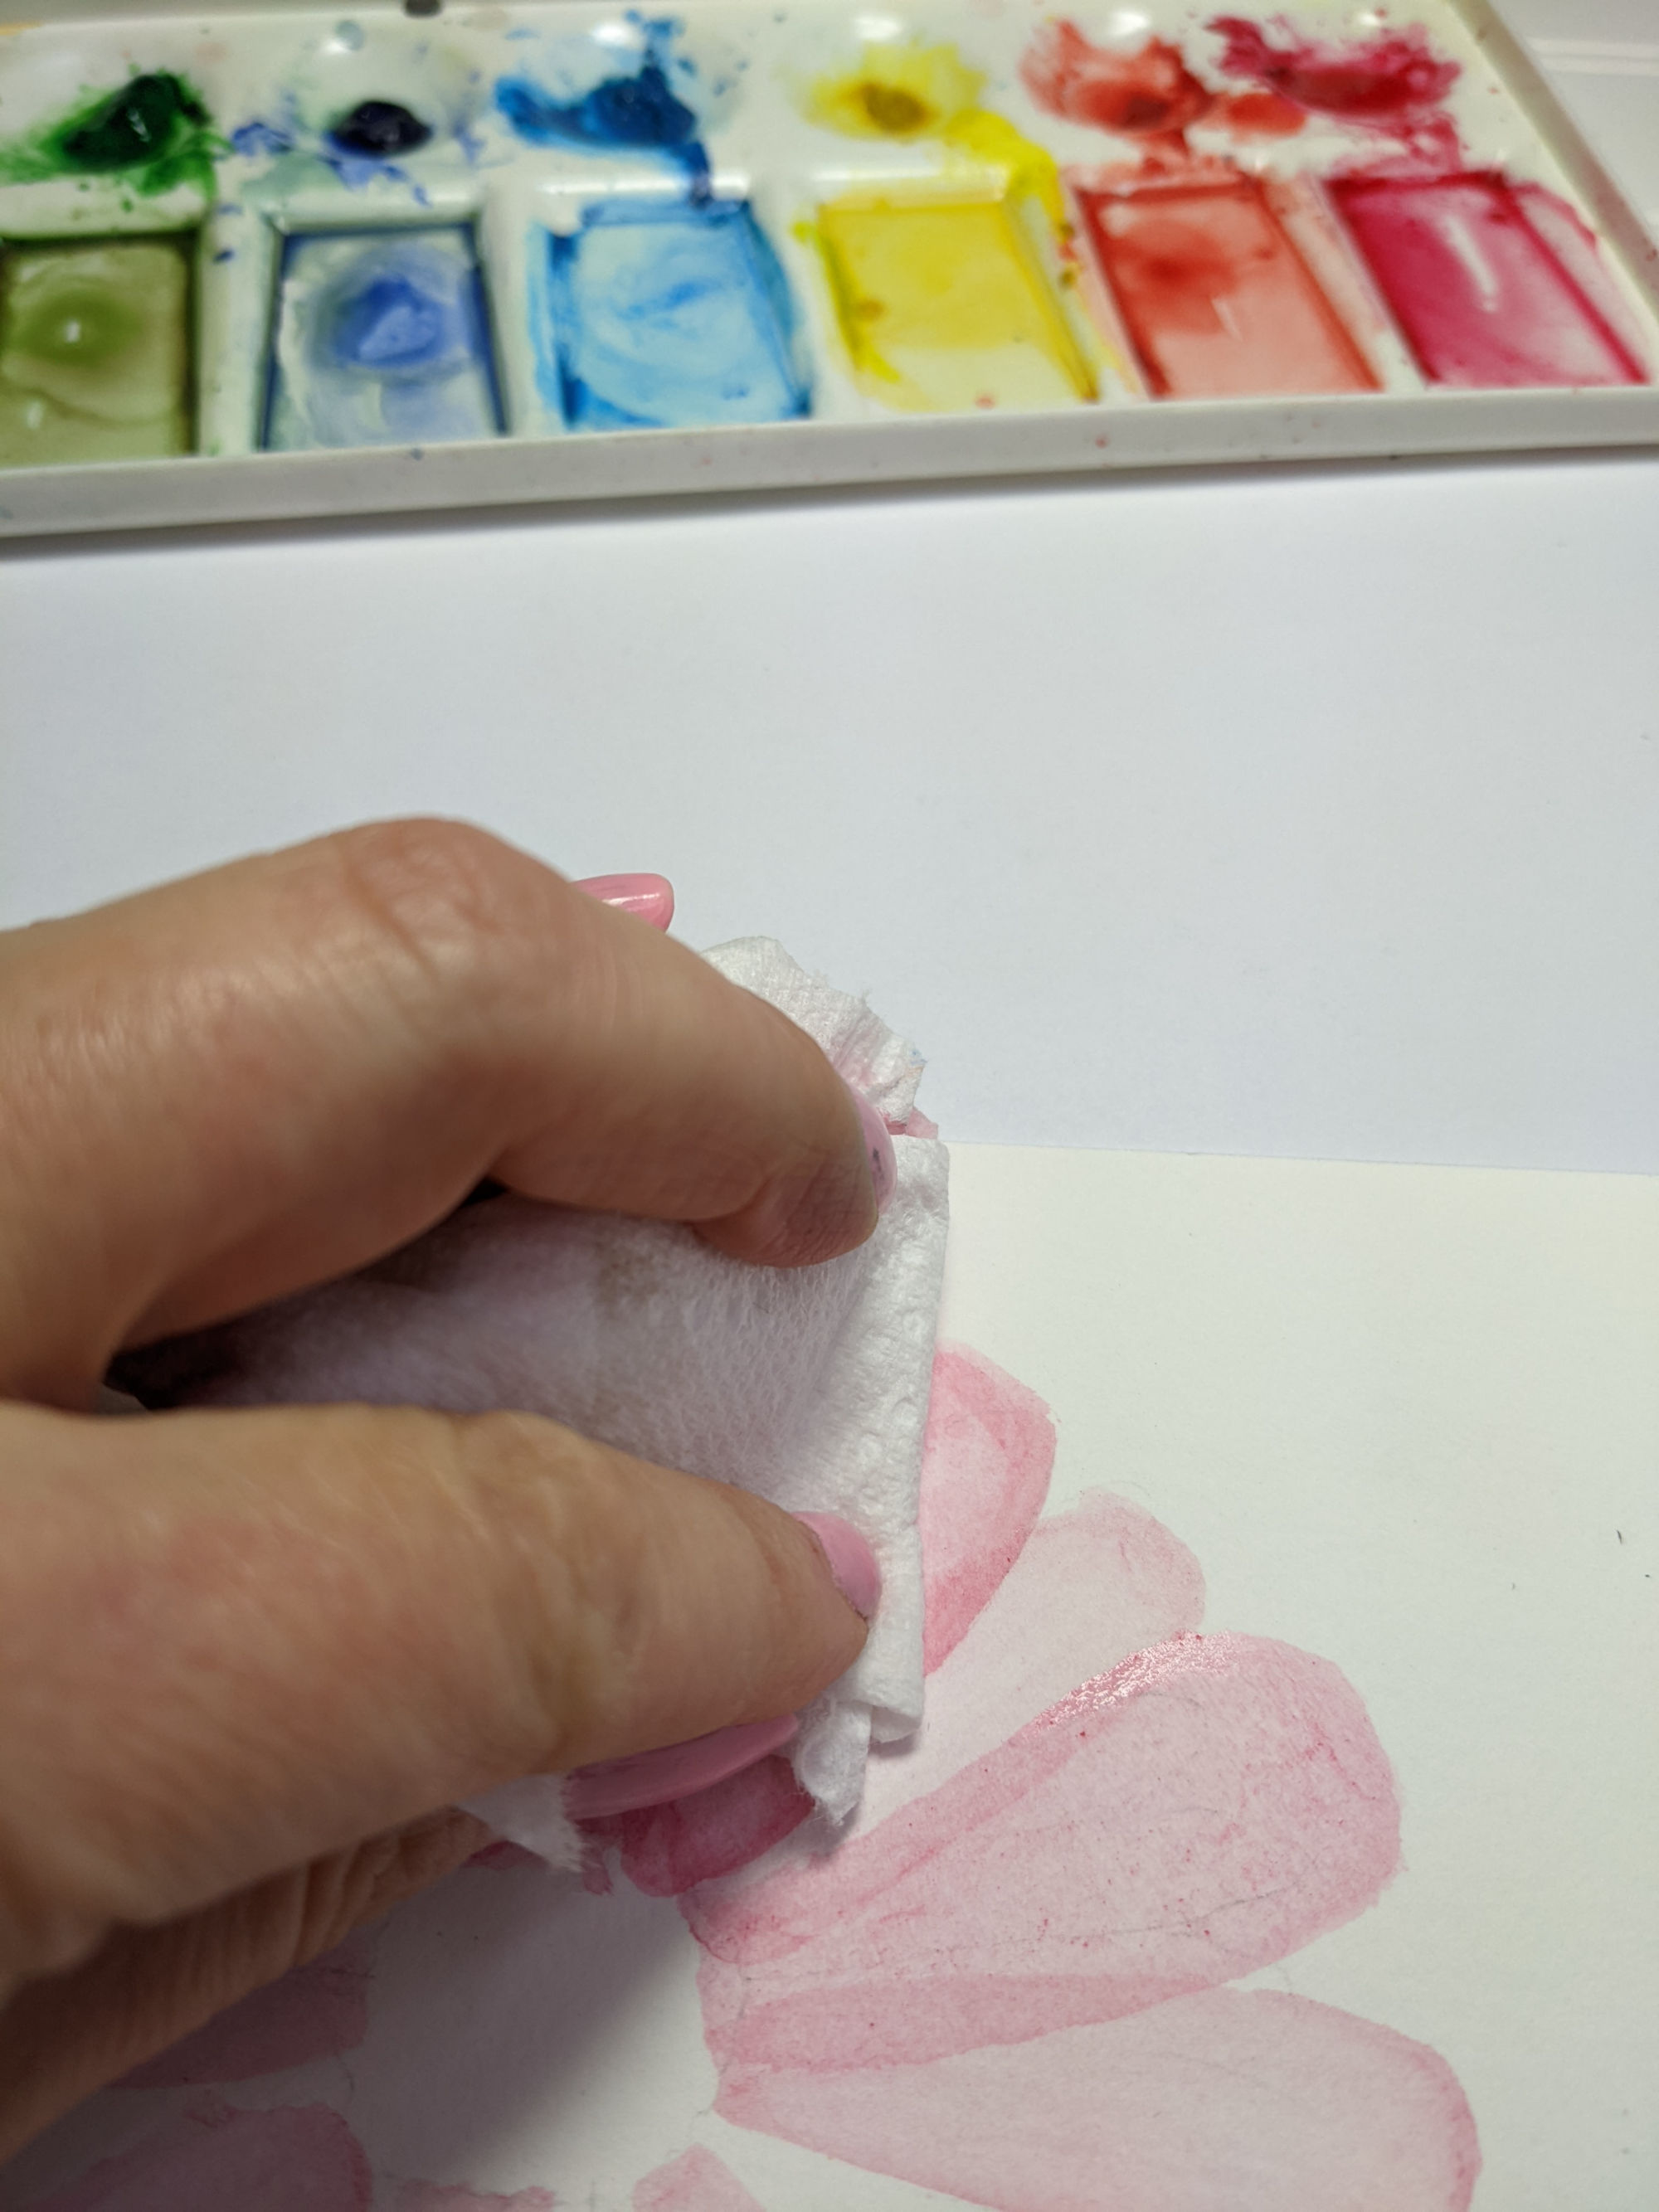
Let dry thoroughly.
Take a look at the detailed step we are working on.
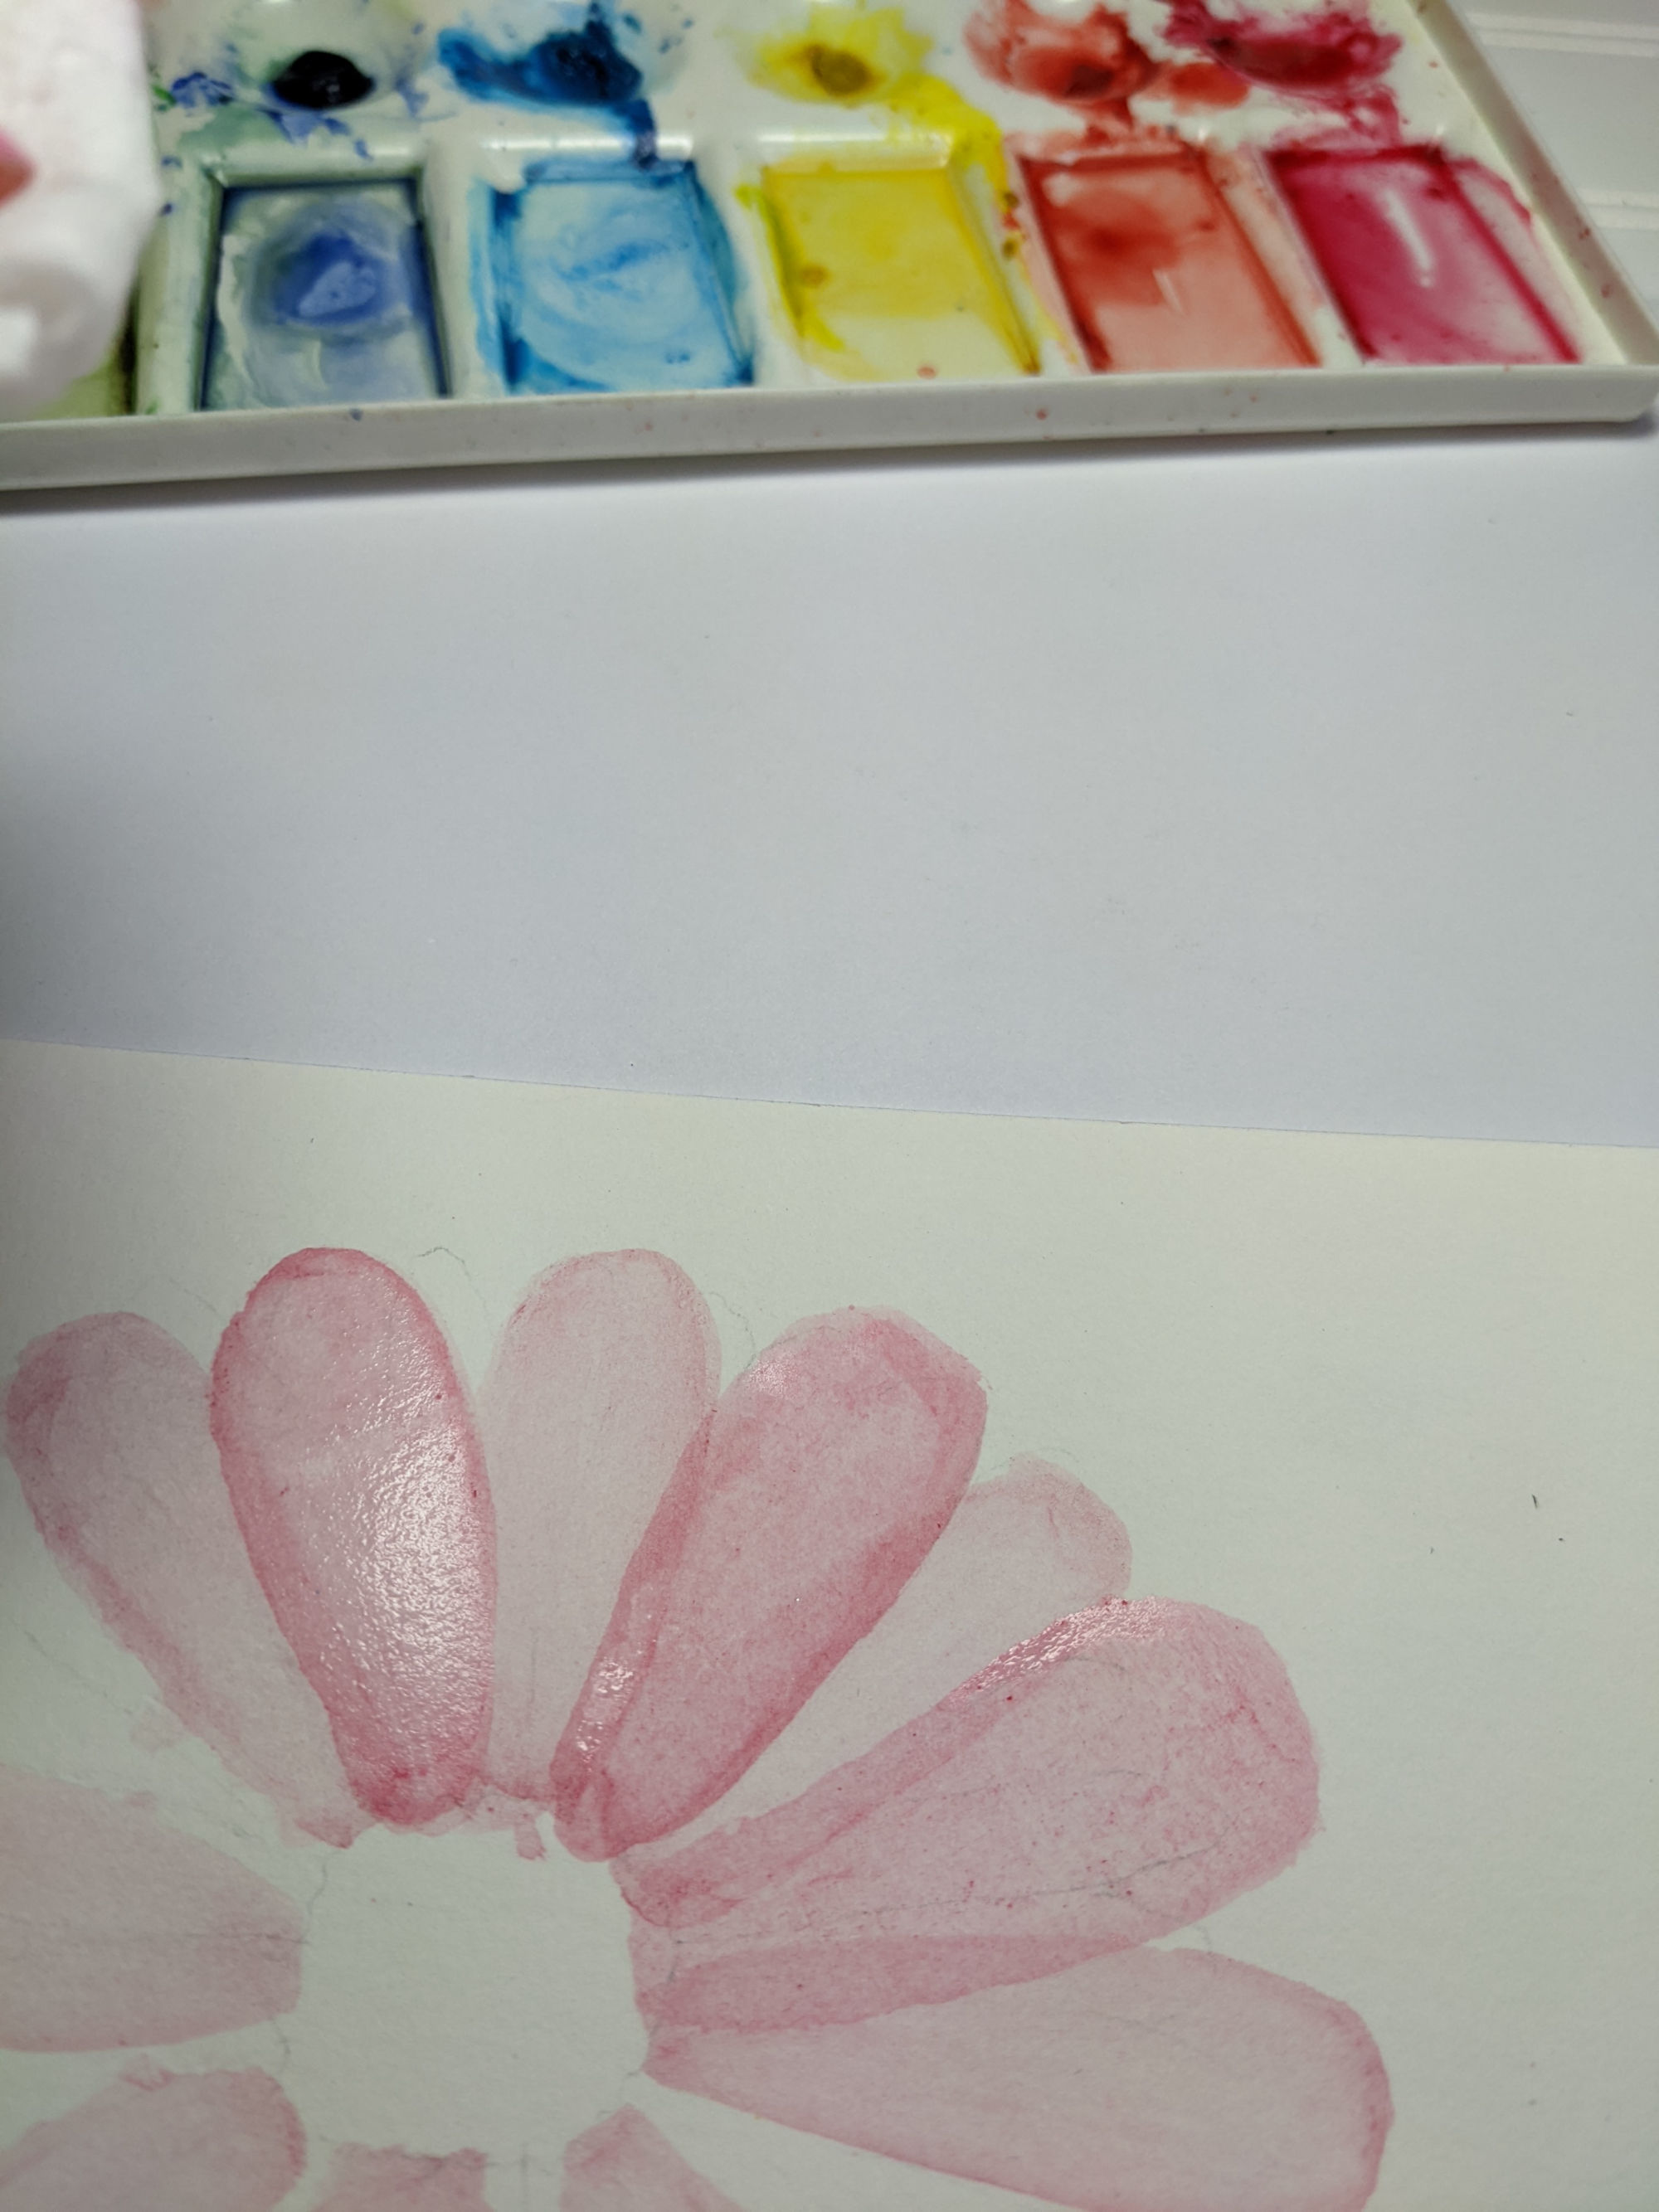
At any layer of petals you can say your abstract transparent pink flower is done. Or you can add a final layer of spikey transparent petals, like I did.
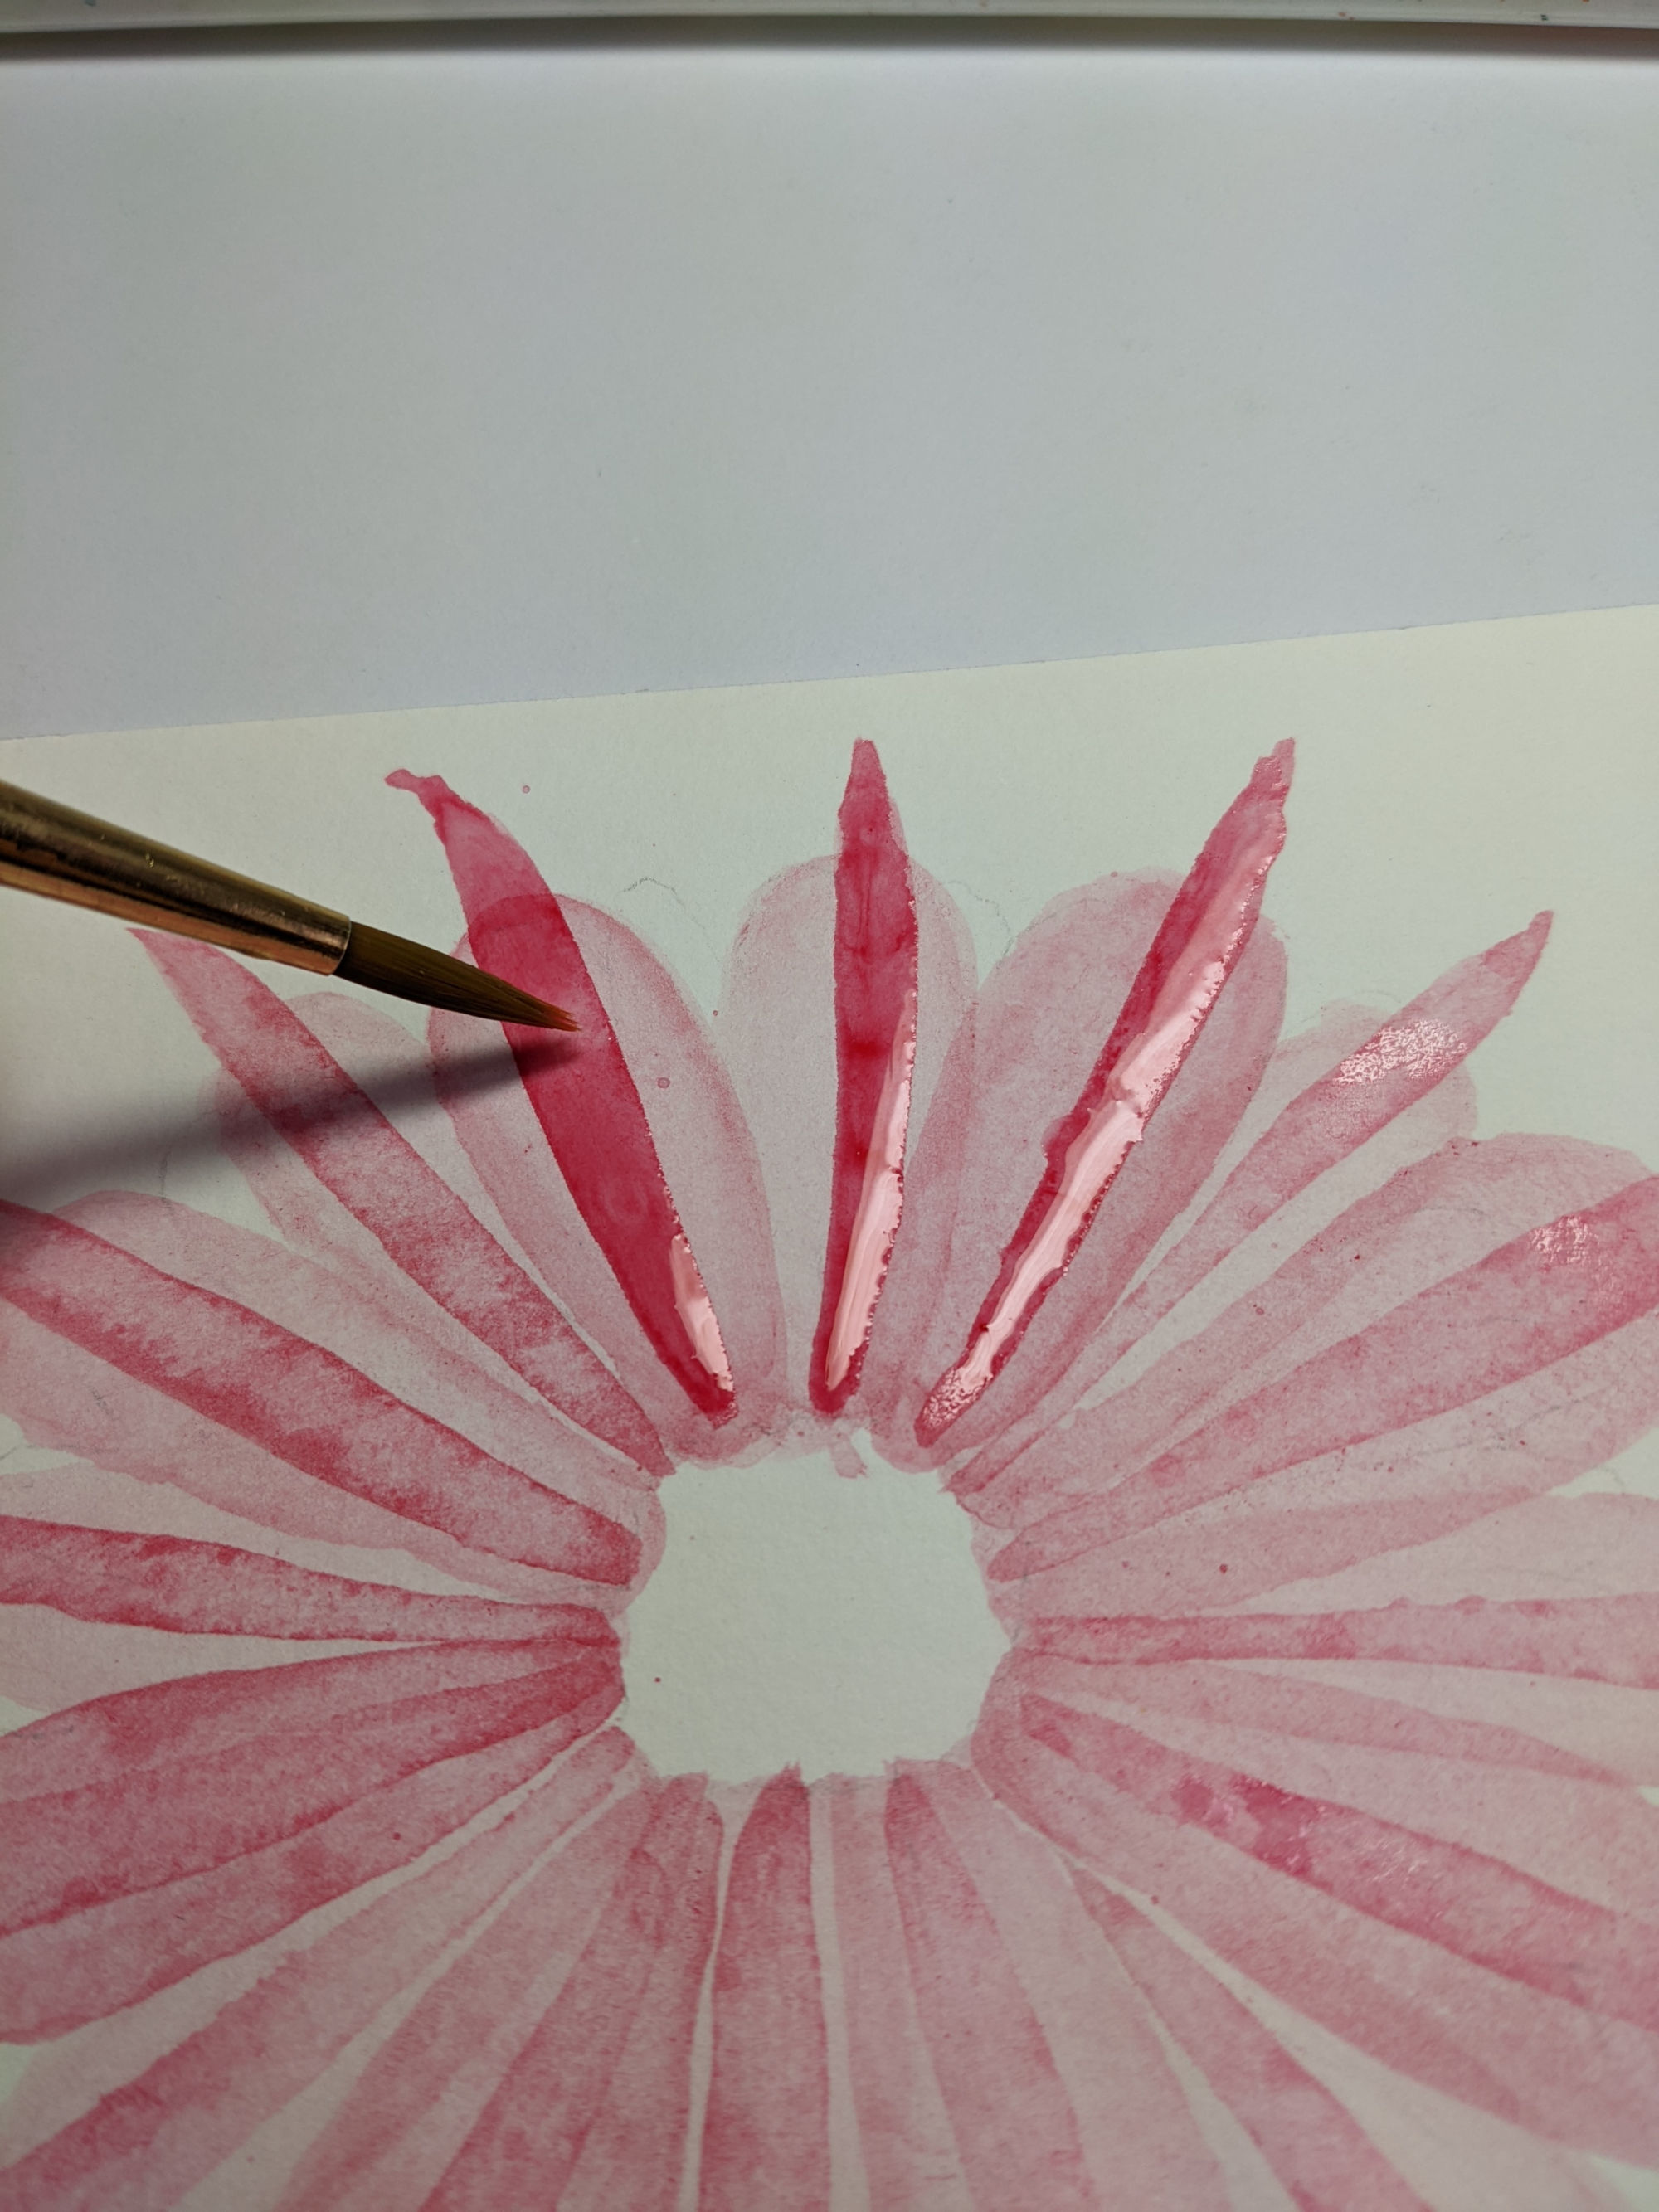
Then I added a splash of bright yellow for the center. After it was all dried, I added some dark spots to the center and inked the petals. Remember, you can add as much or as little as you like, since we’re going for an abstract flower.
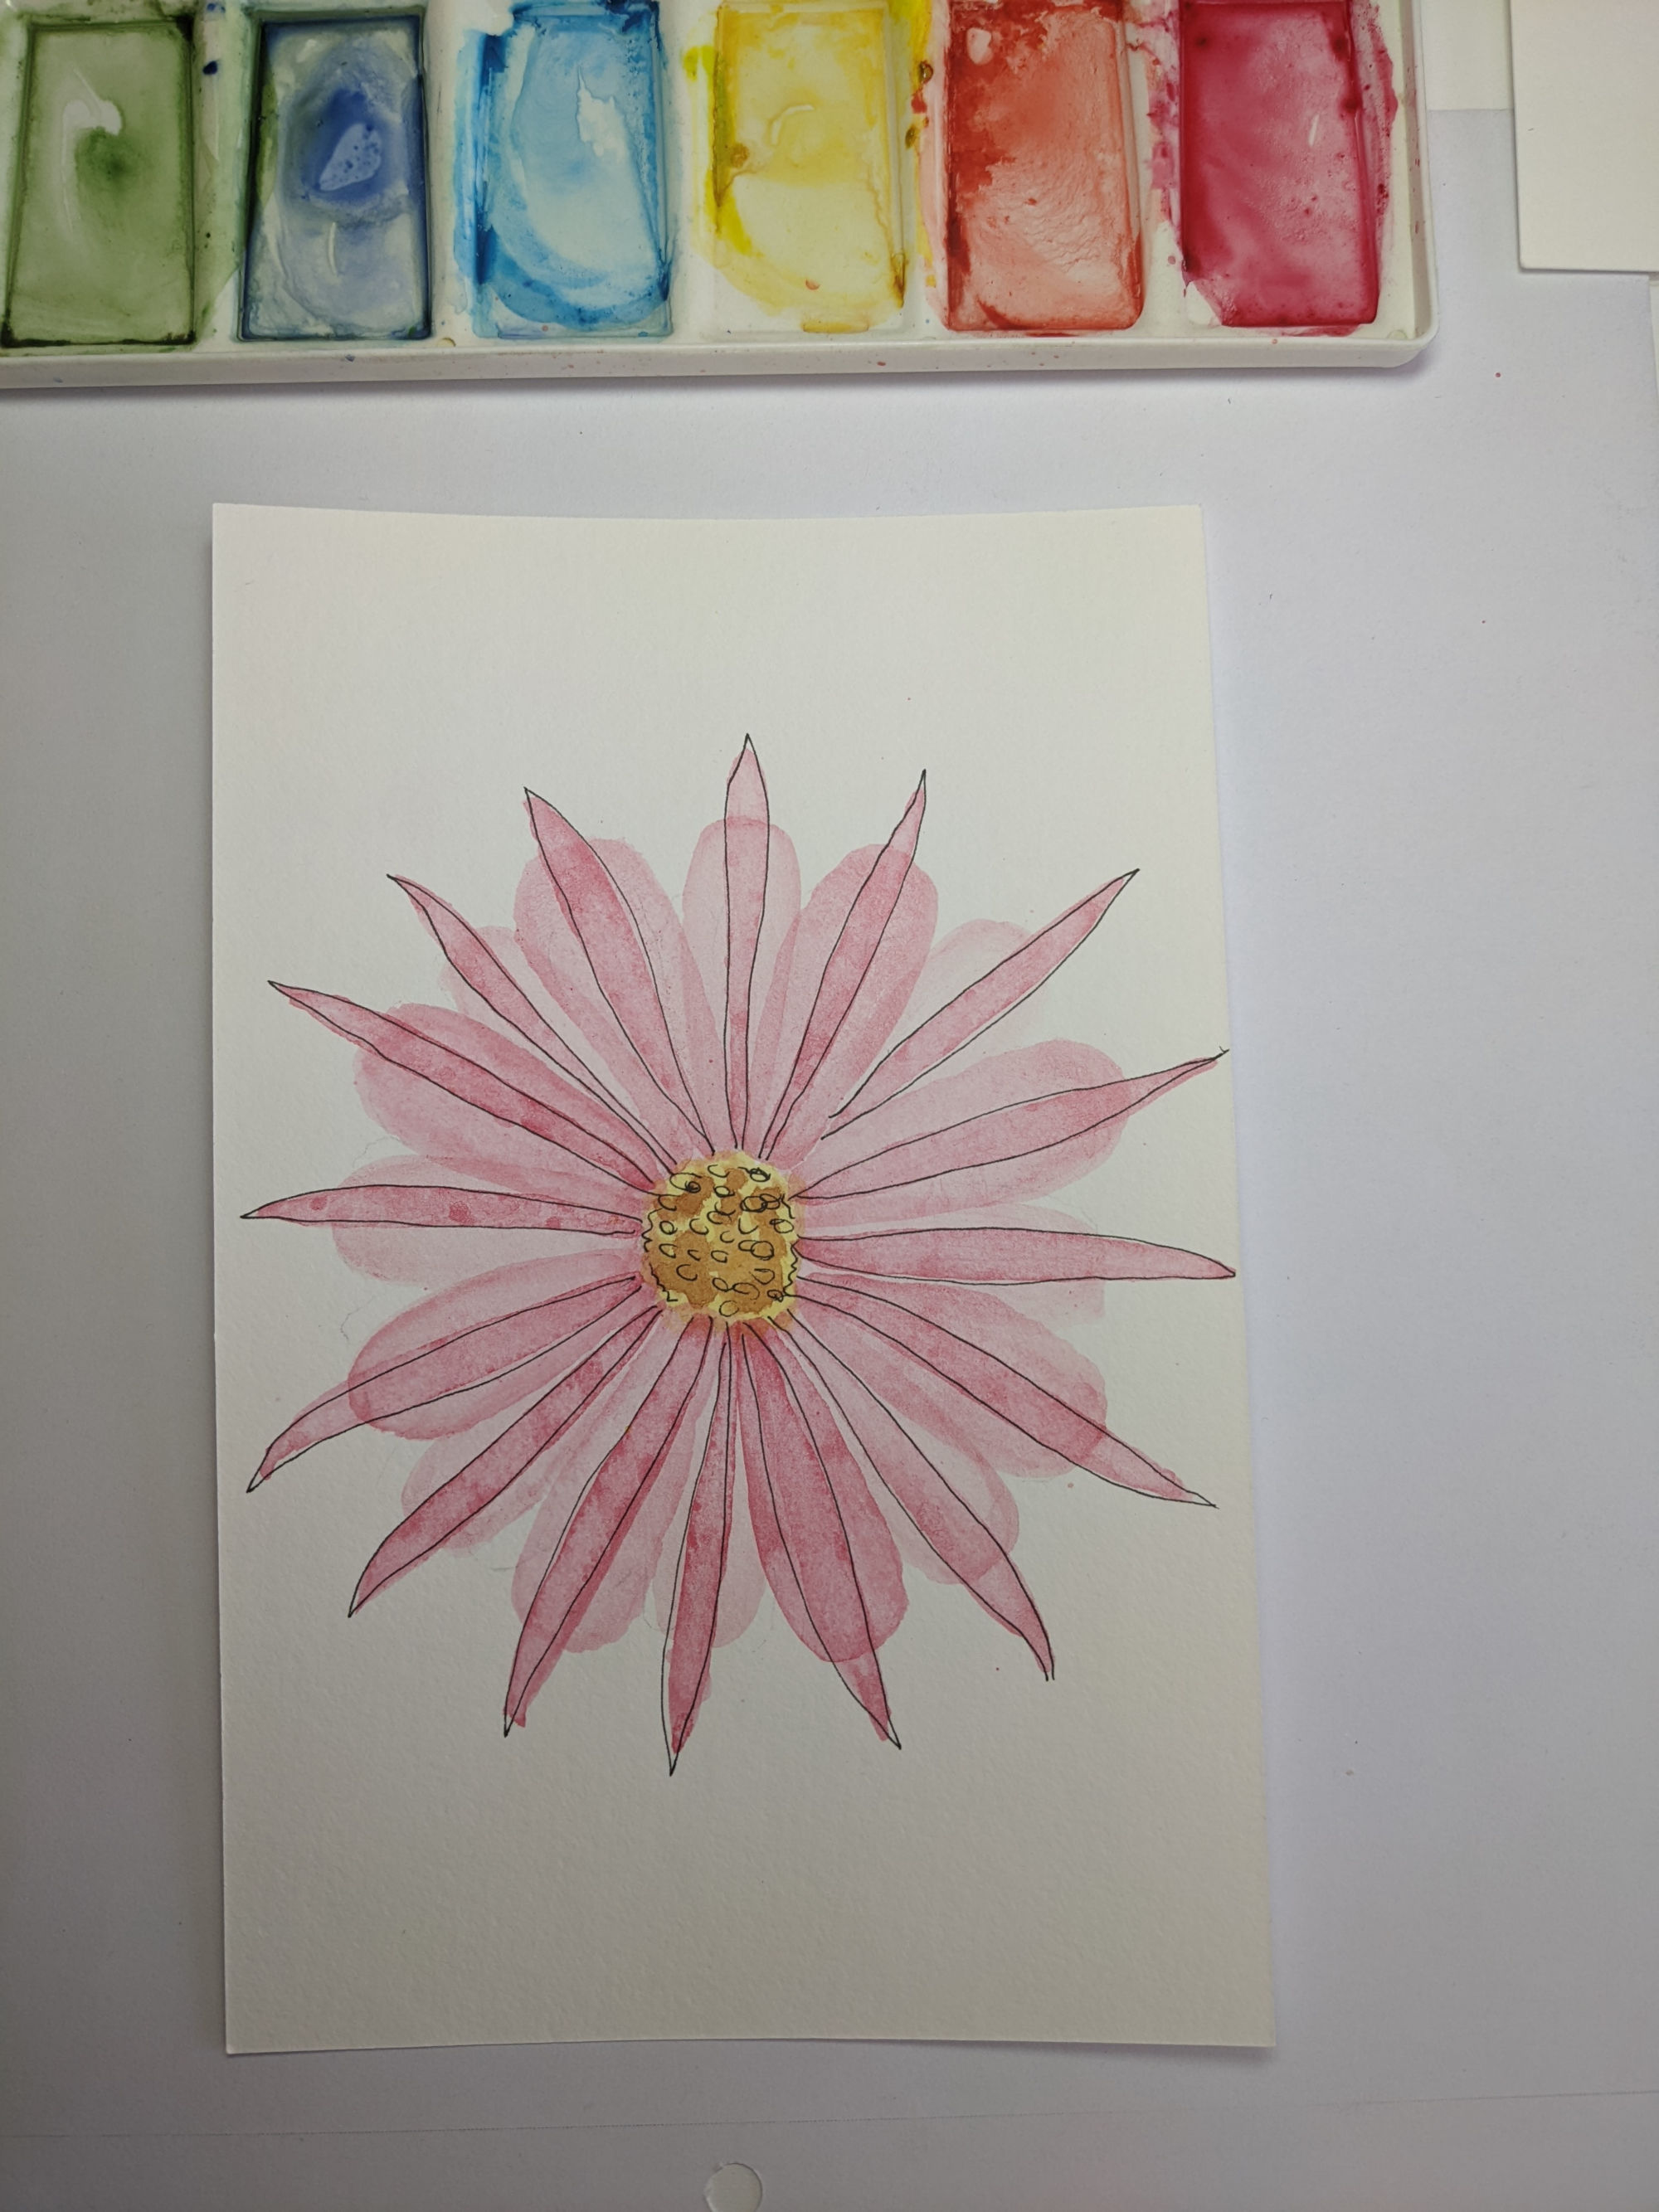
See how the transparency works? So beautiful with watercolours.
Soft Color or Vivid Color
Tip: I did not include every blade of grass in this printable garden sketch. You can add exactly what you want. You can do this! Would you like to know how I learn these art principles? I paint the same thing several times. It allows me to see my progress – right in front of me – and helps me understand how different techniques produce different results. Give it a try for yourself!
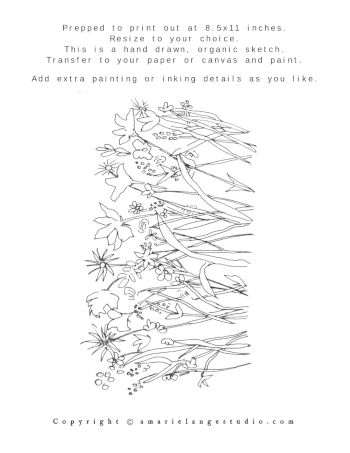
When you progress beyond painting single flowers and want to paint groups of flowers, consider including different sizes of flowers and a variety of colors in your abstract designs.
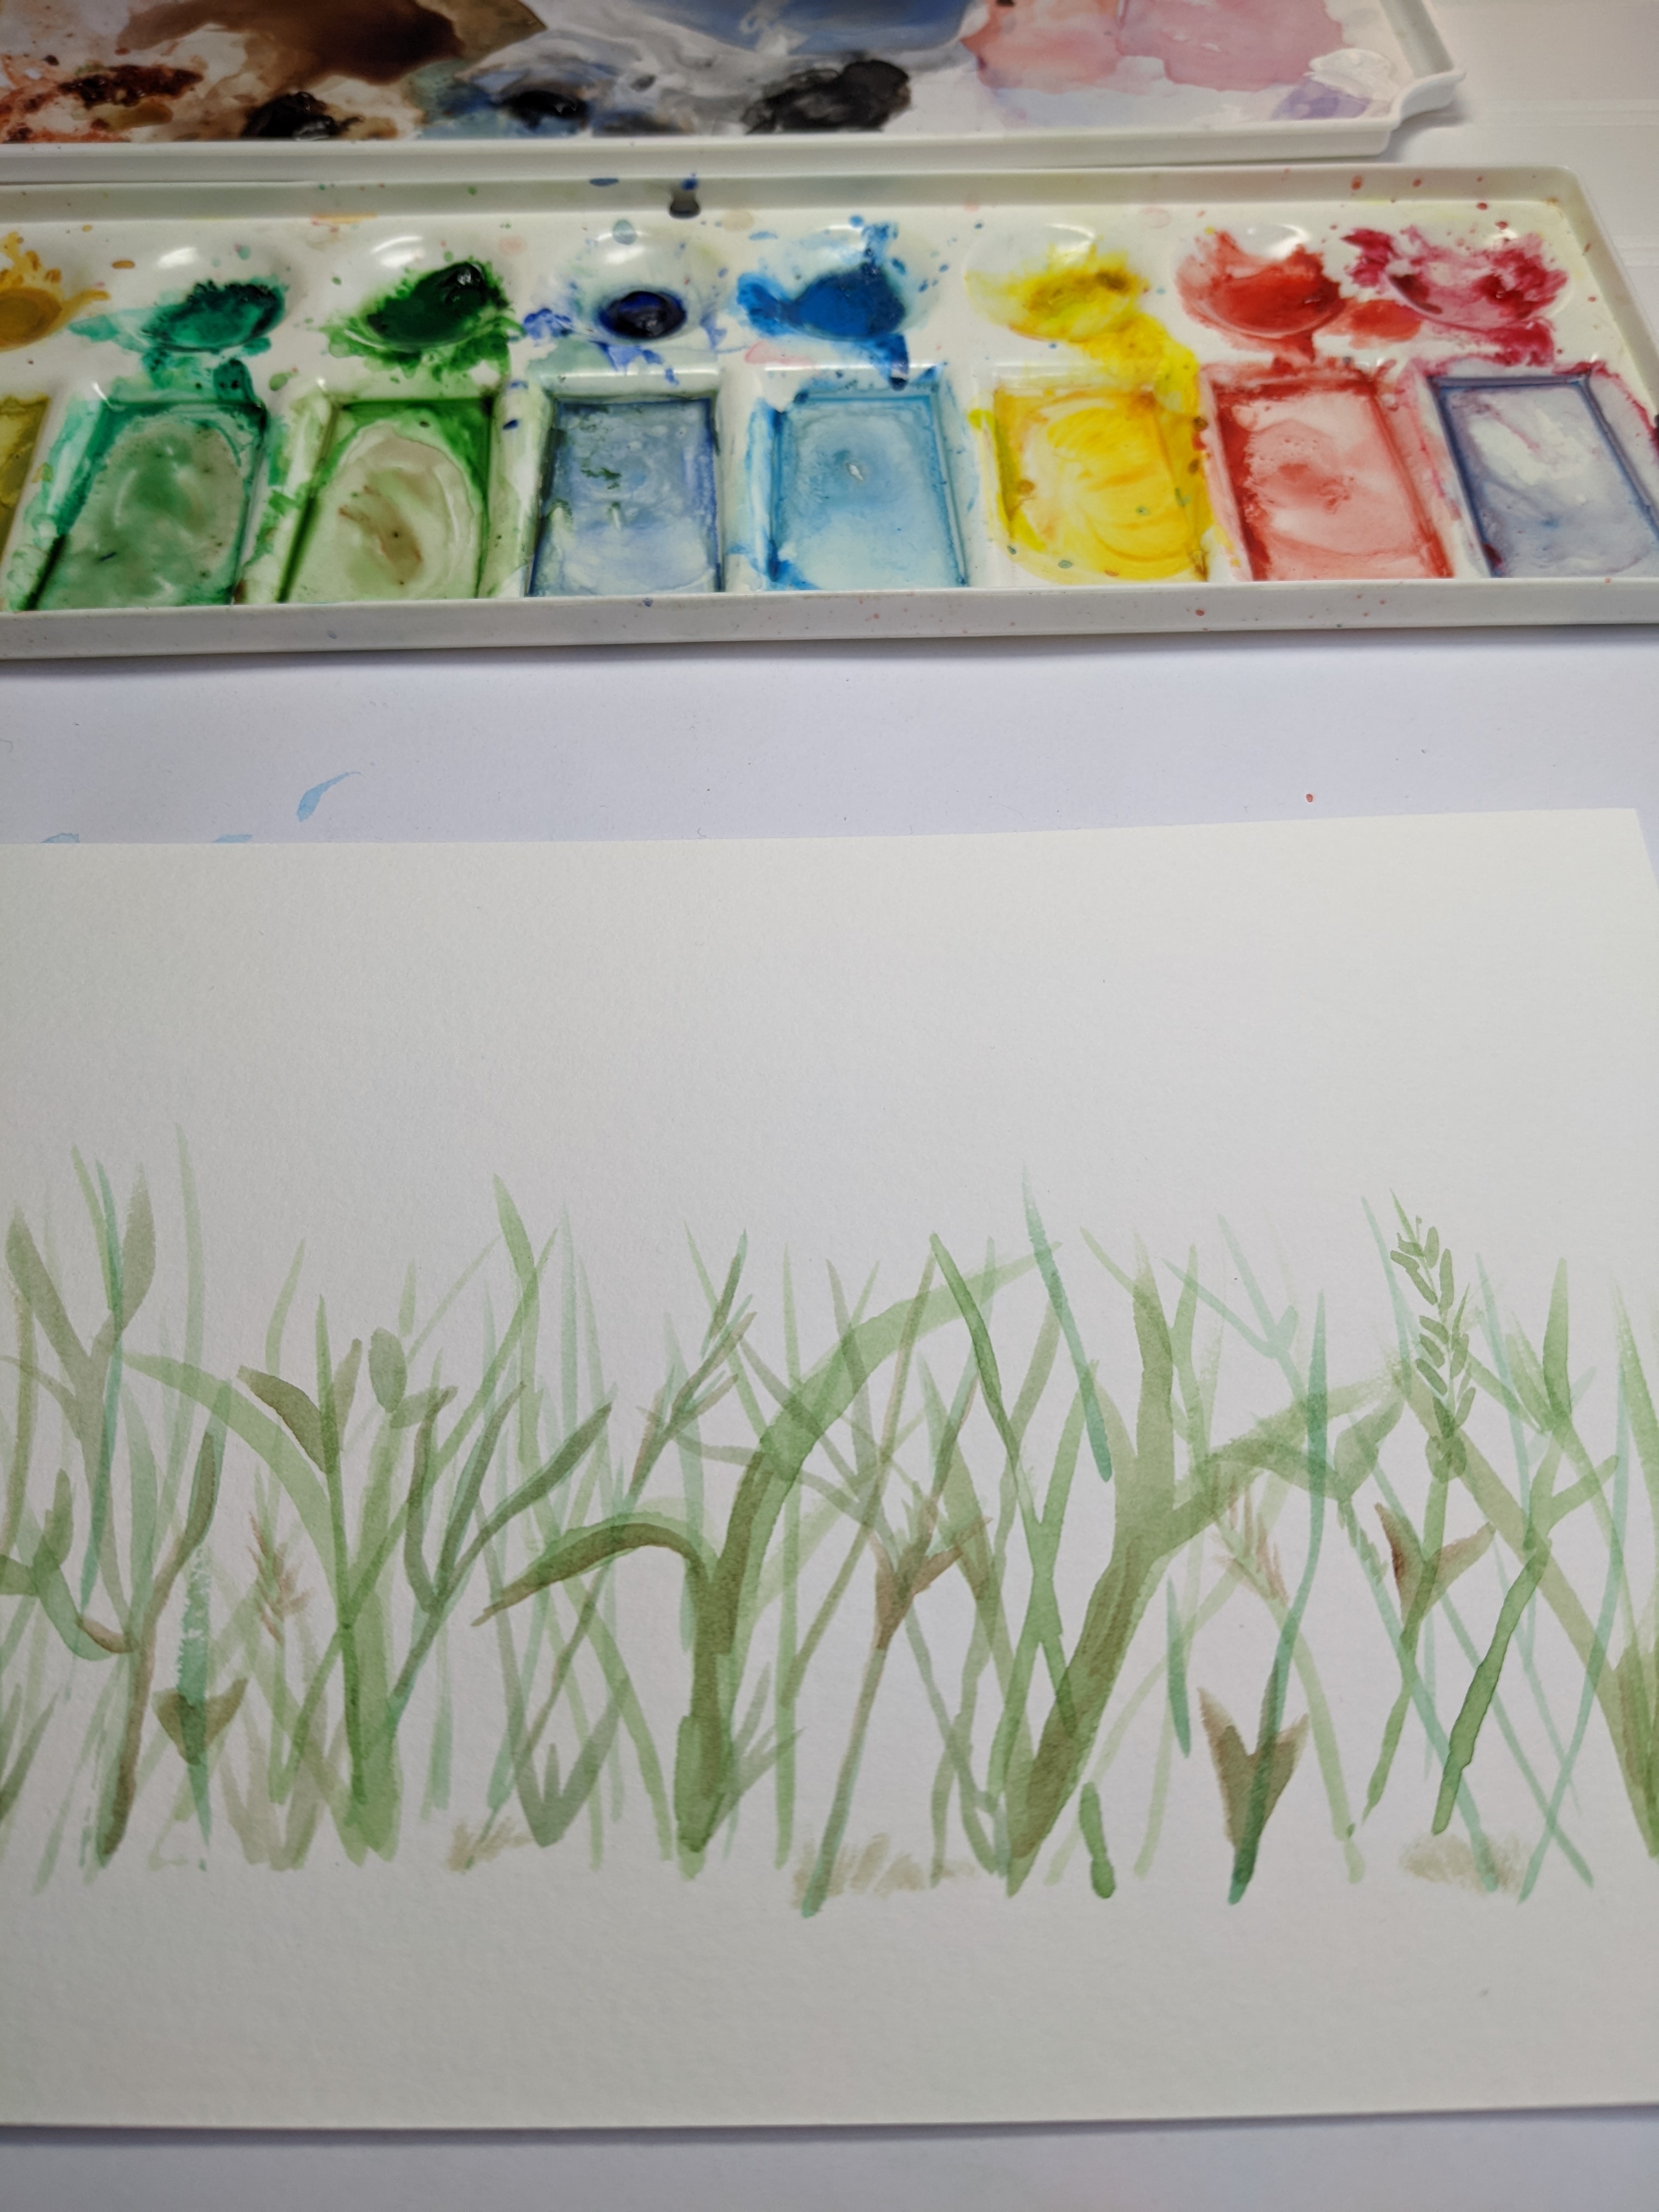
Here I started with easy green stems. Use a liner brush or the edge of a flat brush; use a variety of greens.
Add a few tiny leaves. Remember, details are not important because this is abstract painting.
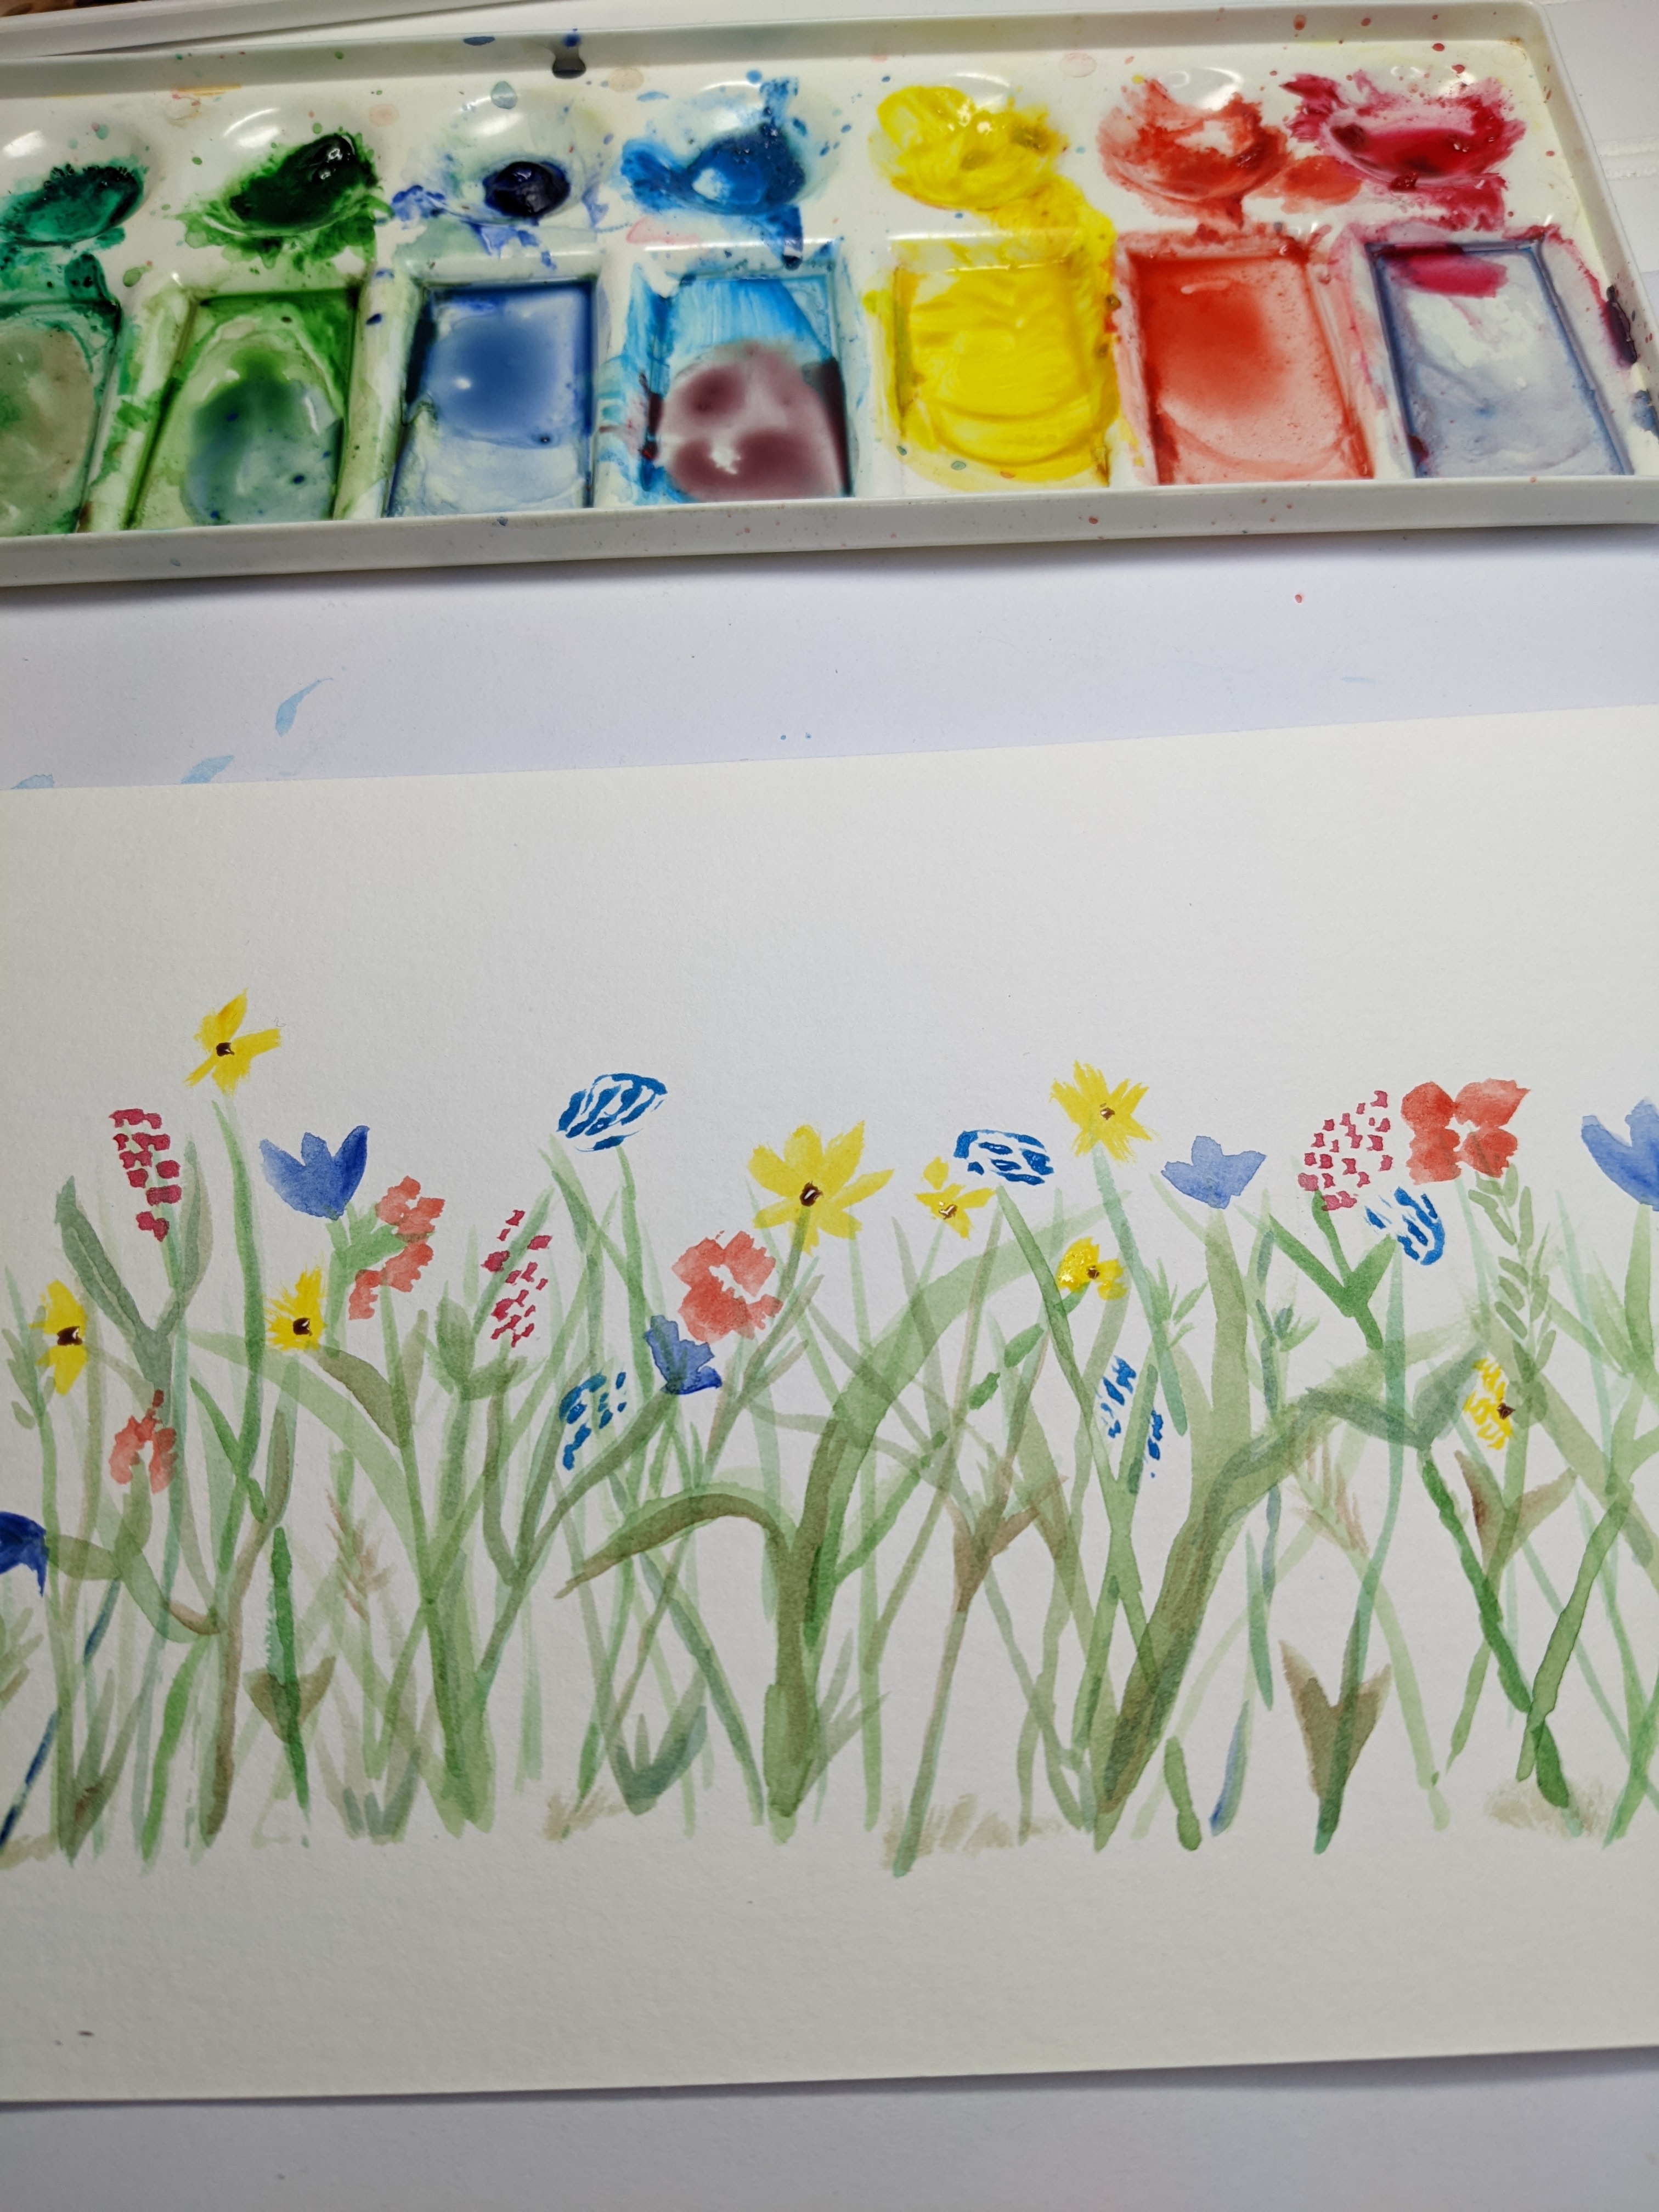
Experiment with different brushes using tiny strokes in the colors you like and create your own abstract, fantasy flowers.
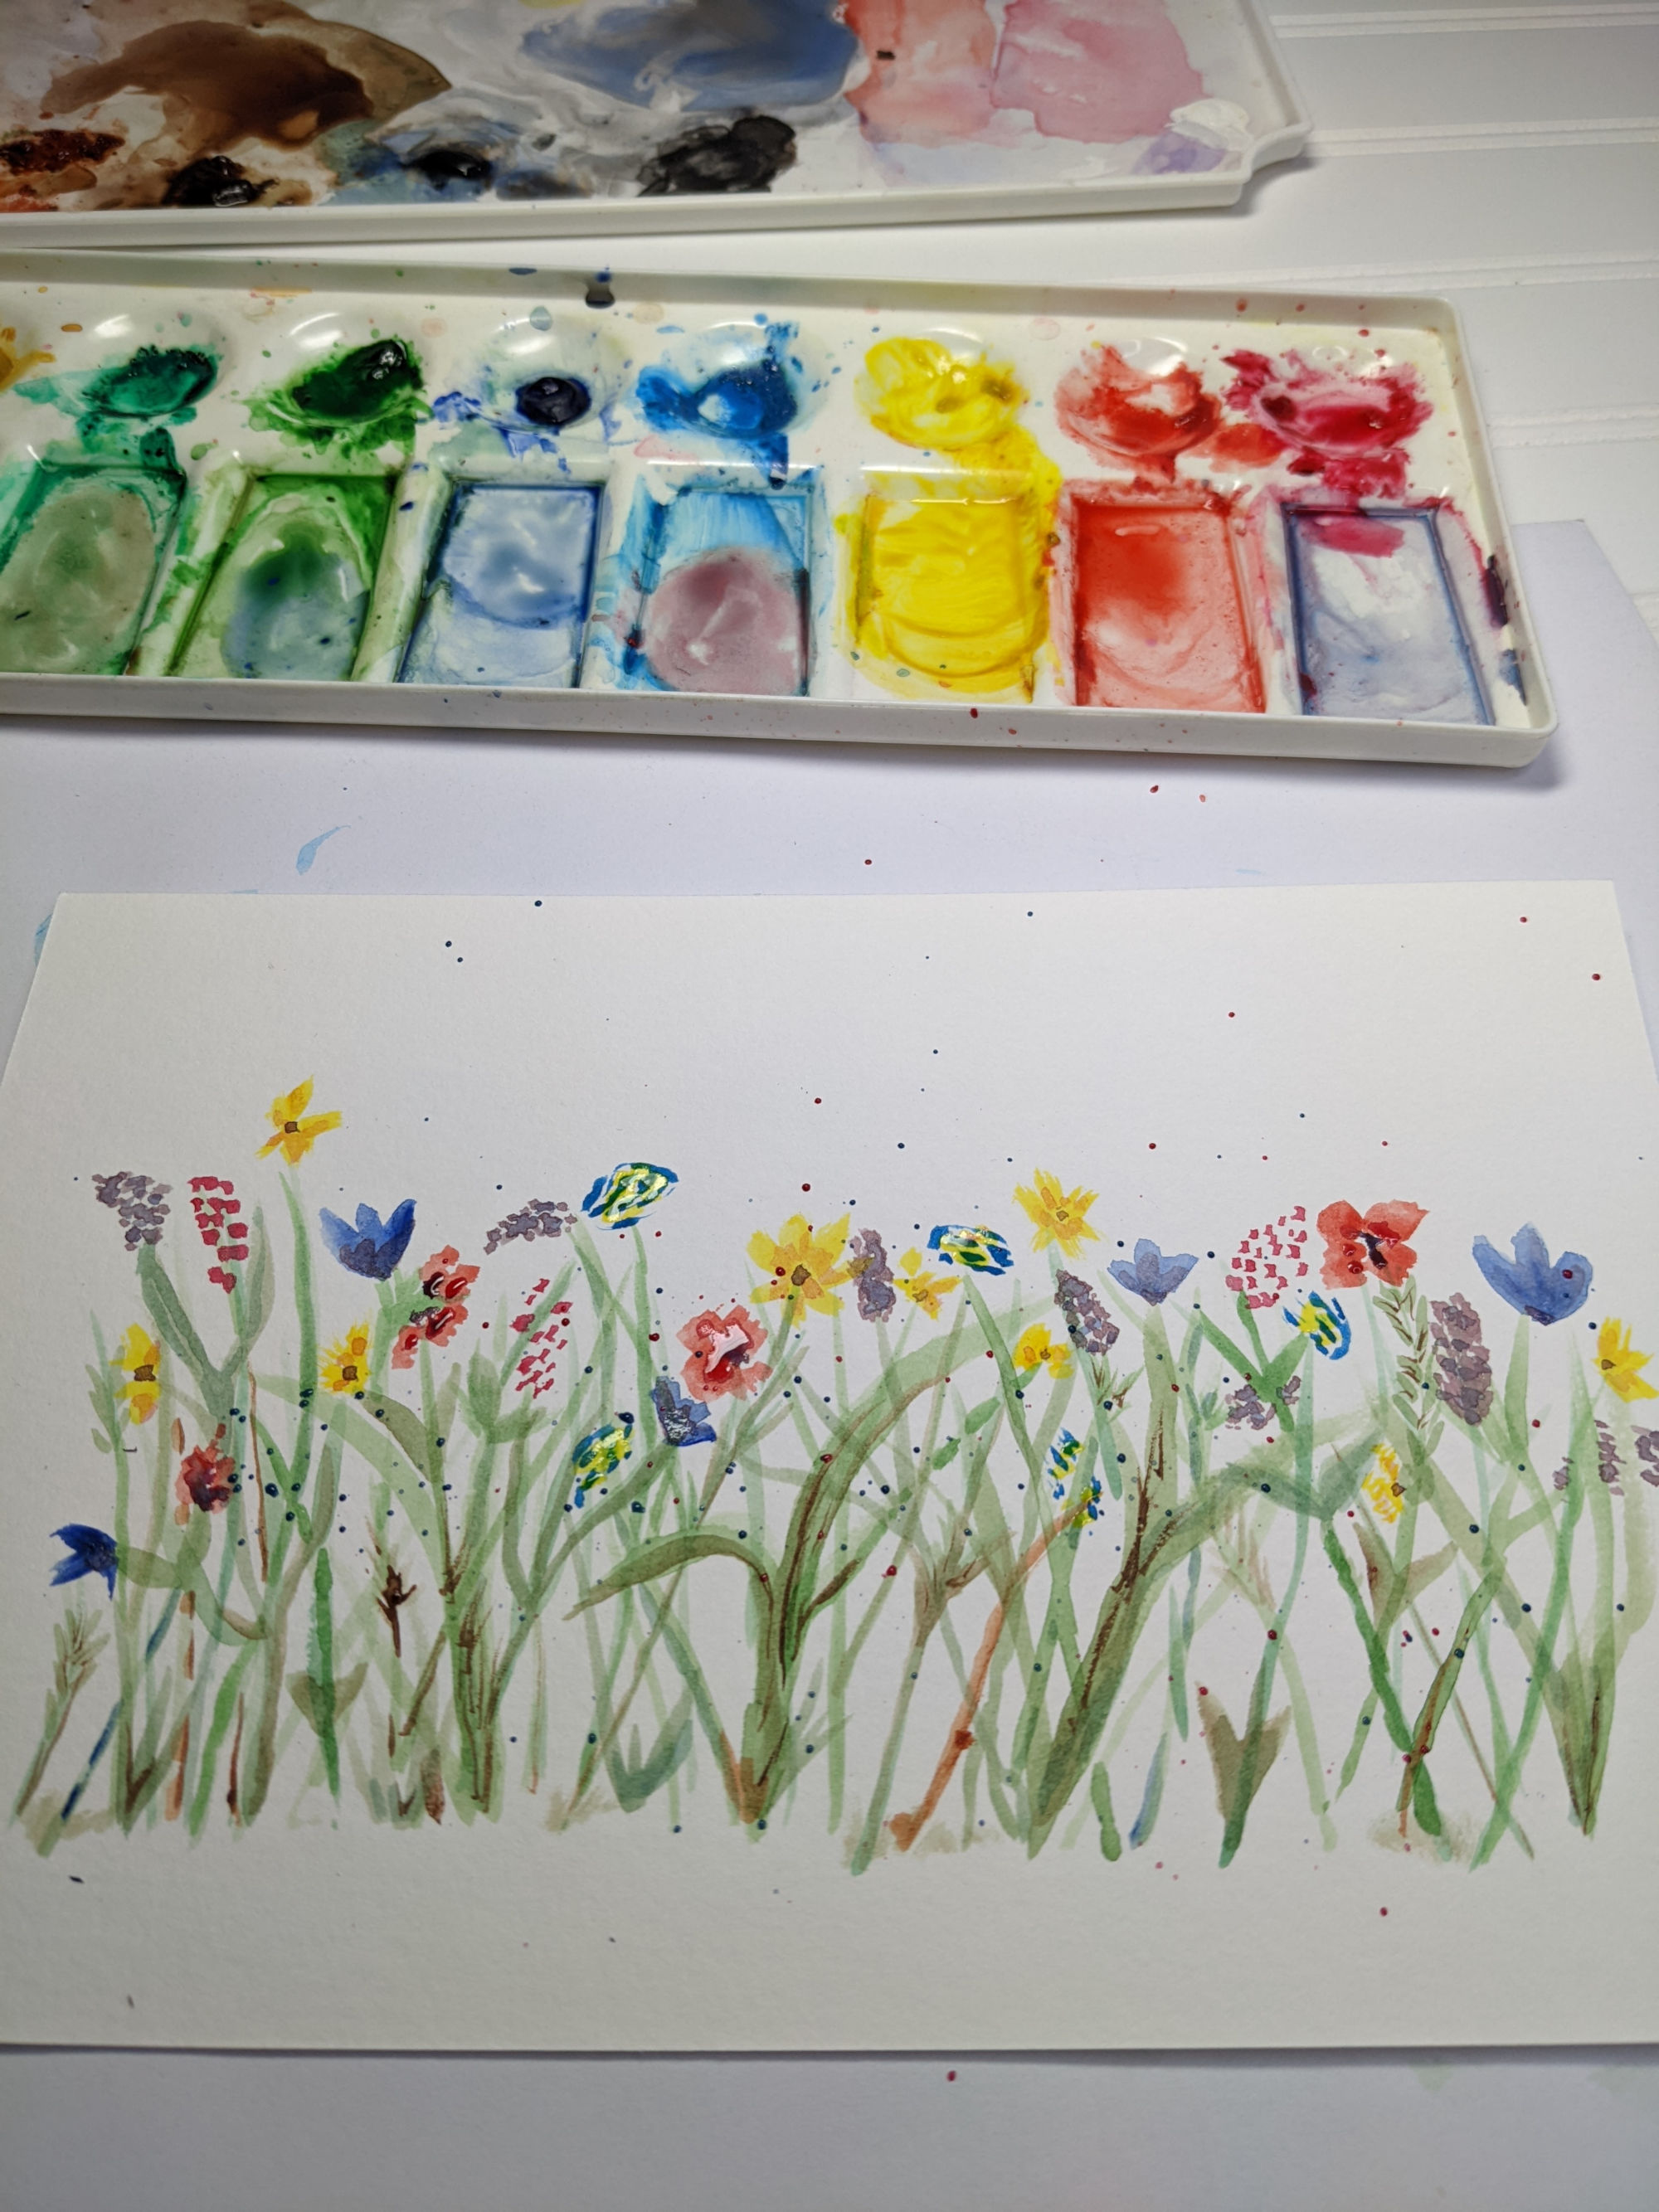
Here I added a spatter of paint for interest. Then I decided more, larger flowers were needed to balance out the tall stems, which you can see in the next photo.
Keep playing around with your designs to find what pleases you.
If you paint a mix of spring flowers in different sizes and different colors; in abstract style, you can create a focal point of vivid colors.
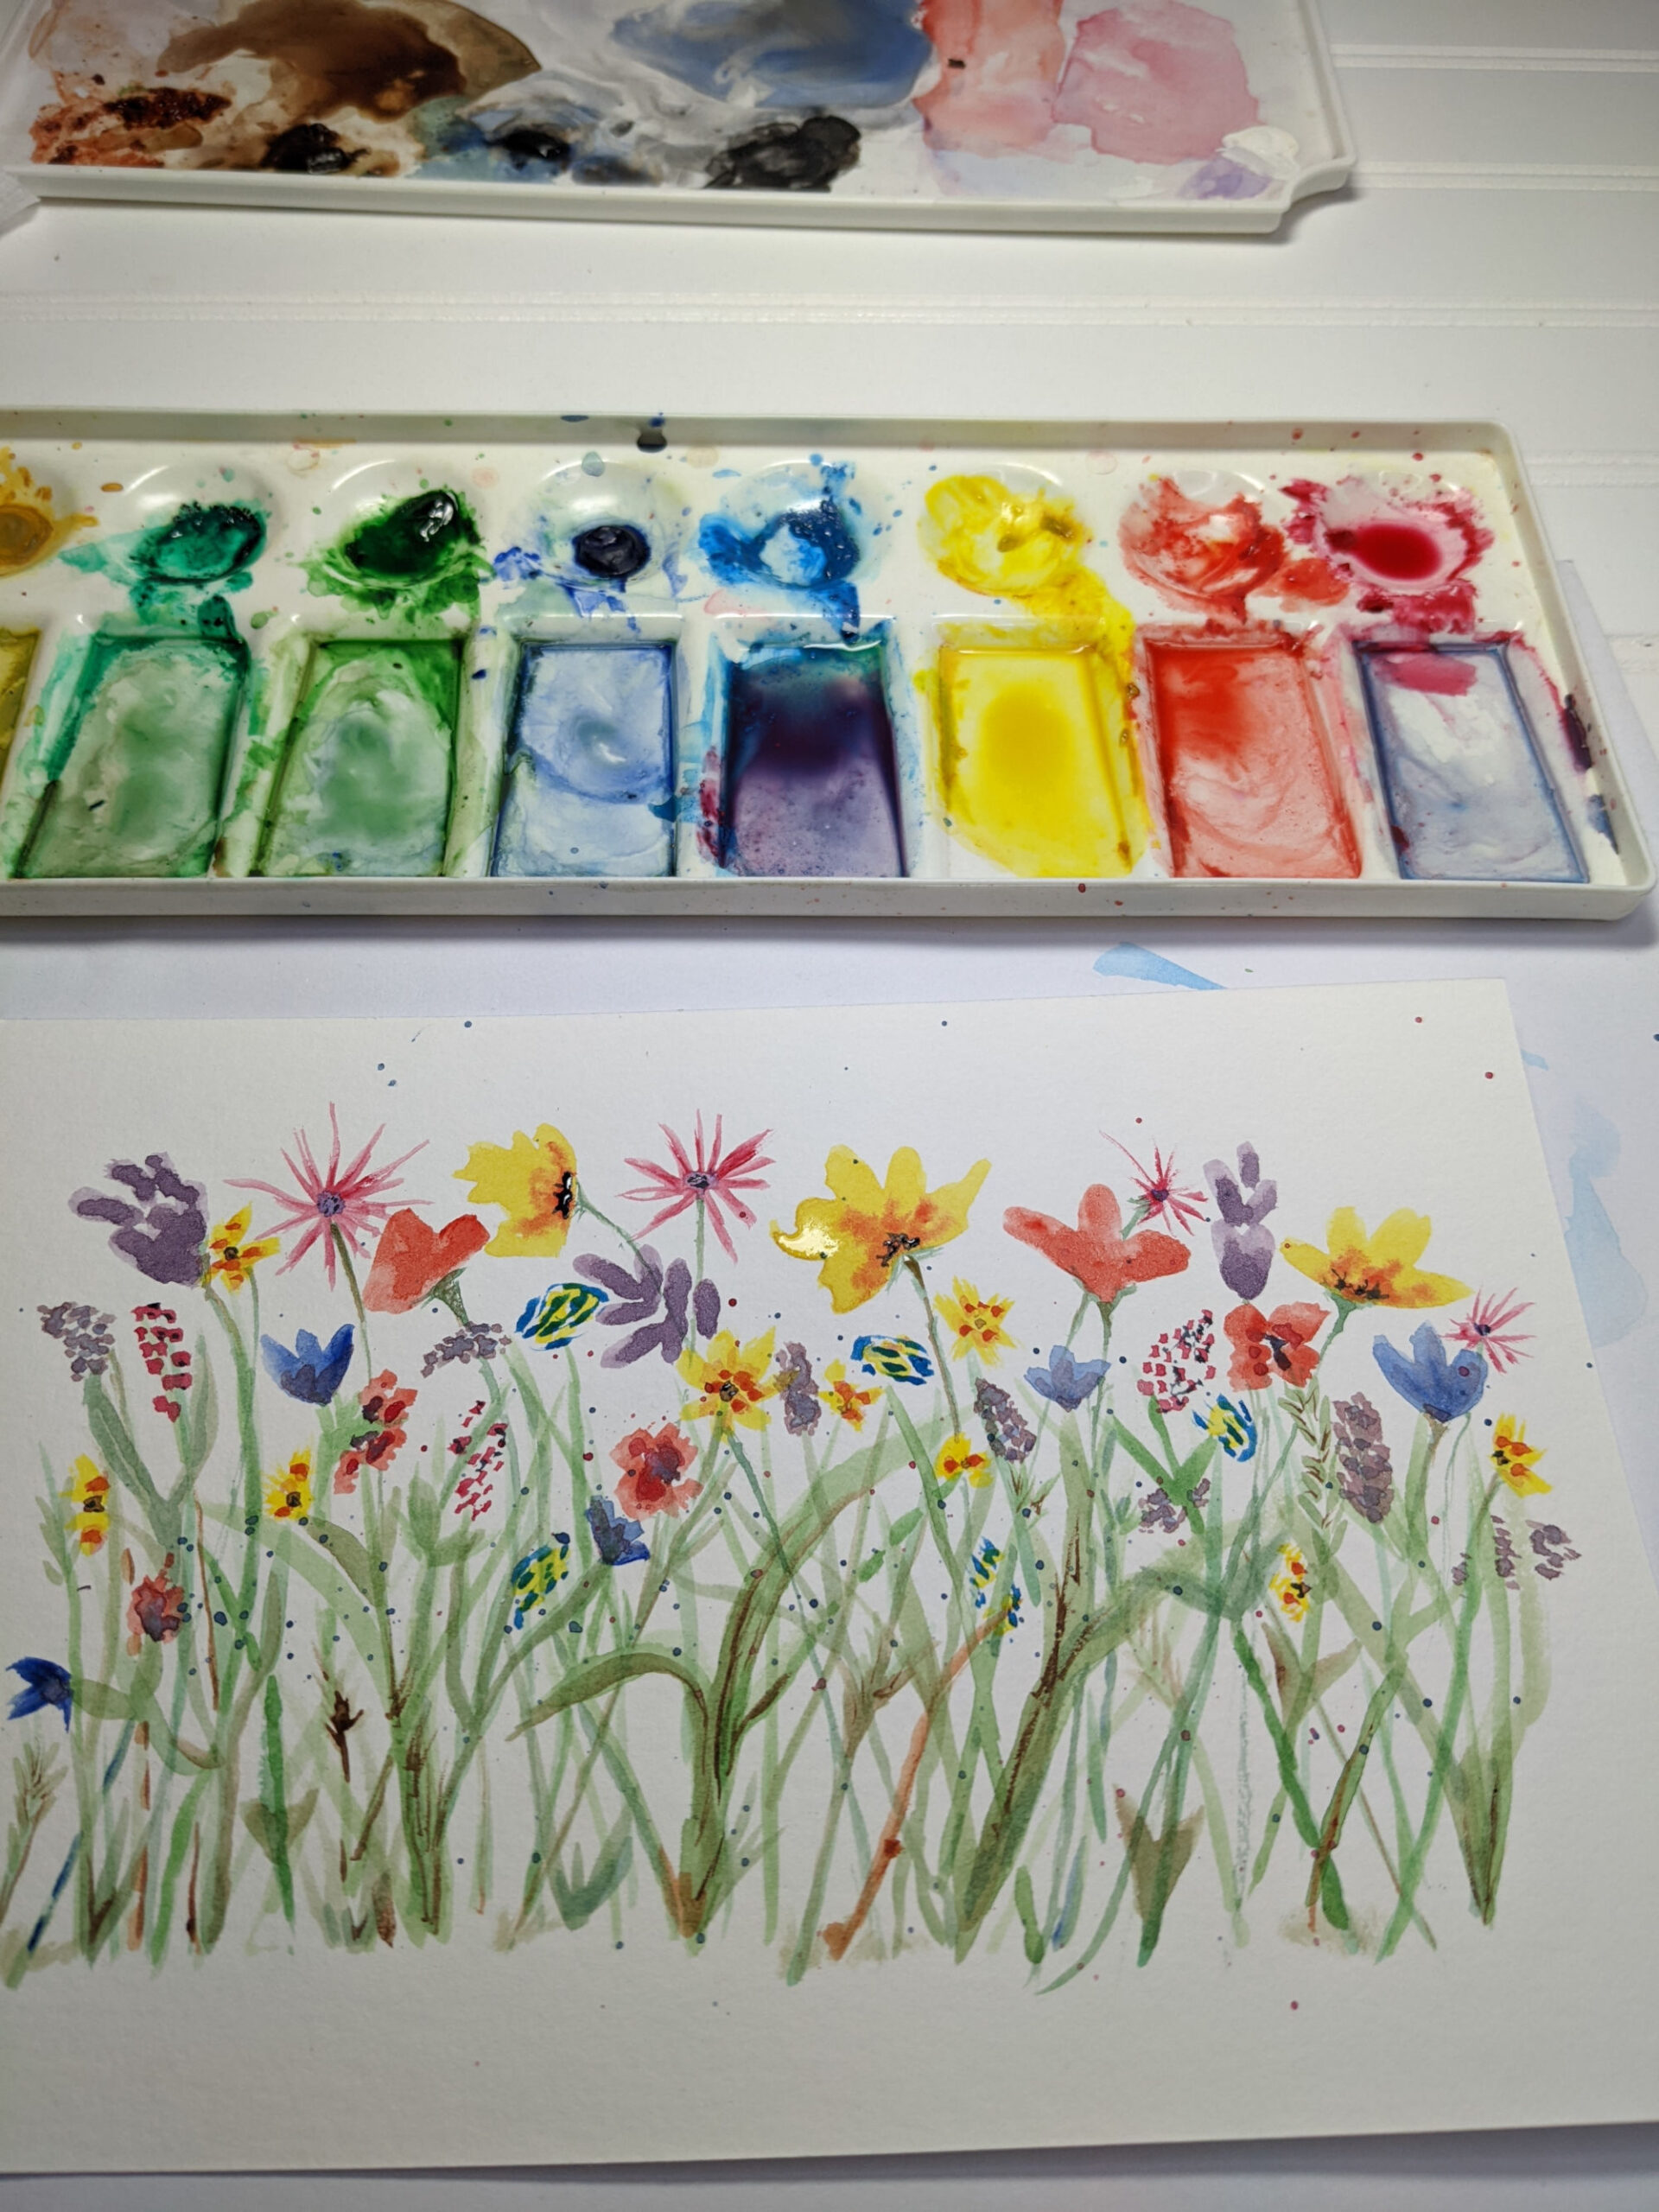
Adding geometric shapes to your abstract flower design.
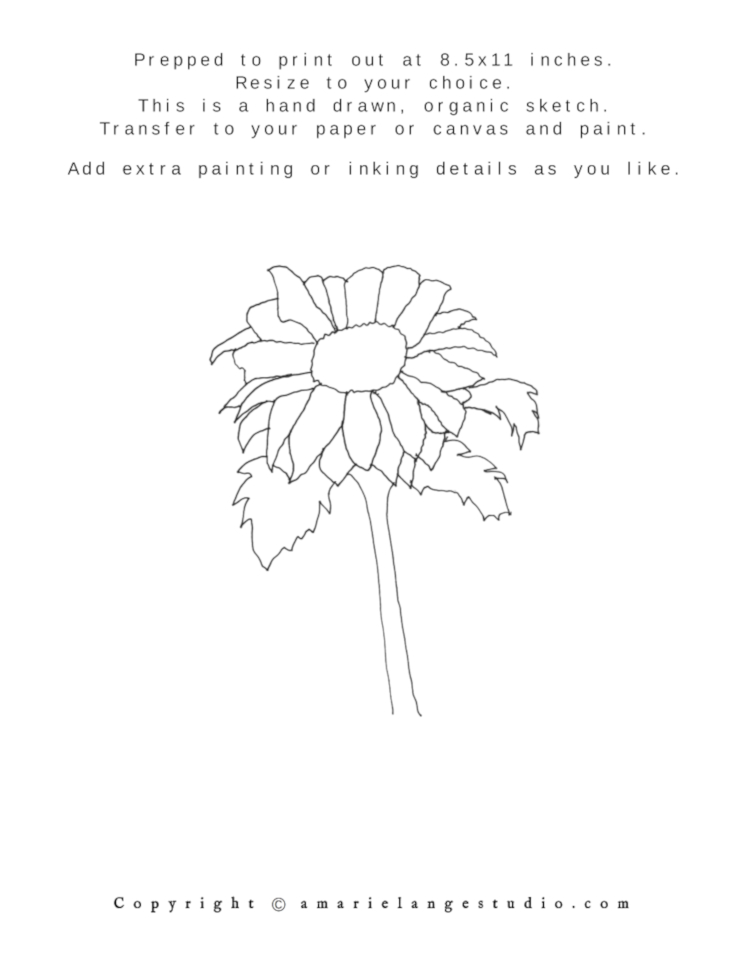
Here’s a great example of using soft colors as abstract shapes over a simple flower sketch traced with waterproof ink.
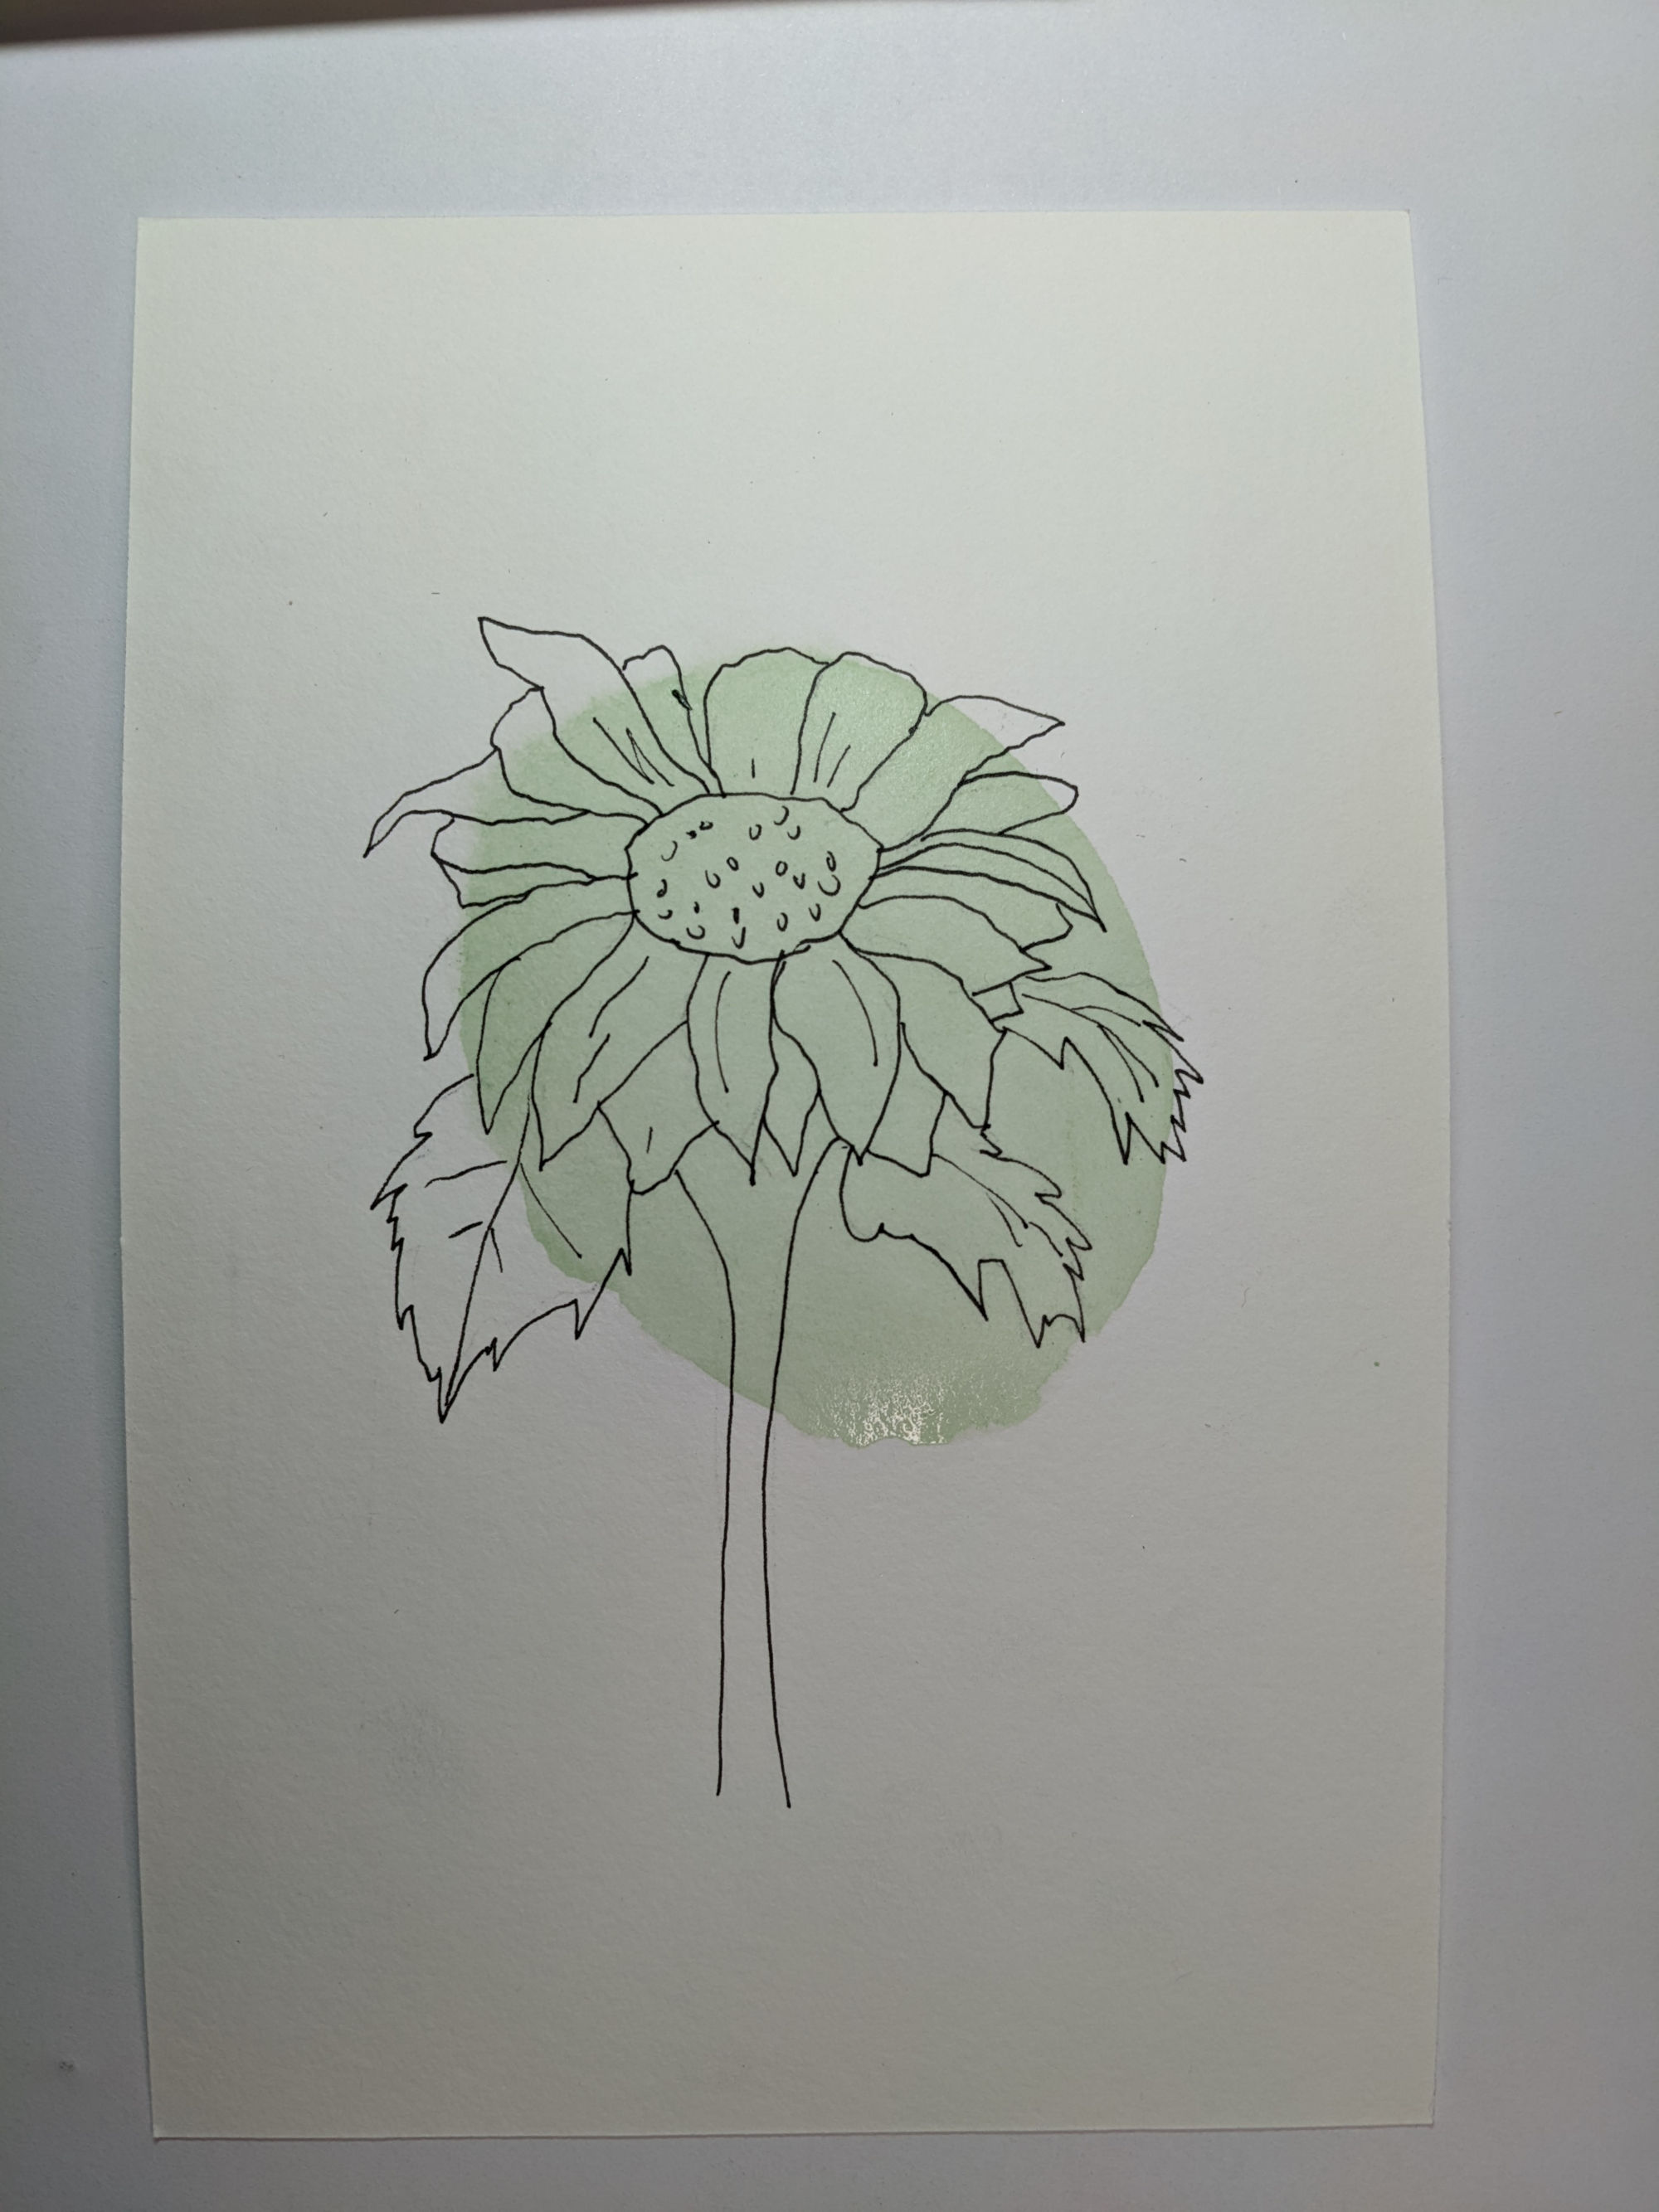
Simply ink in your pencil tracing (be sure and use waterproof ink if you’re going to use watercolors over it), let it dry thoroughly, and add the shapes you like. You can adjust the shapes themselves, colors you use, vibrancy and transparency.
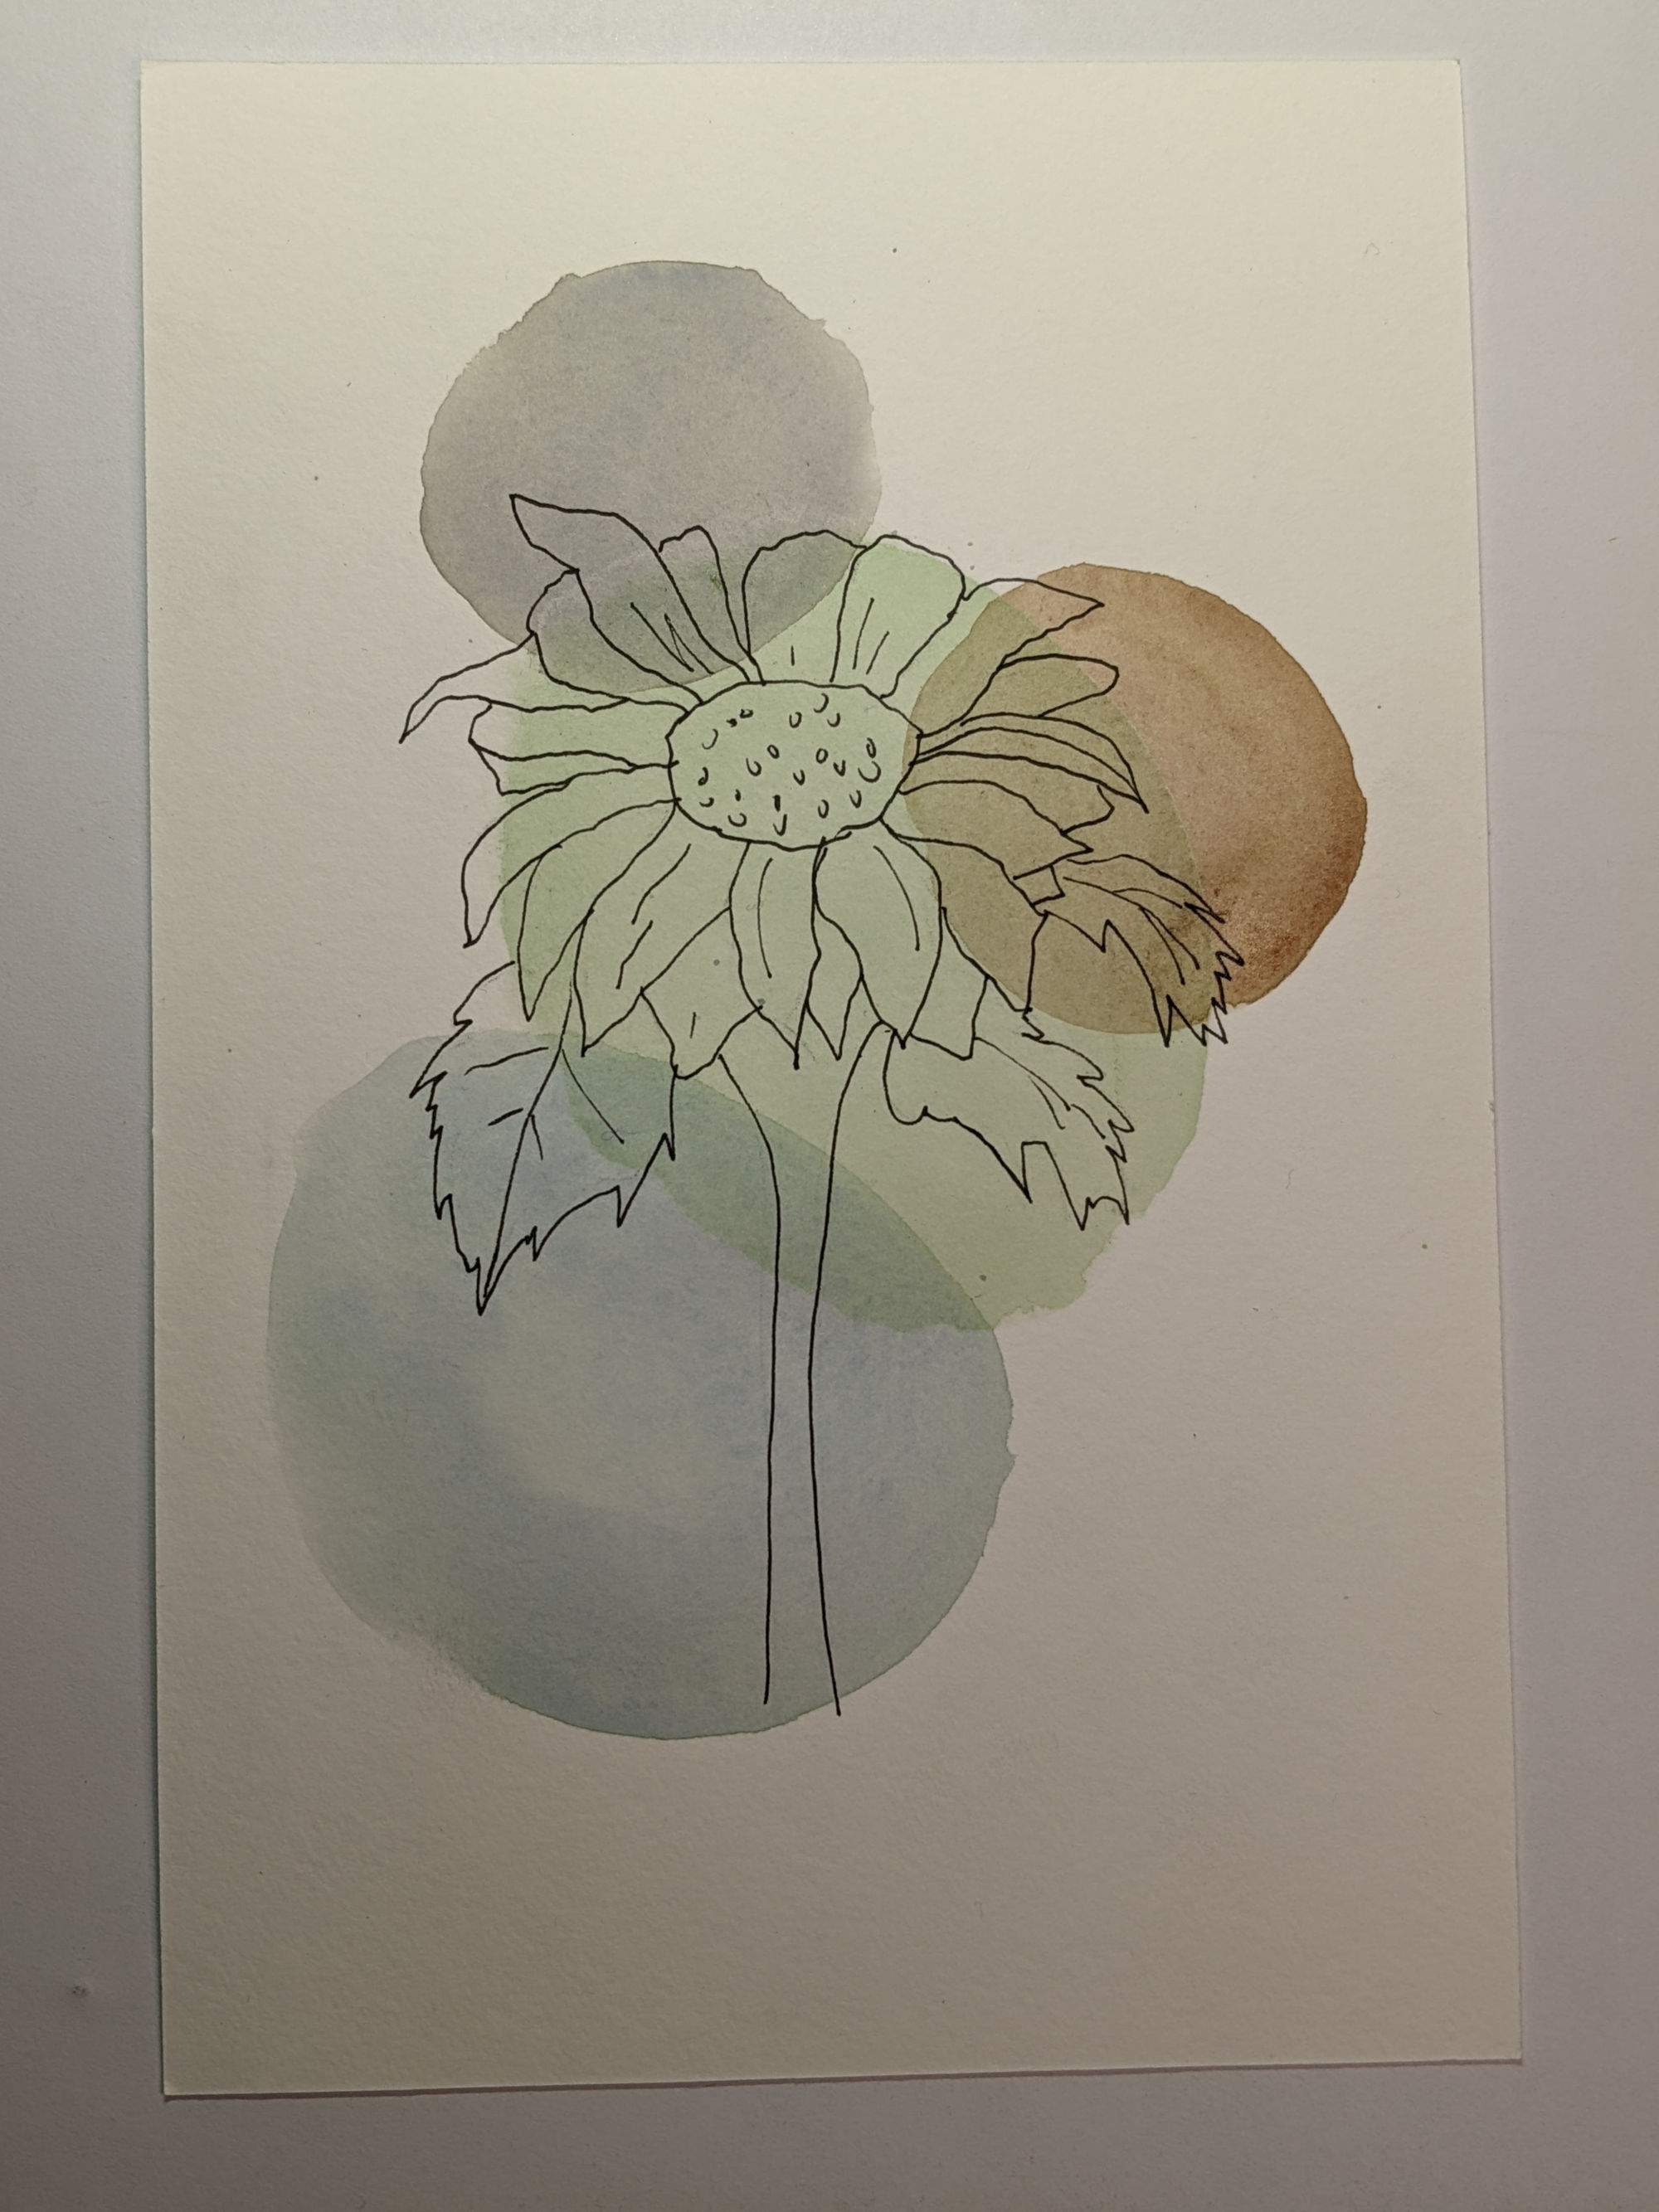
Very clean, modern and minimal. Yet still…floral!
This is something a beginner watercolorist can do quite easily.
(Another helpful hint: I encourage you to play with abstract shapes like these. The more you paint, your hand will get the idea plus you’re learning invaluable lessons about watercolor which can serve you better than outside instruction alone.)
Take the next step with watercolor flowers
This loose, closeup of an abstract flower, is quite straightforward to do with watercolors.
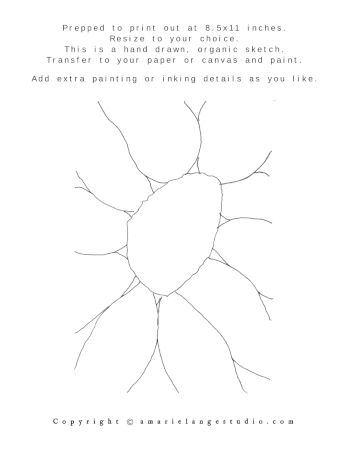
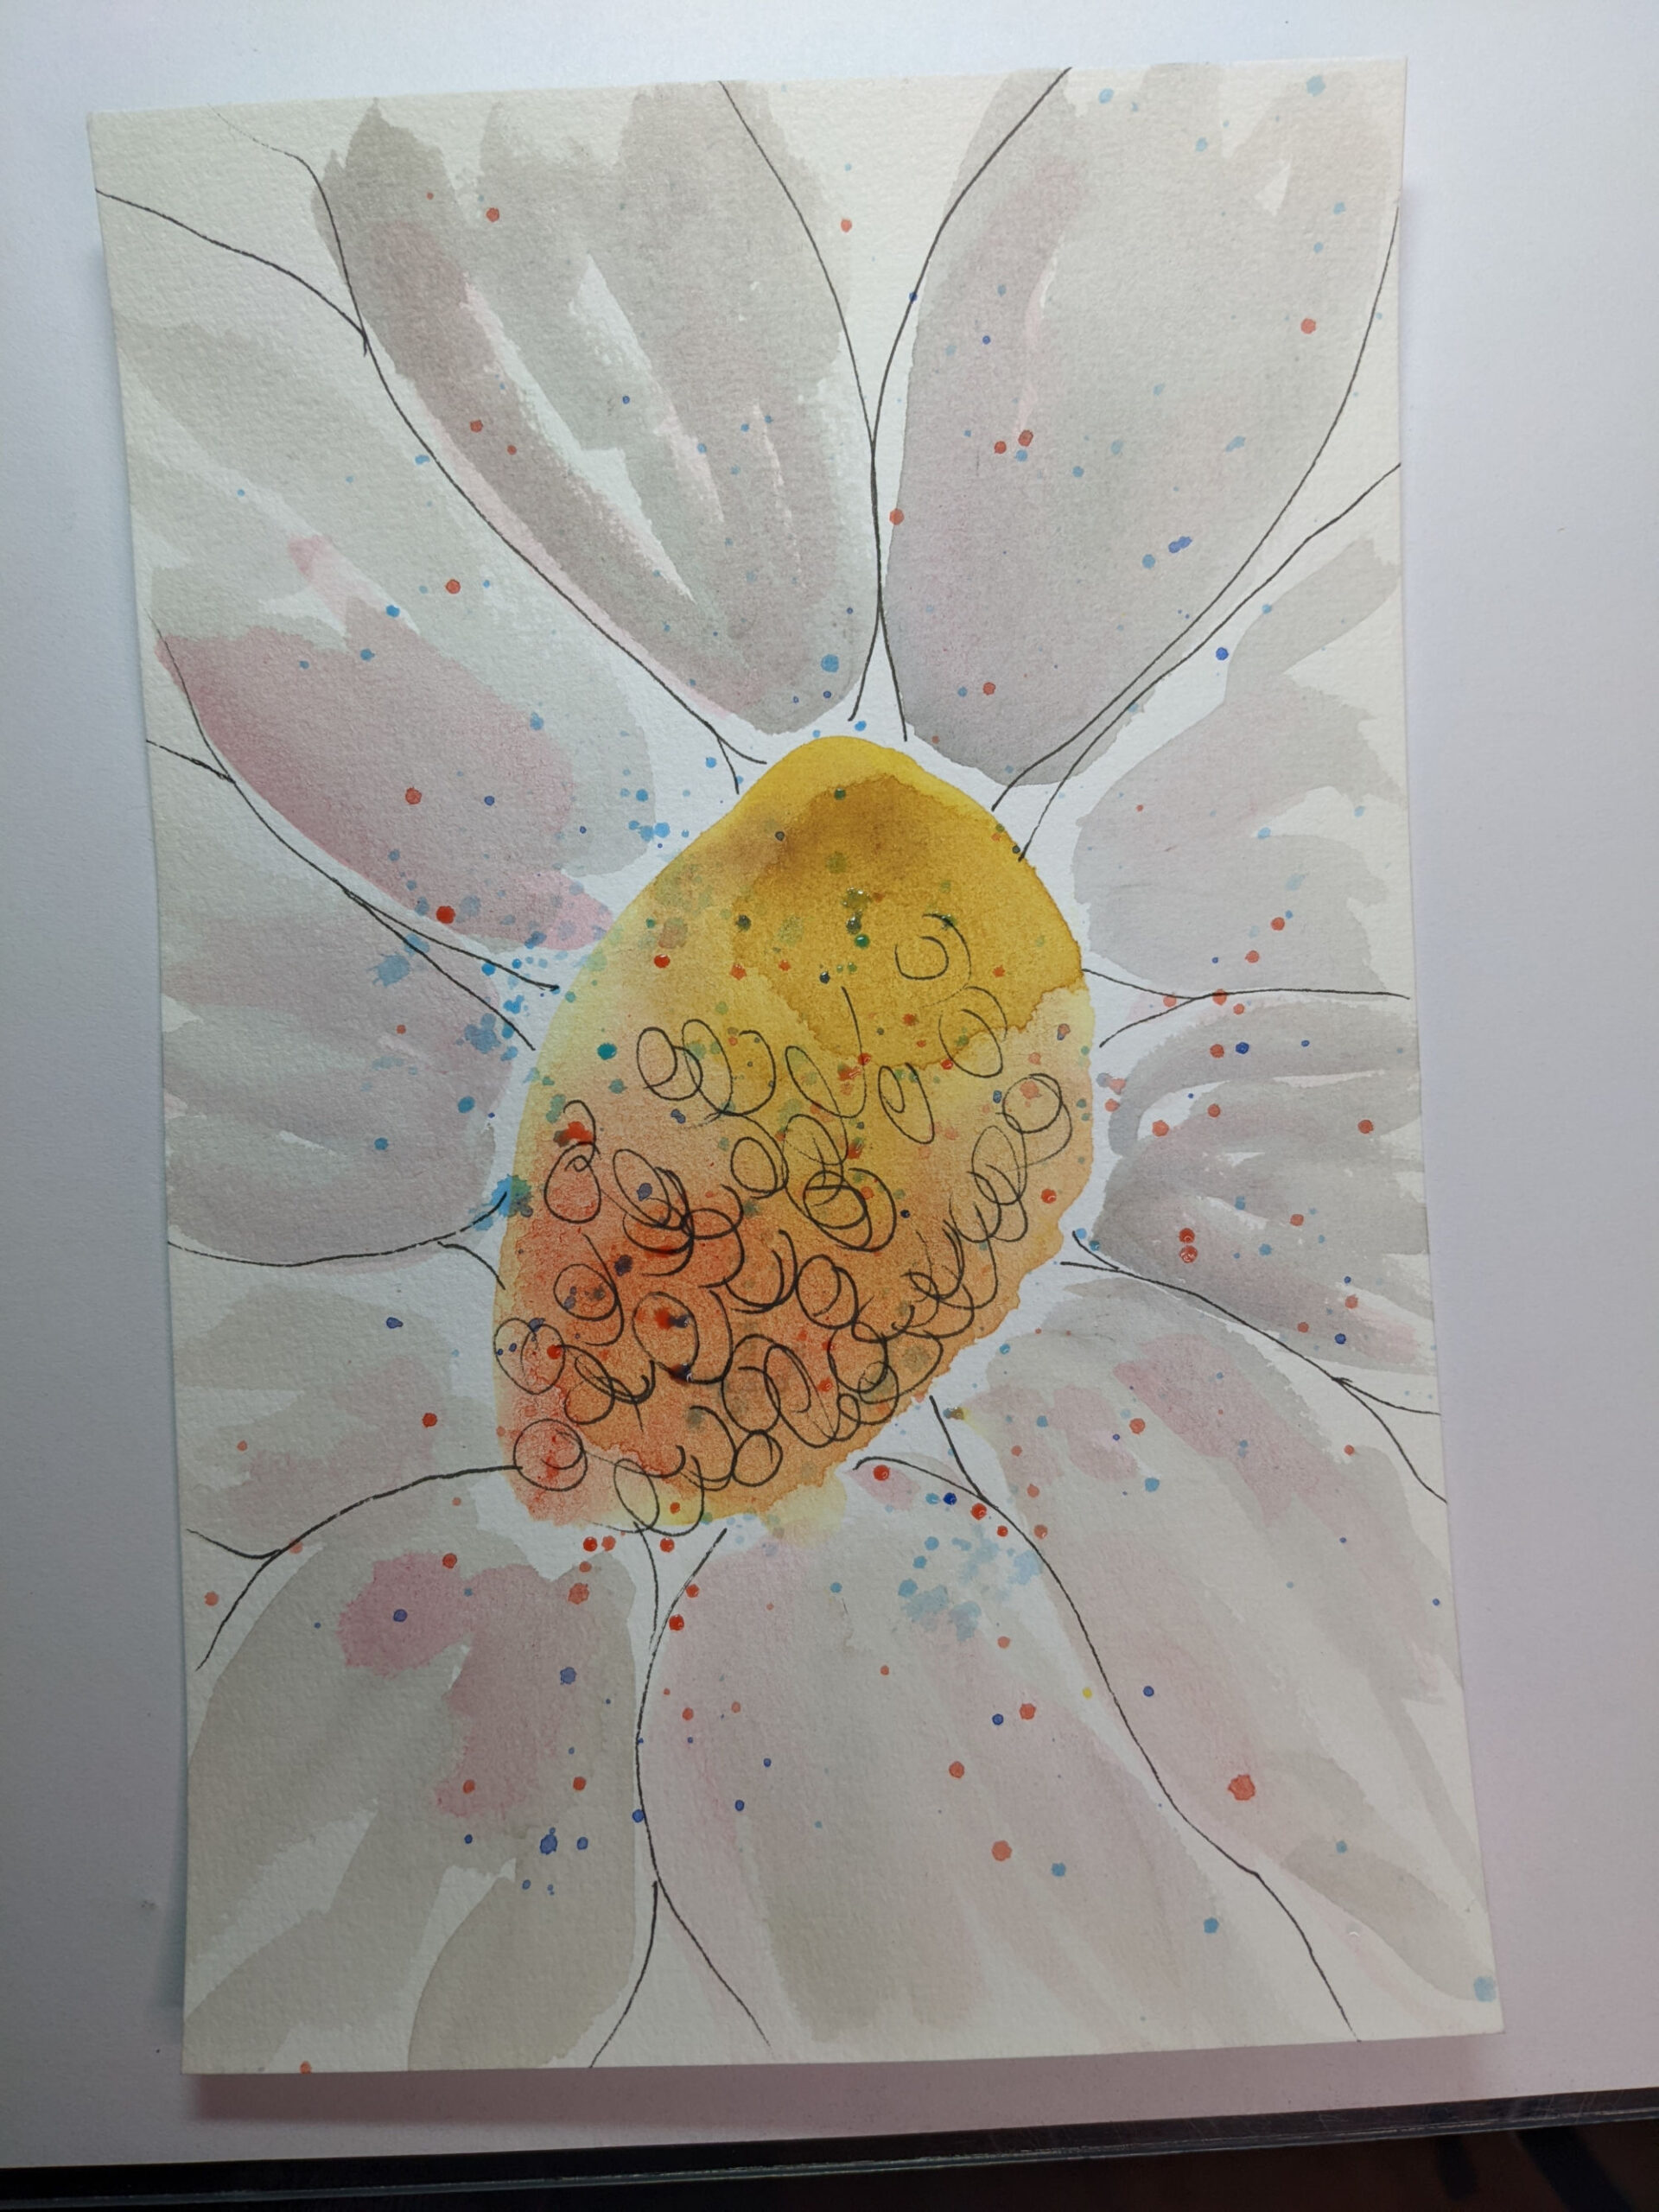
Draw a loose center on your paper. Then lightly sketch in some conceptual petals.
No details! Sometimes it’s hard to remember that part when doing abstract painting!
Paint a wash of the center background color. I chose a bright yellow.
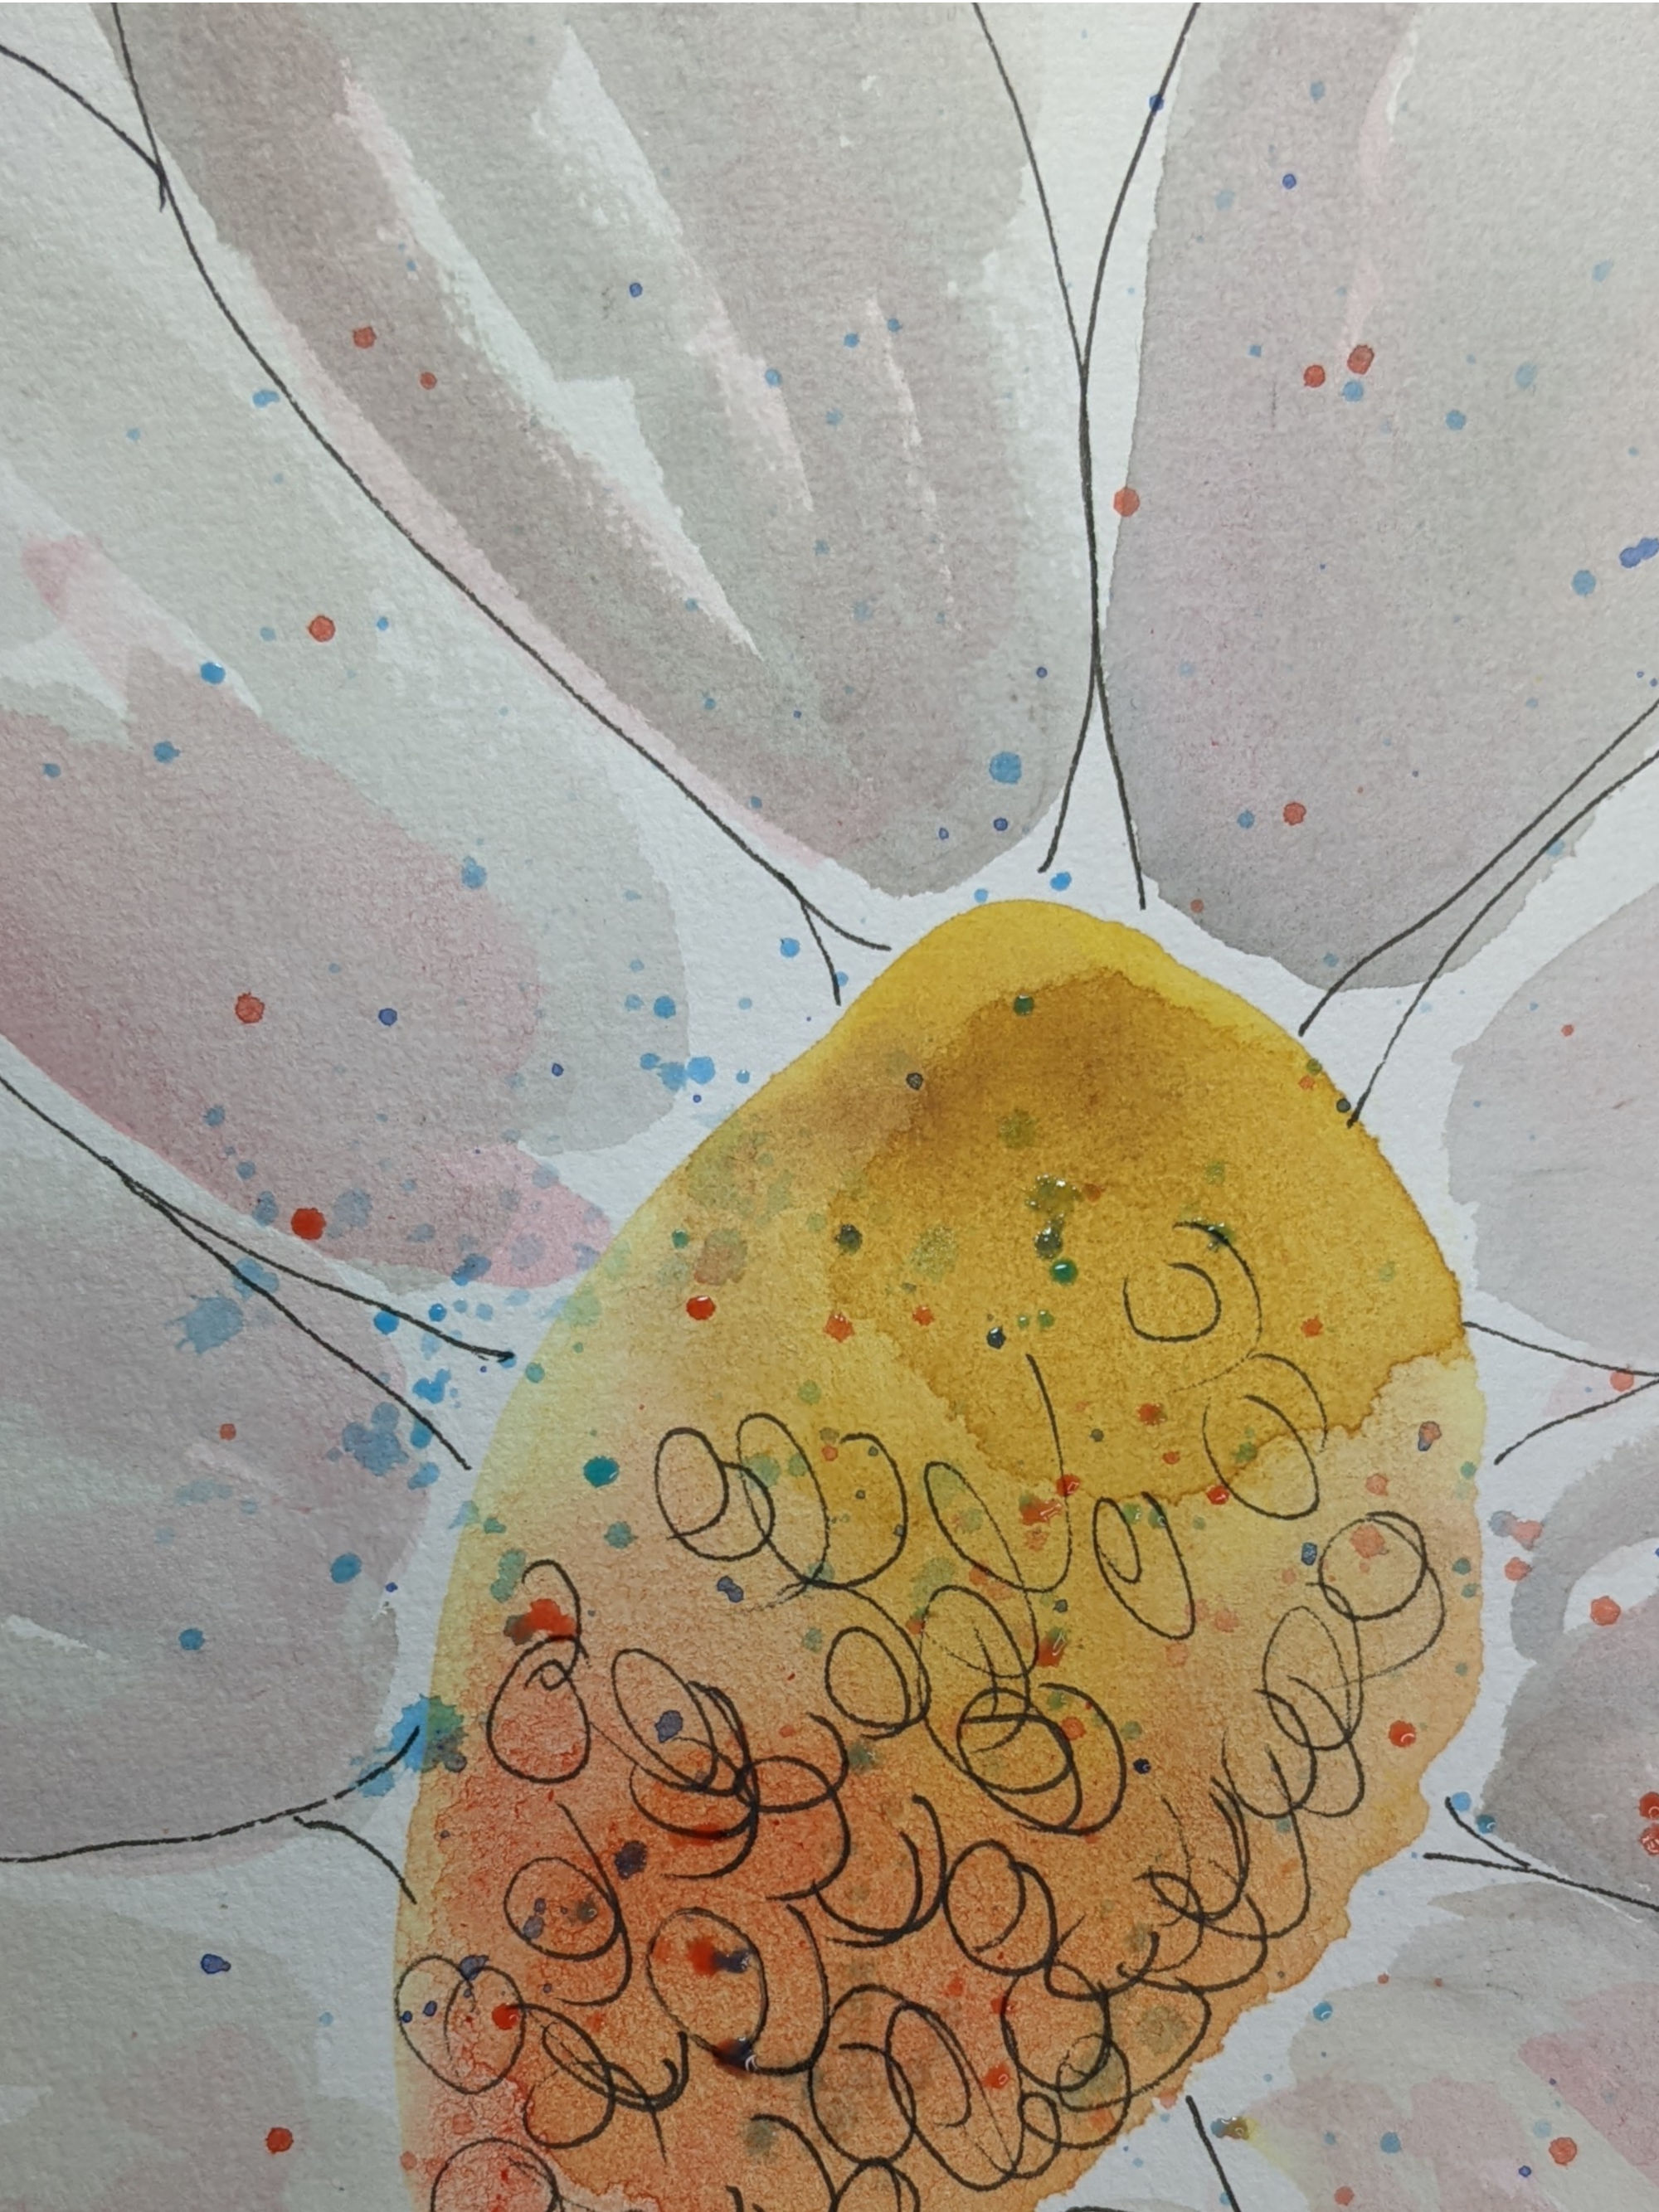
Since my daisy is mostly white, I added a pink and gray wash to the petal to add those soft shadows.
Once the center yellow wash was dry, I added some orange, then went redder, letting each layer dry in between.
Adding some paint splatters really adds a fun look
Lastly I added waterproof ink for a hint of details. Just a hint! That helps give the painting depth even when there is so little to the painting.
Definitely another minimalist look and great to use as wall art.
A different use of abstraction in watercolor floral art
How do you watercolor an abstract flower? We’ve been attempting to answer that question in different ways throughout this post. Here is a totally different way.

This is a mix of an abstract watercolor flower and illustration.
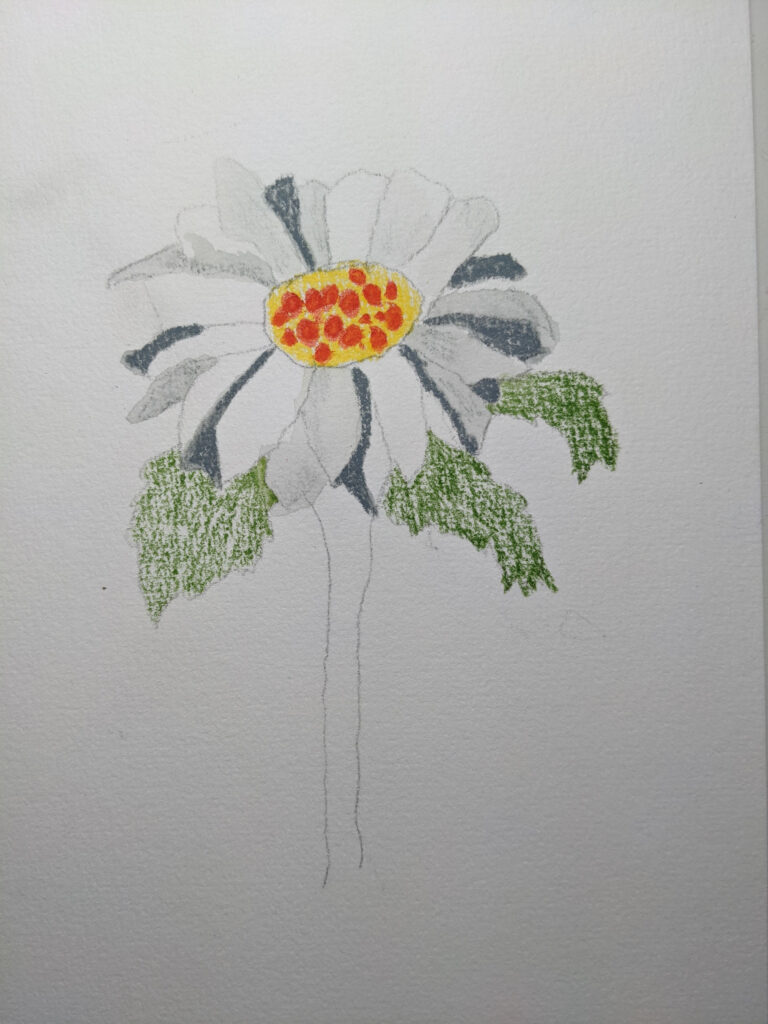
Again sketch out the same flower (I used the same flower drawing for 2 of these paintings so you could compare different abstract painting techniques easily).
With this technique, you can paint first and ink last, ink first and paint last, OR, as I did on this painting, use watercolor pencils to literally fill in the sketch and then carefully brush out with water. I inked last.
Make sure you choose a waterproof ink, especially if you plan to paint over the ink.
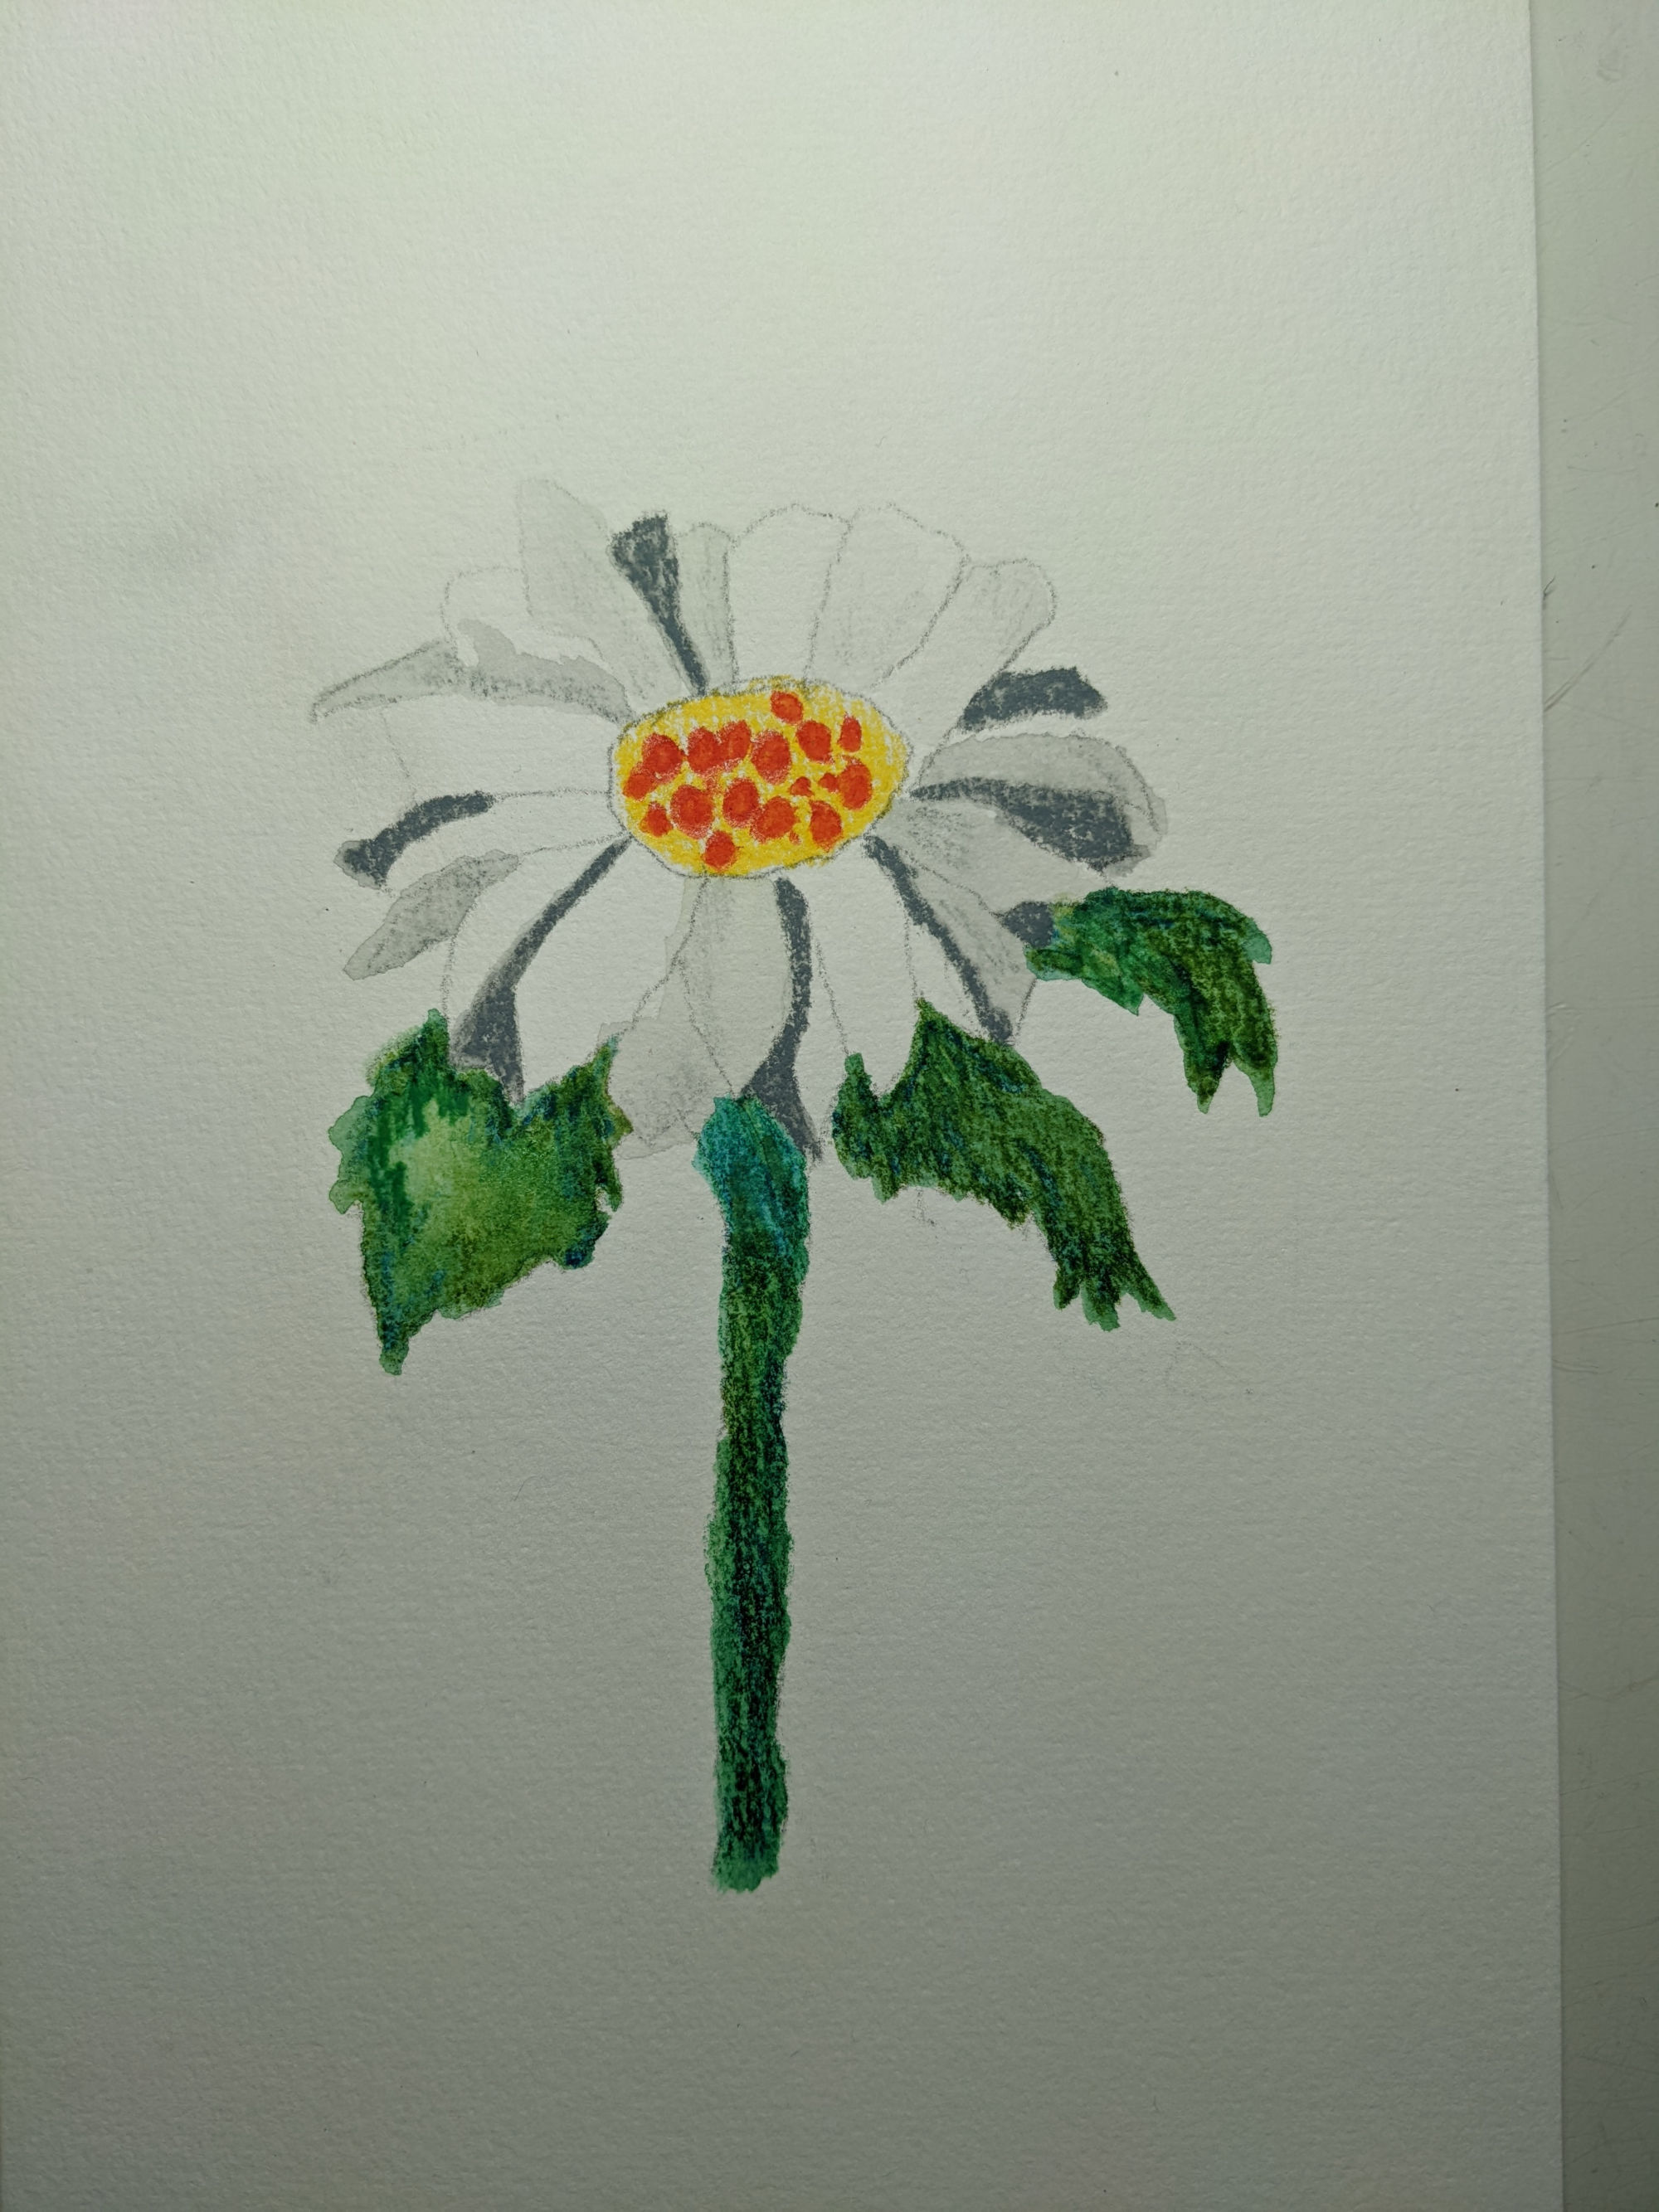
You will notice there is far more detail in this abstract flower painting. Some folks don’t even think this is abstract art…but others do.
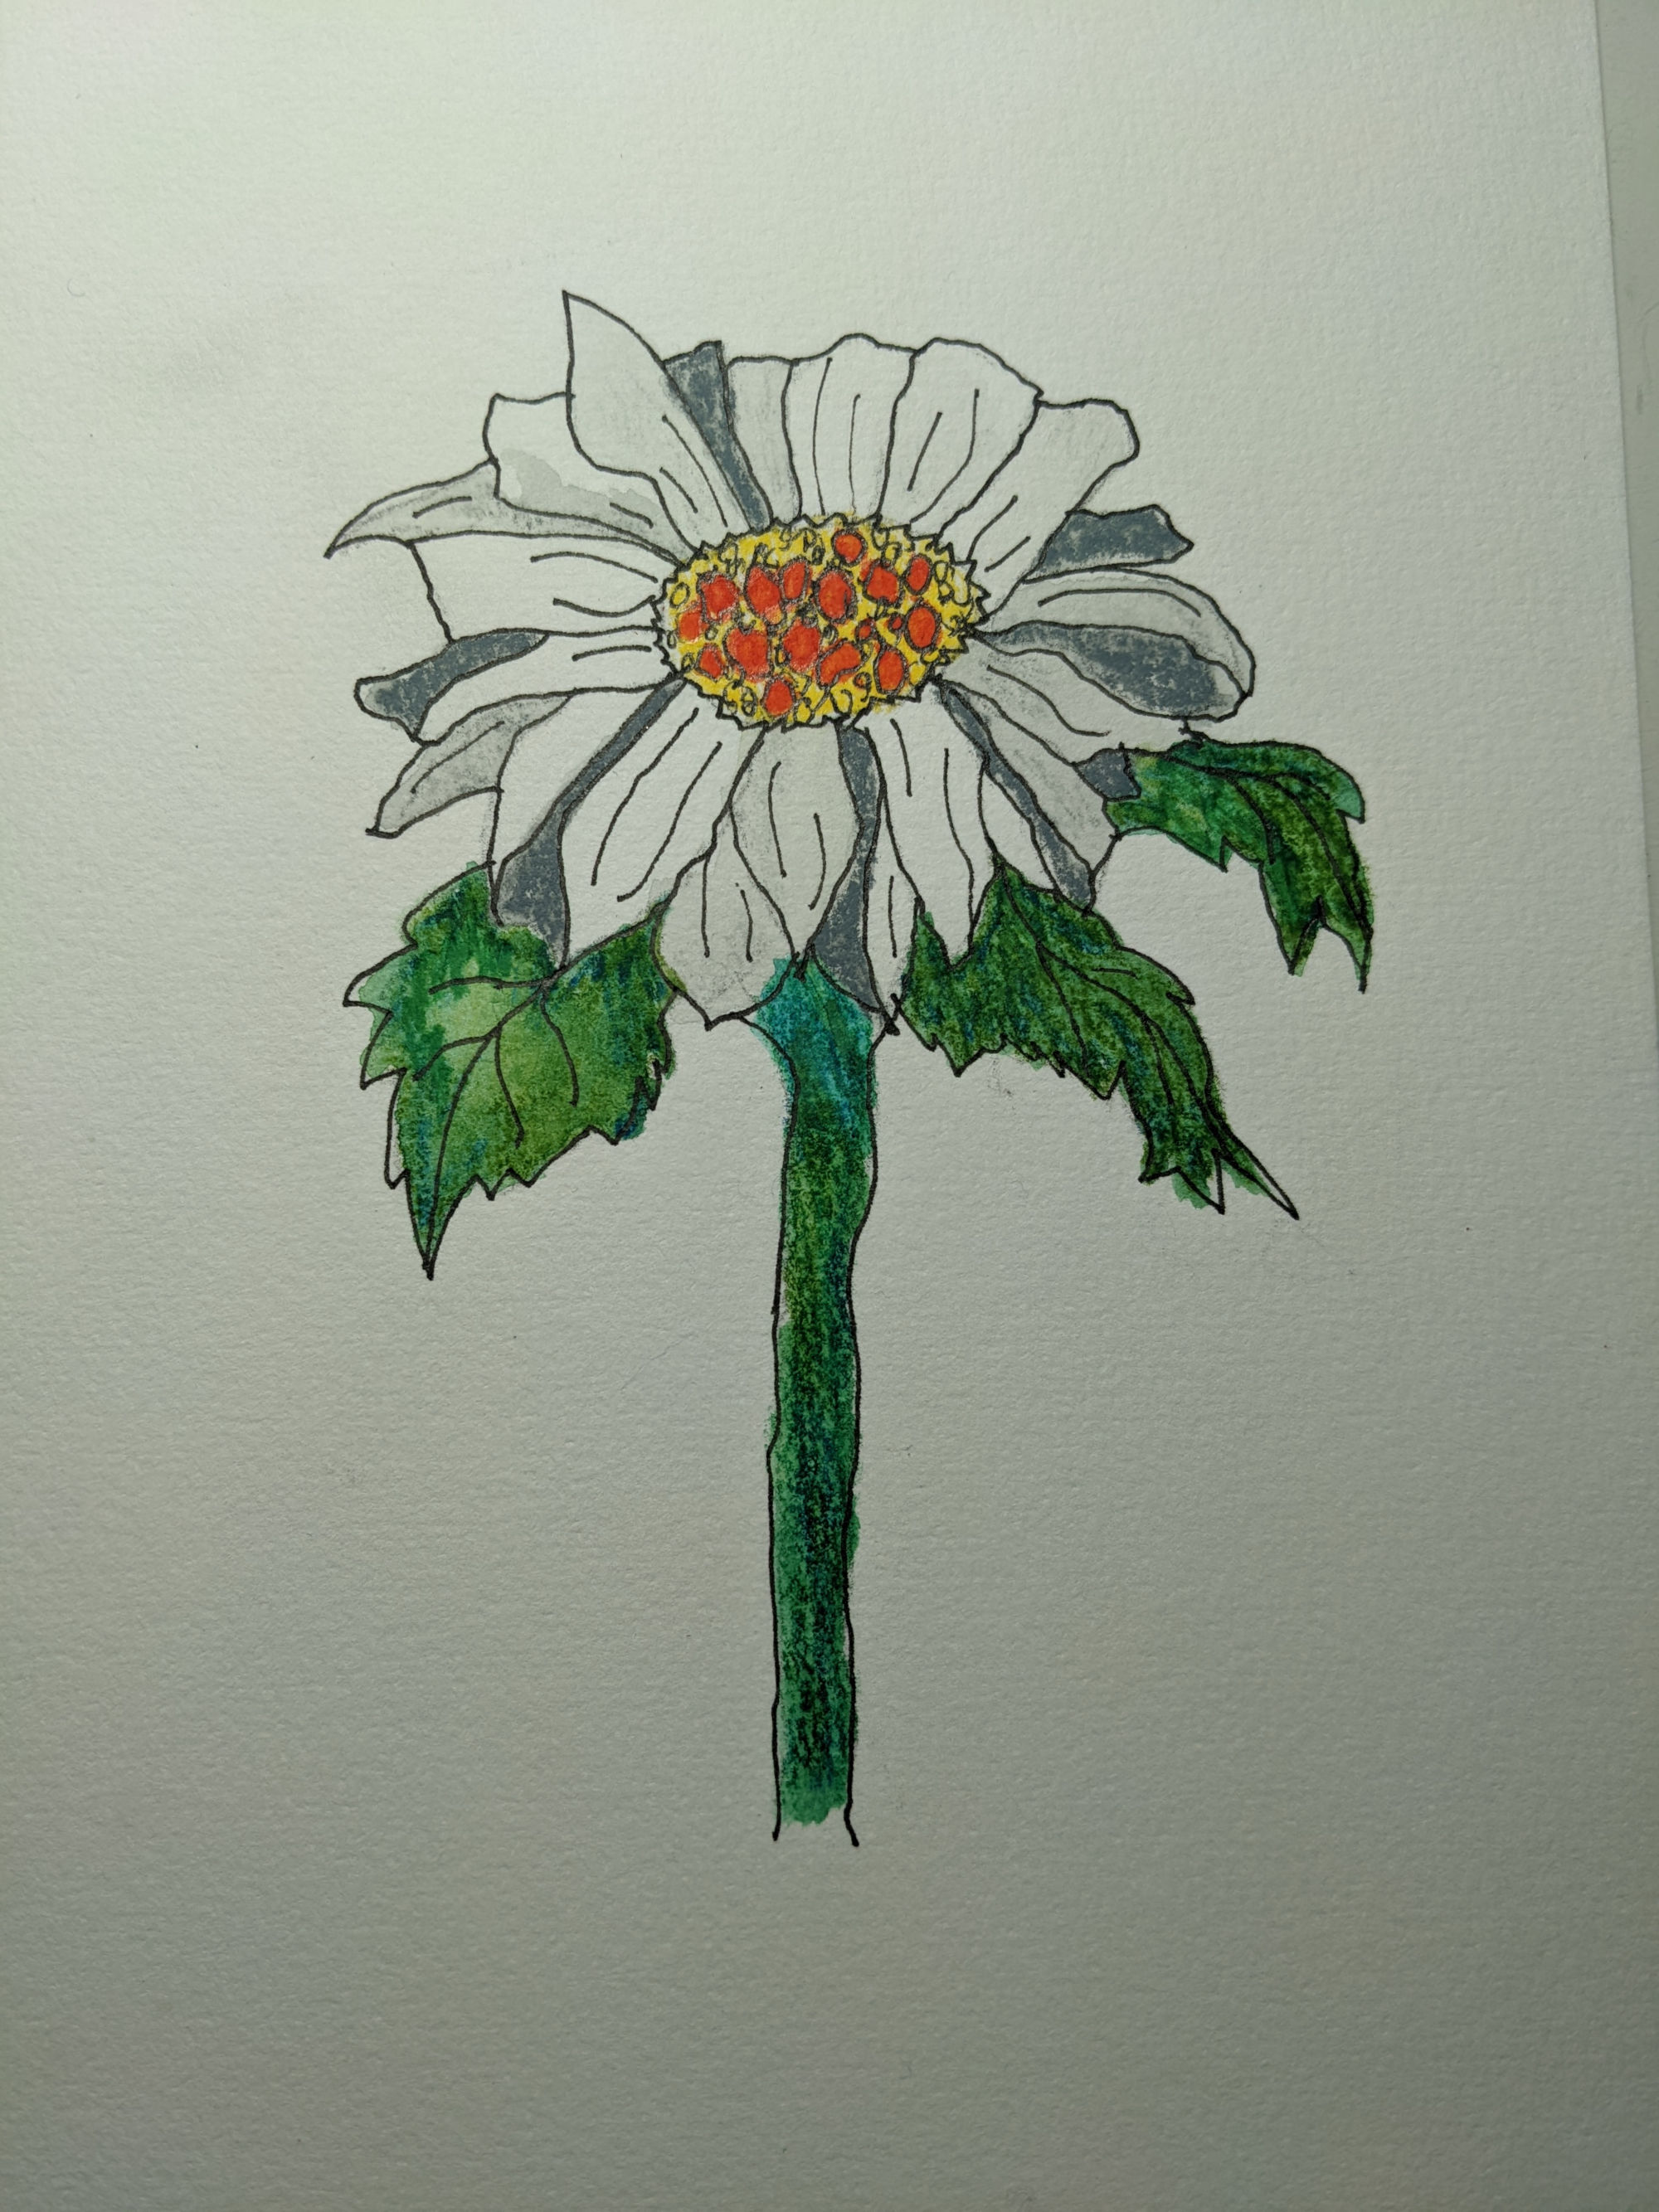
It has a level of abstraction and is not showing a deep level of realism in the flower.
Totally up to you what you think.
Personally, I like the combination of illustration with abstraction.
Gives a different vibe to the work and is fun to create.
We’ve covered a lot of abstract floral watercolor painting
This post is for beginners and I hope it has given you something to work with. I included a lot of detailed step by step information, but I also left some steps out so you could think through for yourself what the next step might be.
That’s how we all learn and I’m hoping you can say you learned something new after studying these simple techniques.
As you learn to create original artwork, your skills will grow by leaps and bounds if you keep checking out different tutorials and then practicing what you see in those lessons.
Personally I keep watching other artists all the time. There’s always something new to learn and understand.
I’ll point you to other watercolor tutorials on this site. How to Draw a Watercolor Apple and Drawing Pink Vintage Trucks.
You can do this! Just keep learning and growing, just like the flowers we’ve been painting.
