What if you could make your own DIY Watercolor words art for the holidays in an hour or 2? Would you give it a try?
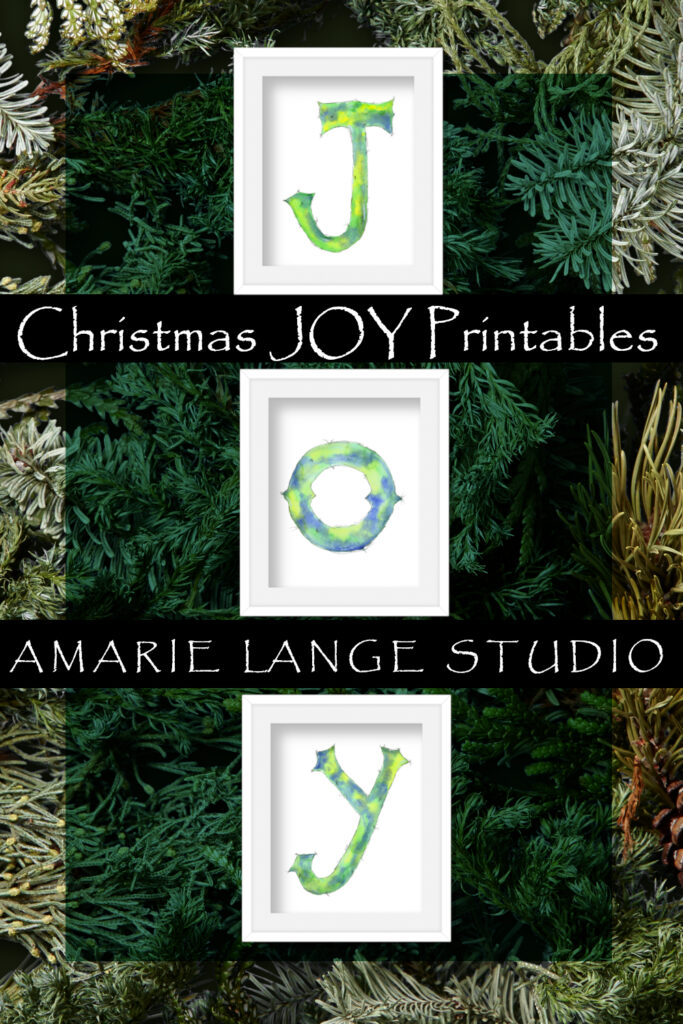
(make graphic of JOY letters and line art, make it a pin)
It’s easier than you think and I’ll show you how below.
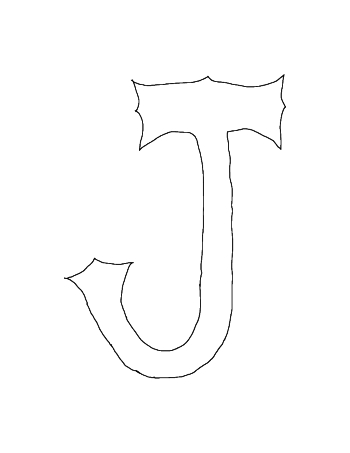
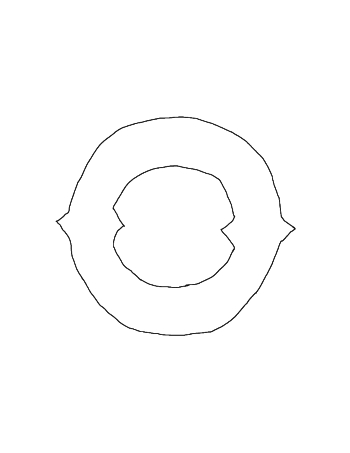
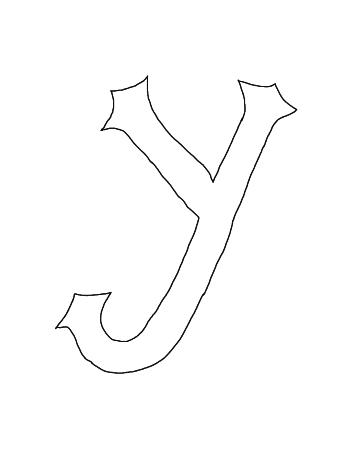
- Grab your free printables for the outlined J-O-Y
- Using your printables, make your own letters
- Decide on your watercolors
- Apply water – then paint
- Let dry and ink
- Enjoy!
(Could you use a printable Christmas Bucket List? Grab mine and have a blast planning your Christmas creative ideas list!)
Grab your free printables for J-O-Y
I designed these beautiful watercolor letters for you to enjoy using in your home. If you want to see the full-sized, high resolution premium printables, you can find them conveniently bundled in my Etsy shop.
But maybe you want to make them yourselves! I get that.
Download the above line art printables and print on standard copy paper, (8.5×11). If you want to resize them, now’s the time.
Using your printables, make your own letters
Transfer these letters onto your desired canvas. You can…
- -trace the letters using tracing paper (be gentle; you only need a light transfer and the transfer ink will not remove.)
- -rub the back of the copy paper (over the lettering) with pencil. Put the paper, pencil rubbings down onto your desired watercolor paper. Then firmly trace over the letters. Erase smudges after you finish tracing.
- -hold the line art up to a sunny window with your chosen watercolor paper on top. Tape in place and trace.
- -use a light table instead of a sunny window
- -or use another tracing method of your choice. There are lots of ways to do this!
Once your letters are on your watercolor paper, you’re ready for the next step!
Decide on your watercolors
Do you want to use Christmas colors as I did? Or would you rather use colors that match your holiday decor perfectly? It’s all up to you!
Take a scrap of watercolor paper and your watercolors and play for a few minutes. Find the right color combo for you.
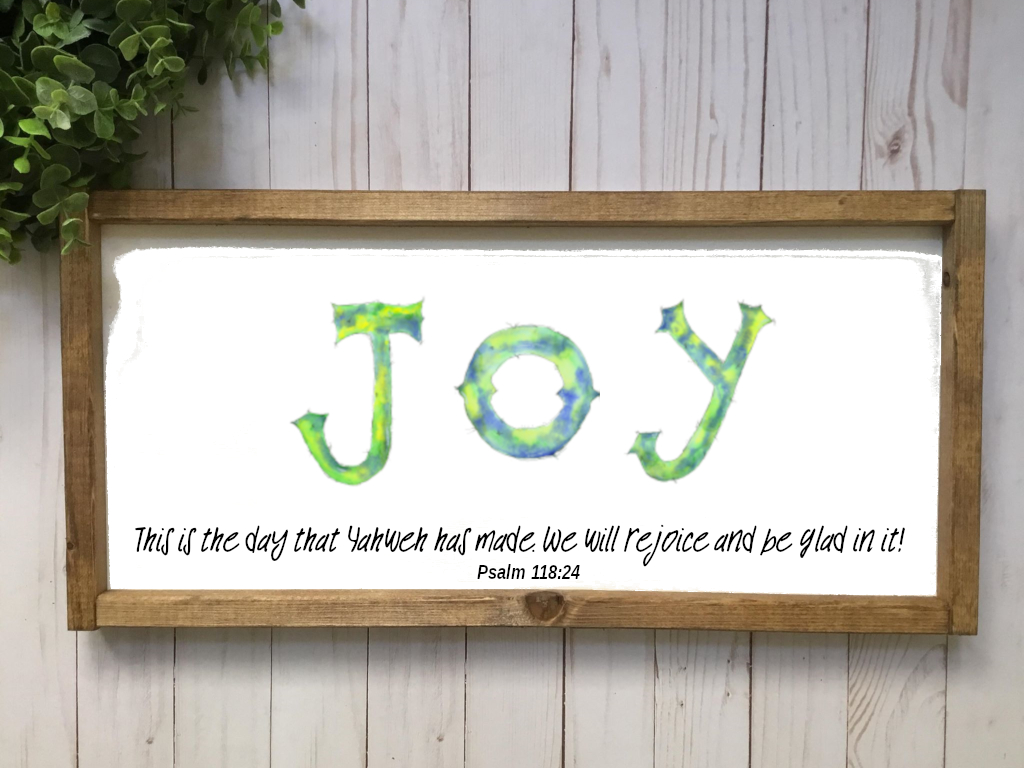
I’m going to show you using Christmas greens and blues.
Apply water – then paint
You can certainly apply an artist’s rubber masking fluid around the lettering at this point to keep your paint inside. I don’t do that because you are literally coloring in the lines and it’s pretty simple to do.
Take your time. You may apply your watercolor however you like; there are a lot of watercolor techniques.
I will show you how I did mine.
I use a watercolor technique for this project called wet-on-wet. The idea is to keep working color into the pre-moistened areas of paper for maximum blending.
Paint just inside the pencil tracing with a layer of clean water. Start at one end of the letter and go only a few inches. Then add your watercolor into that layer of water.
Add another bit of color on the side of that color. Watch the watercolors do their magic!
Work your way throughout the entire letter, laying down clean water first inside the tracing lines and following up with the watercolours you desire.
Keep working section by section and don’t let the colors or paper dry as you move along. That will keep your colors blending nicely.
DIY hint: the watercolors will only want to flow wherever you laid down the clean water. So if you want the color only inside the tracing lines, only lay water down inside the lines!
You can lay down one layer of color and stop. Or you can let your lettering dry and lay down more translucent watercolor in additional layers. Totally up to you.
Let dry and ink
Once your watercolor letters are completely dry, you can use a fine-point marker or ink to subtly or boldly go over your letters to make them pop.
I add a small amount of ink around my artwork. Again, practice on a scrap of watercolor paper to decide how thick you want your ink lines and what effect you want. The ink is generally permanent so there’s no erasing with this step.
I also add some inking embellishments. Add whatever you like to customize your beautiful watercolor letters!
Enjoy!
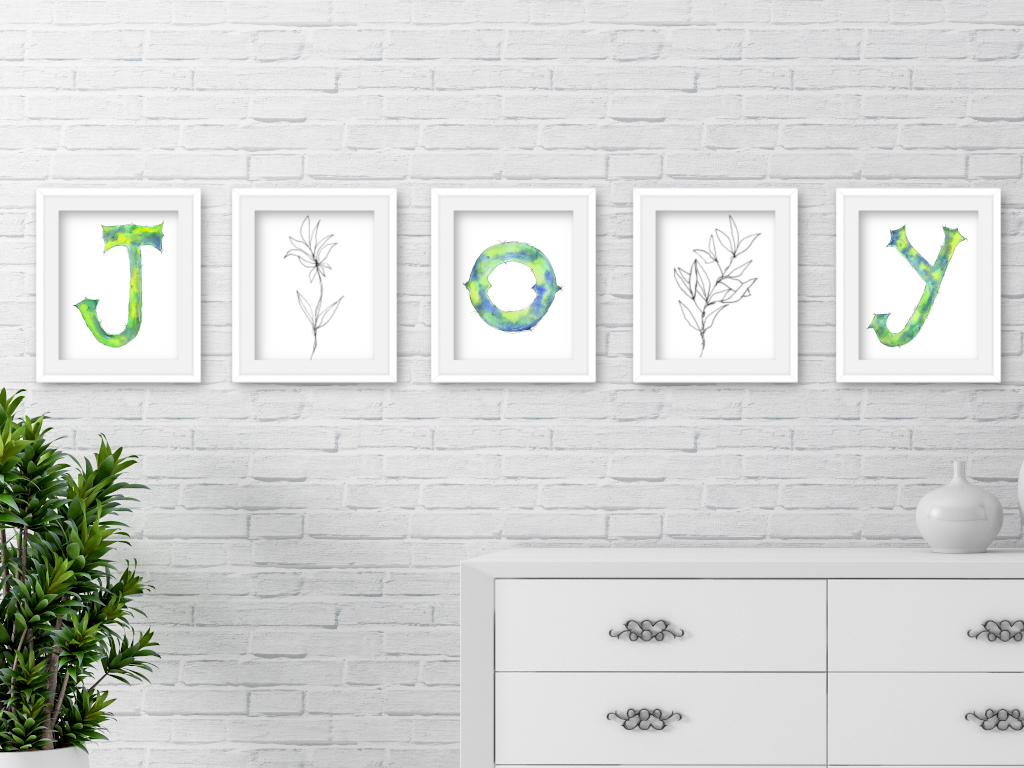
There are so many ways to enjoy these simple but gorgeous watercolor letters.