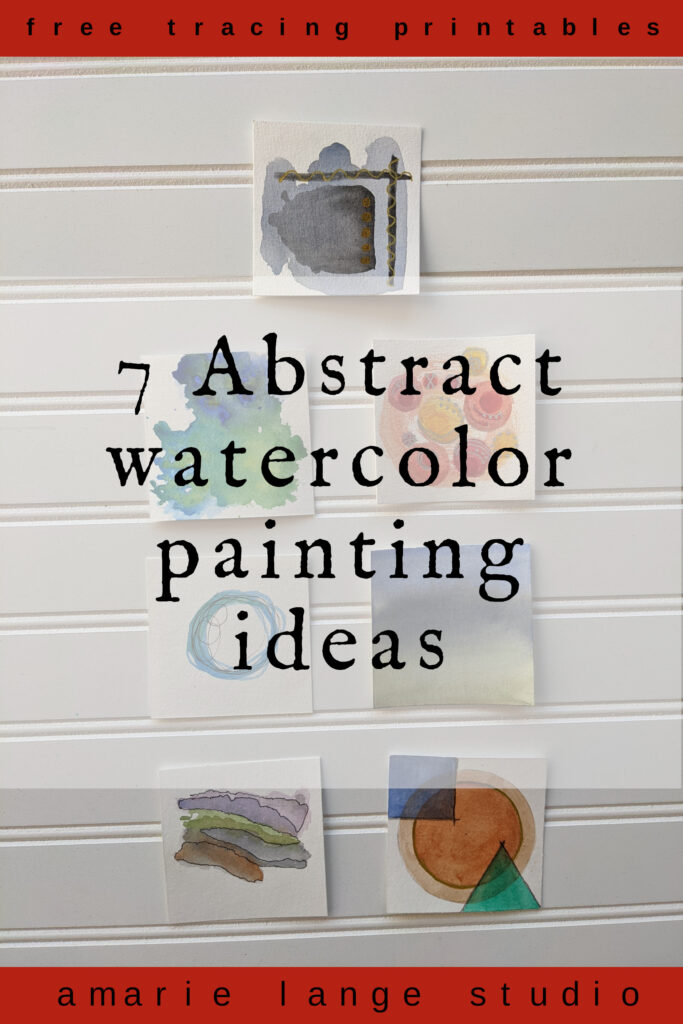
Simple abstract watercolor painting ideas can seem anything but easy when you’re a beginner watercolor painter.
However, I want to encourage you today. You CAN create a beautiful abstract painting using watercolor paints. The best way to do this is to create a good starting point by employing a watercolor wet technique. More on that later.
Let’s go through 7 beginner ideas showing how an abstract painting style can be slightly different for each.
I suggest you read through this entire tutorial first, then print out the helpful abstract art tracings and go through the post again, trying out one good idea at a time.
Also give yourself grace. Watercolor artists are mostly created through learned painting skills that include these basic steps. (I’m sure some artists were born but I haven’t met many!) Your end result (piece of art) will be more satisfying once you’ve practiced a few of these abstract watercolor techniques & gotten more comfortable with them.
Without further ado…
Extra help: how do you watercolor an abstract flower?
Here are the basic techniques we’re going to use today in simple steps.
- Watercolor tutorials come in all different varieties. I myself use different techniques to achieve different effects.
- In this post, however, to keep things simple and straight-forward for you, we’re going to look at the following step guide for these abstract watercolor projects.
- There are free printables of each piece of abstract art. You can print them out over and over again to practice as much as you want.
- After printing out the abstract art tracing, transfer the sketch to your watercolor paper. Your white paper doesn’t need to be expensive, but do make sure it’s actual watercolor paper.
- I like to use 140 lb gsm cold pressed watercolor paper, from a variety of brands.
- Keep the pencil sketch light, if you can. Once pencil is painted over with watercolors, it’s permanent and cannot be erased.
- While you’ll notice that I don’t usually use painter’s tape to immobilize my wet canvas, it is a great technique if you’re concerned about keeping your paper flat or are painting a full background and want a perfectly clean mat edge.
- Using a round or flat brush, your choice of size, use clean water to fill in the first sketched line of your abstract artwork.
- Immediately dip your brush into the color of your choice (be brave!) and touch back onto that wet surface. Do this in several places and watch the pigment bleed beautifully.
- A common problem at this stage is to overwork the paint. To keep that abstract feel, don’t try to even out the wet paint with your brush strokes. Add more color (the same pigment…or different colors if you want to do a blend with this wet technique) in a few areas to deepen the color.
- If you want distinct areas and no bleeding, move onto another penciled shape that’s not touching the one you just painted.
- Why? Because we need that first shape to dry thoroughly before painting a new shape touching it. Otherwise your wet colors will bleed together.
- Controlling the bleed of watercolours is the key to this wet technique. Practice will help but honestly, watercoloring is so beautiful, even the first time you paint! The wet-on-wet technique is such an excellent way to use watercolors to produce fresh ideas.
- Do not worry about painting a lot of details. That’s not the abstract art way. We want the suggestion of shapes, florals, landscape scenes, even communicating ideas and concepts. Less is more with such paintings.
- One important tip: keep refilling your clean water container. Using much water – plain water…clear water – will keep bright colors vibrant and not muddied.
- Once the artwork is dry, sit back and admire it. Remember, this is one art technique that doesn’t require painting within the lines, although using lines as a guide can be helpful.
- Let your work flow. Watercolor painting and abstract art can really bring a boost to mental health. Practice enough that you enjoy a rhythm when you paint.
- These easy great ideas can be just for practice or specifically used on a greeting card (think clip art) or scaled up for wall decor.
- Watercolor abstract art can also be used a backdrop and other items added on top. Think of painting green leaves or colorful flowers on top of an abstract background. Or digitizing your work and adding another white layer with additional artwork. This takes more planning but can certainly be accomplished.
- If you choose to use a paint pen or marker at some point in your beautiful works of art, remember to make it a waterproof pen.

Let’s start with random color art using a few new skills.
Using different colors on sturdy watercolor paper can have profoundly unique results even when you do the exact same thing over and over!
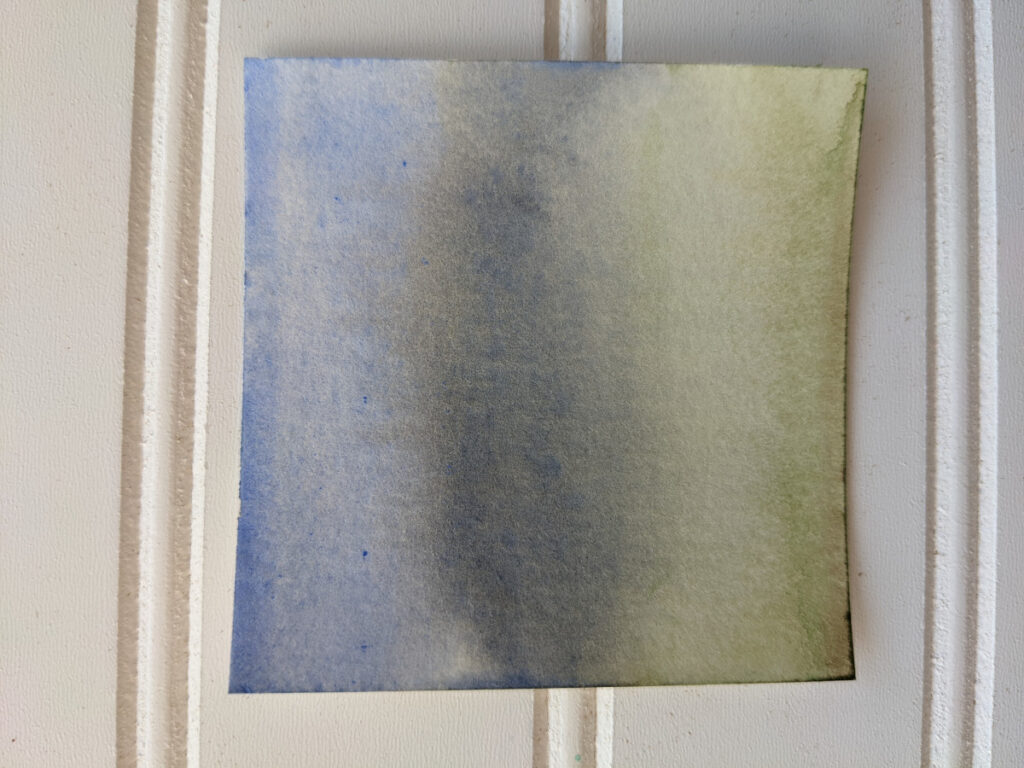
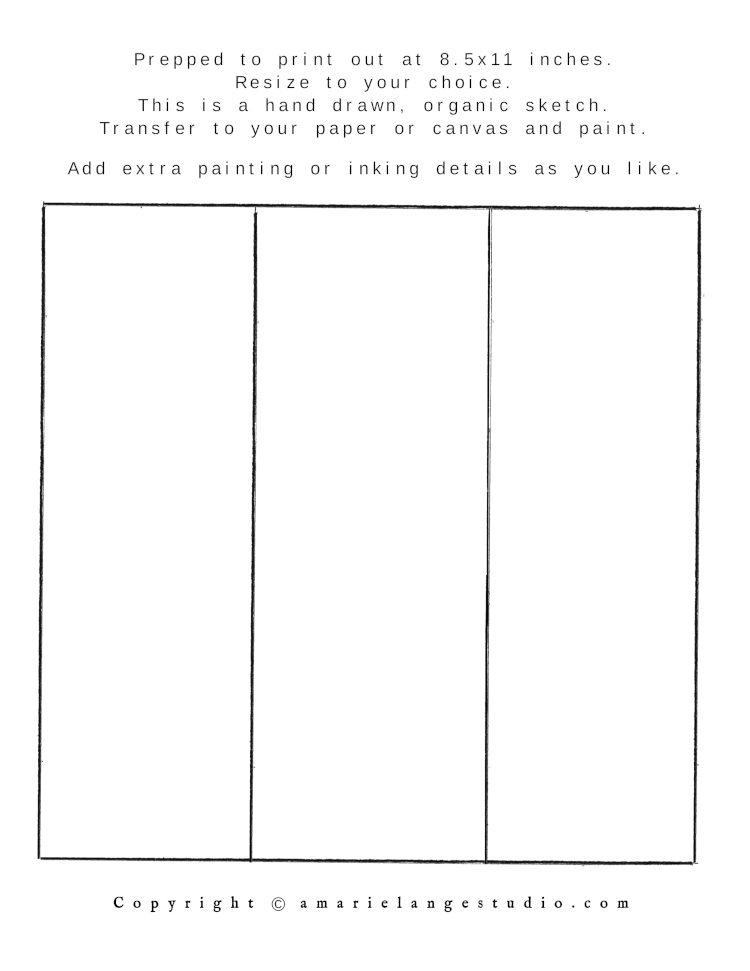
You’ve probably already noticed that I’m using squares of watercolor paper (I cut mine using a paper cutter). You can do that, too, but you don’t have to. I just enjoy creating small “canvases” when I paint. You can also take a practice sheet of watercolour paper and fill it up with your happy painting practices.
(Another fun way to practice new painting skills is to get a watercolor journal and fill it up with ideas and brush strokes. Then you’ll have a record of what you’ve painted, what you like…and what you don’t care for in your painting journey.)
This watercolor technique requires that you wet your paper first. Wet a large enough area to represent your entire finished layout as you’ll want plenty of natural paint bleed.
Choose 3 colors you like or want to try together. Dip your brush into the paint and lay down a brush stroke. Clean your brush and draw out that color to about 1/3 of your paper.
Repeat those steps for the other 2 colors. Gently work on blending their edges and note how the watercolor reacts.
You can lay down subtle color or use vibrant. Totally up to you!
Remember: lighter shades first, followed by darker on top is your best option for watercolors (though there are always exceptions…).
I bet you’ve noticed this method creates a stunning watercolor background which could be used with invitations, cards, or even printable paper.
What’s next? Instead of lines, let’s try a more (abstract) random approach.
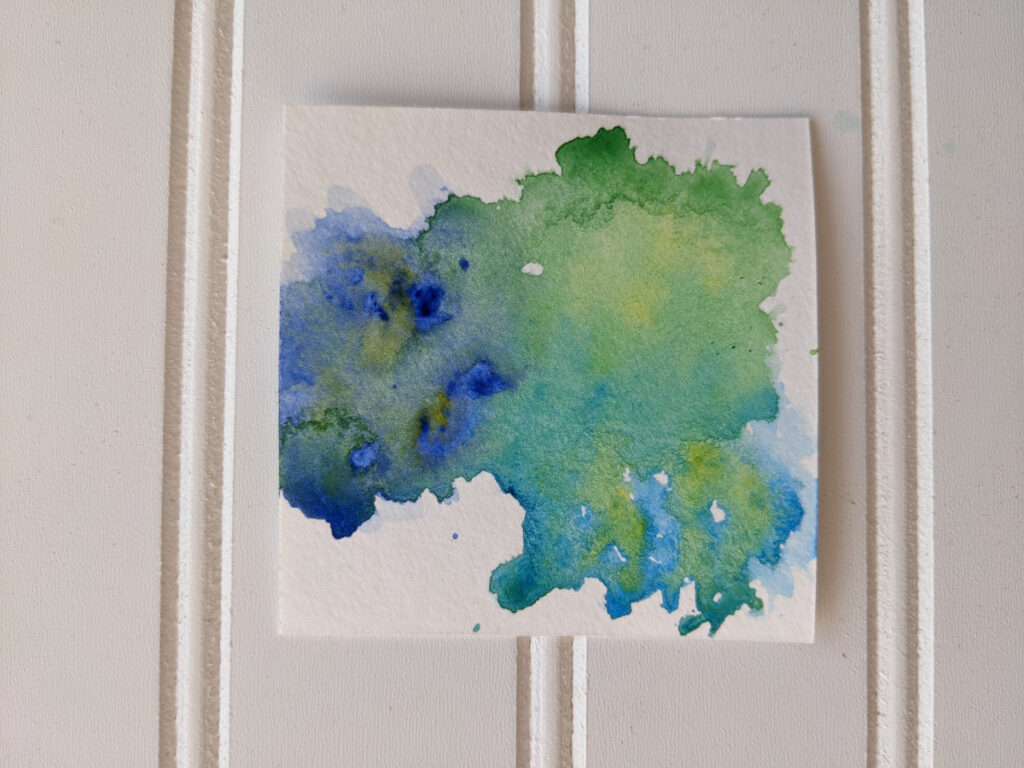
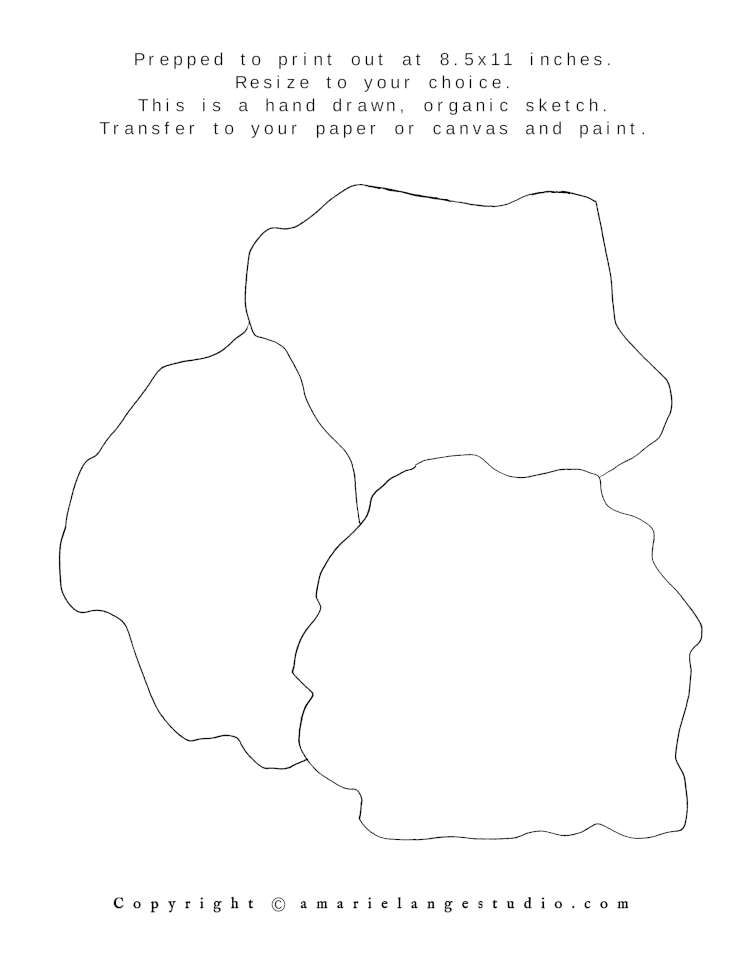
There are many ways to get this particular abstract watercolors effect. A great way is to use a mop brush to smoosh or dap clean water where you want your color.
(This may not be the best way but it works really well for me.)
I placed 3 “smooshes” of water on my paper. Then loaded a round brush with color and dabbed into 1 of the smooshes.
If you’re trying this yourself, the next step is to wash your round brush and repeat with the other 2 wet areas. This wet-on-wet technique is a classic abstract watercolor painting idea. It works really well…and will give you slightly different results every time, too.
That’s the beauty of watercolor!
On to abstract simple shapes
Geometric shapes are popular within the abstract art community and for good reason.
The loose shapes and single colors can give you a feeling or set a mood almost immediately.
Whether you use primary colors or choose different colors, your head (and your heart) will let you know right away what you think of your creation.
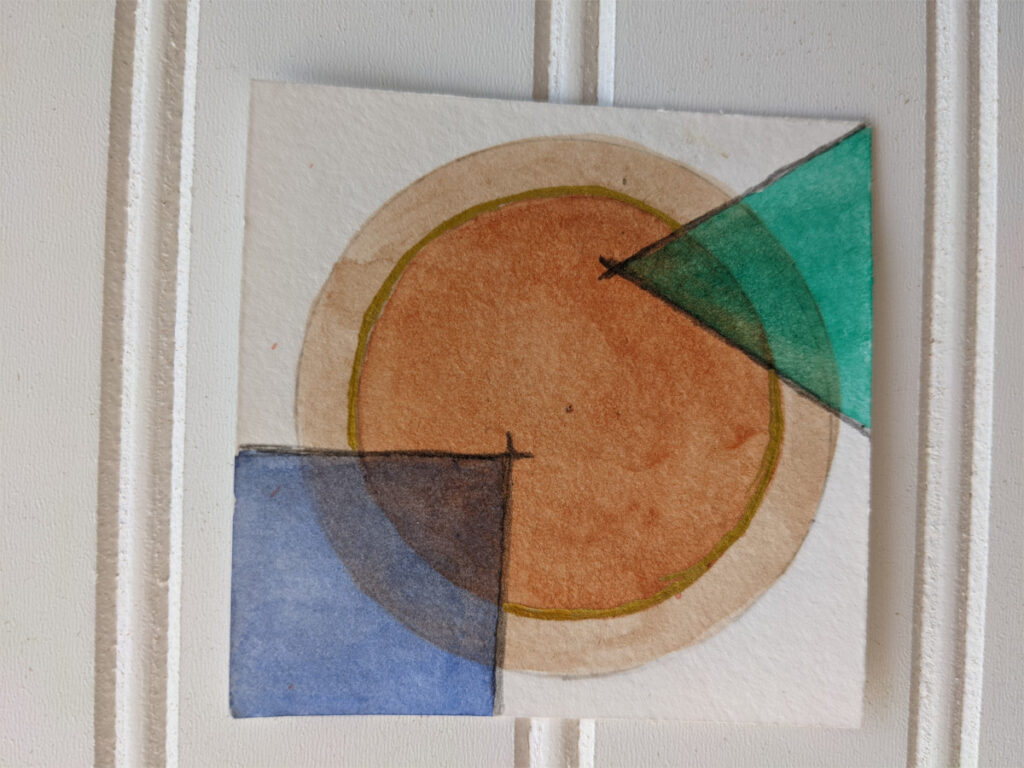
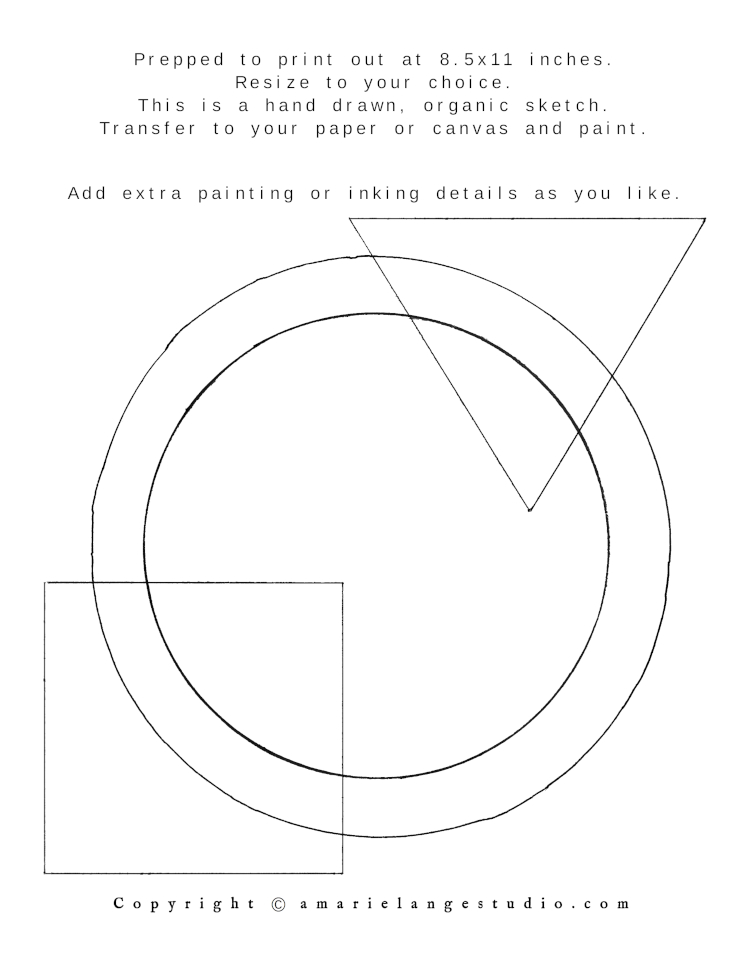
As you create your own abstract art, you’ll need to let the watercolor dry between layers. That’s how you achieve those lovely transparent areas.
You decide for yourself if you want a little transparency or a lot.
Start with the large circle and paint it first. After it dries you can move onto the outer circle. Then when the circle is completely dry, add layers of color on the square and triangle.
To deepen those simple shapes, a good idea is to put layer upon layer of the same color, letting each dry in between. The end result will be a lovely painting which has depth, color and vibrancy. A good starting point in your watercolor adventure!
These types of abstract watercolor artwork make wonderful wall art. And you can choose the size yourself because you’re doing the painting!
Also notice that I have chosen to use a gold pen to highlight some of the circle and a pencil to highlight the square and triangle.
Ink is also a good choice for detail work as you’ll see later in this post.
Adding extra details can really make your abstract work pop, but isn’t necessary.
As the artist you can make the decision. I always start by adding just 1 or 2 extras and see if a piece needs more. You’ll find your method, too.
Another circle shape – with movement
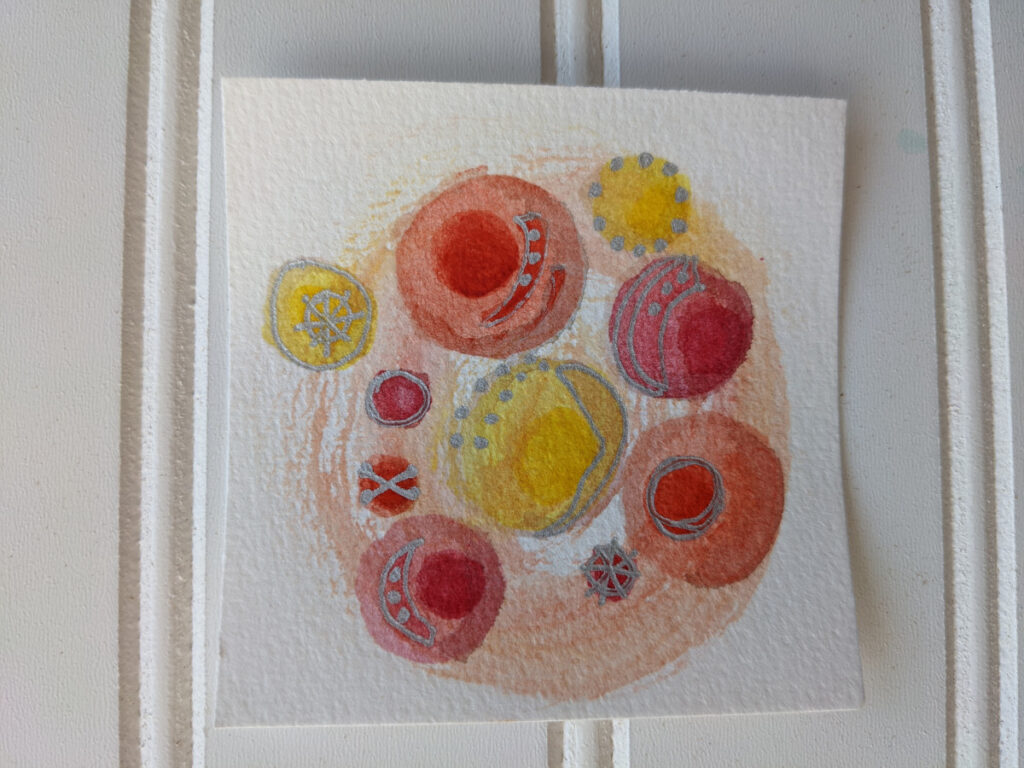
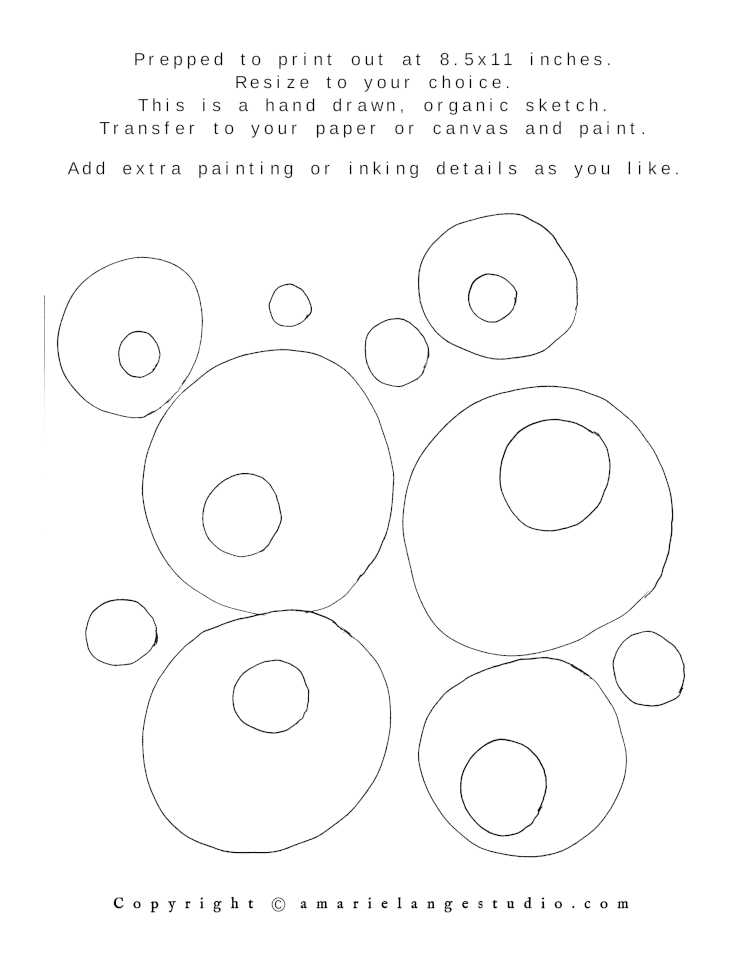
The key to this piece is that the final watercolor I added was a light circular wash applied with a liner brush over the top of the other circles.
This method adds the feeling of movement to the painting. You probably want to go subtle with this or you can easily overpower the work you’ve done beneath.
(Or…maybe that’s the vibe you’re going for! Yeah!)
Then I finished up with a silver pen and added final details after the watercolor paints were completely dry.
Let’s go next with a combination layout of random and structured shapes
I’m staying with gray neutrals for this new idea.
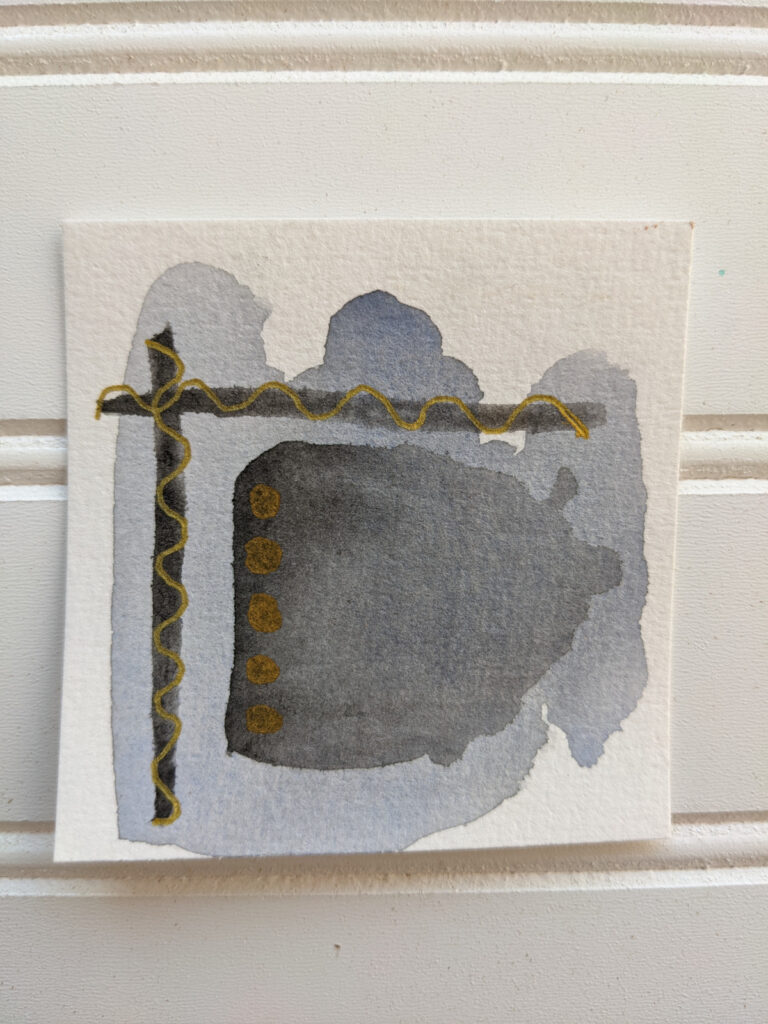
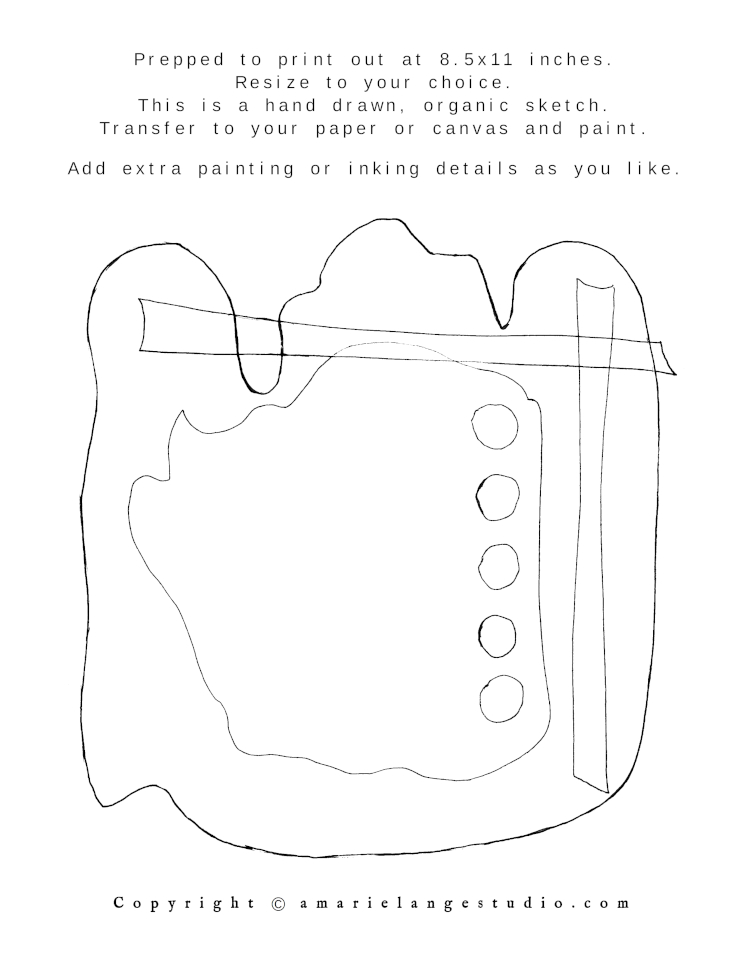
Sometimes using different tones of a single color can make a dramatic statement.
Black, white and grays are a popular abstract watercolor method. You can stay away from the primary colors and use a few basic techniques to really make a statement using different shades of neutral colors.
Helpful tip: Are you using the free printables in this post? I created them so you can get started easier.
Start this painting with a light to medium gray wash (build up as you desire).
Add another darker wash to only a portion of the original (dried) wash. Also, I built up the dark color along only 1 side of the wash for interest.
Add dark lines to complete the painting and finish with a gold paint pen, if you like.
As always, make the painting yours.
Remember…
If you don’t like the first painting you attempt, or the second one, or the third…that’s fine. That’s called growing. Let yourself practice and you’ll be amazed at what will start flowing from your paint brush.
I think you’ll like this simple and colorful, abstract watercolor circle
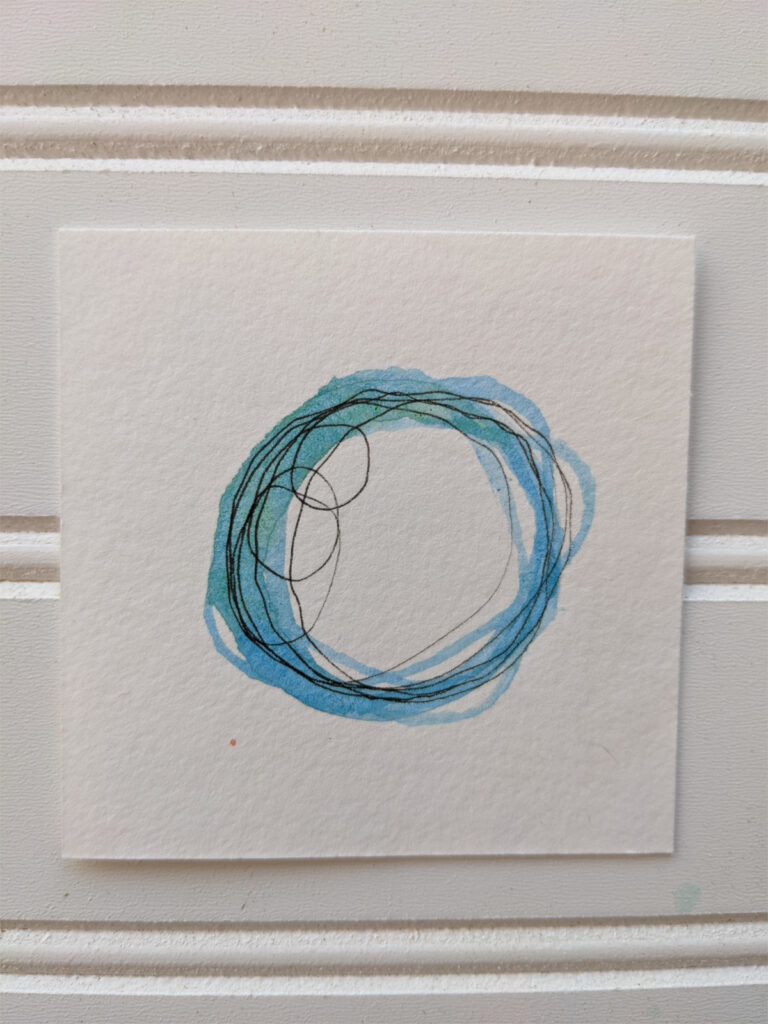
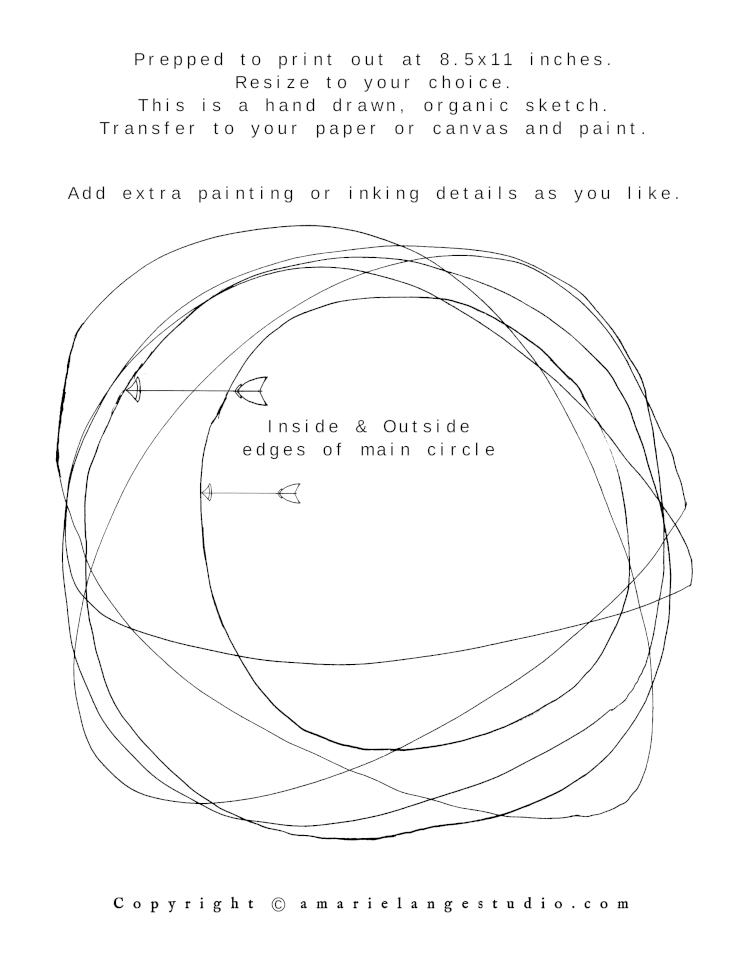
In abstract painting, simple is what stuns.
Paint a loose clean water circle. Then carefully dab in the color of your choice. I love this turquoise blue!
While the painting is still wet, I added a bit of green and let it blend organically.
When you’re satisfied, let everything dry thoroughly.
Then with a liner brush (I used the same color) paint thin random circles moving through the original painted circle.
Looks a little like a space galaxy. To me, anyway.
After it’s dried, consider adding some black ink lines. The contrast of the ink with the paint will help the entire thing to pop.
Moving on to more easy watercolor paintings
Now’s a good time to talk about how much a color wheel will help as you choose your watercolor palette.
Whether you decide to stick with primary colors for this beginner project or you’d rather move onto using complimentary colors, using a color wheel – especially when you’re starting out – can simplify things and bring more success to your efforts.
Just google “color wheel” and you can keep an image of one on your computer or tablet. You can also paint your own color wheel which is a great way to learn firsthand how colors interact with each other.
Here’s a link to a great color wheel video I really enjoy. It will get you started.
If you’re finding yourself getting frustrated with your colours, then give a color wheel a try.
Another thought: some people ask about doing abstract art with oil paint. Yes, of course, you can use oils for your abstract painting. I personally don’t do oil painting but I can certainly point you in a good direction for abstract oils if you want more information.
This next watercolor tutorial is a bit more of a challenge. But I know you’re ready.
It’s a subtle abstract watercolor landscape. (Or maybe you see something else in this painting, which is fine.)
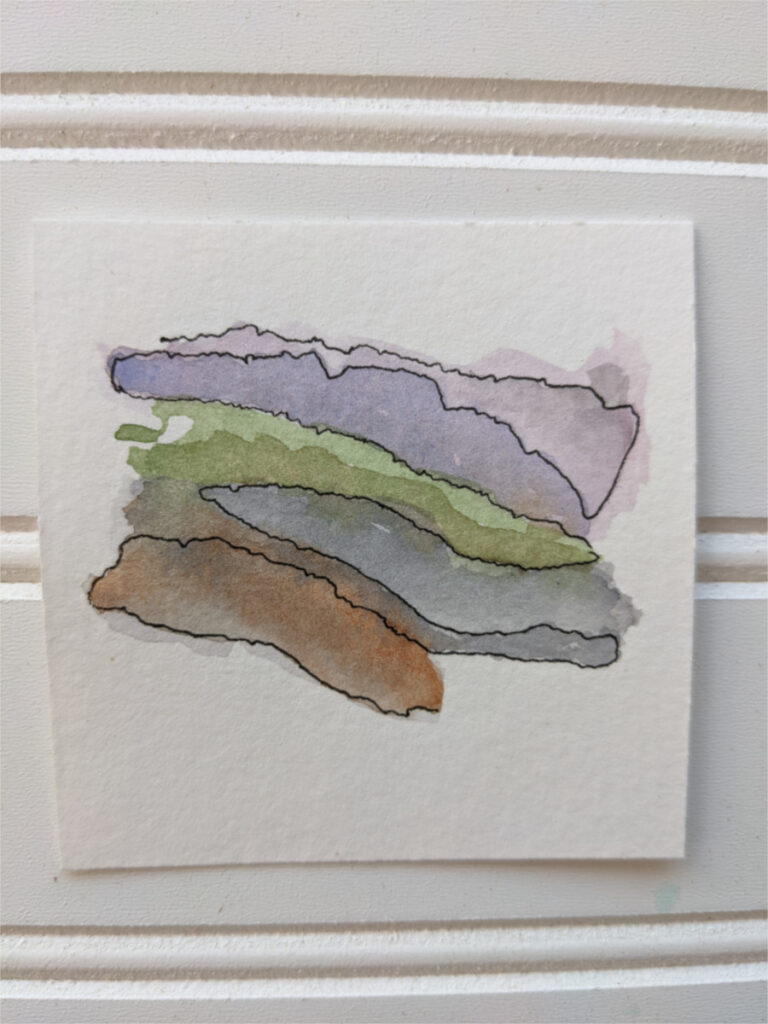
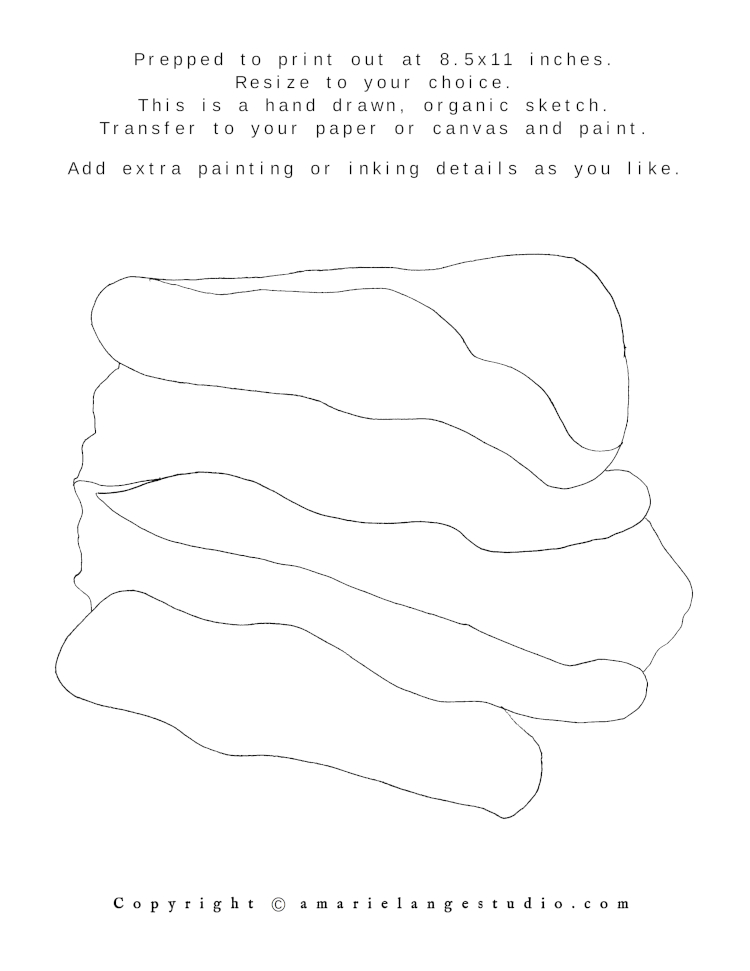
I had a landscape in mind when I painted it, though.
That’s why you can see some water in the middle with a purplish sky on top and a bit of land at the bottom.
It’s a very quick work but I wanted to show that you can build on these abstract watercolor ideas and keep applying new techniques.
I’ve picked the colors I like; you can pick the colors that you enjoy.
Remember, this technique is not about perfection!
See how to paint abstract landscapes using watercolors
You can layer in the washes 1 by 1 and then ink over the top…or you can actually lay down the ink first (make sure you’re using a waterproof ink or your ink will bleed when you lay water on top of it) and when the ink is dry, wet your paper then add your washes using the ink as guidelines for color.
Your colors will bleed across the lines but that’s the point with this art method.
Abstract wall art – you did it!
Have you enjoyed our time together? This has been a good thing! I’m so glad you gave these abstract watercolor painting ideas a try with me! I hope it helped that we changed things up just a step or 2 with each project.
Feel free to paint these again and again; you can print out the pencil sketches as much as you need. There are so many different ways to create the abstract look with watercolours.
We have seen there are different techniques that will create different shades and looks. And beautiful paintings are the result.
As a reminder we used mostly the wet technique today; painting watercolor on already wet paper to get those beautiful blends and bleeds. As you practice new techniques in your painting, you’ll find what you love best for your watercolor projects.
Thanks for joining me with these easy abstract painting ideas. Every little bit you learn takes you farther and you’ll find the best thing for watercolor inspiration is steady practice.
Enjoy!
