Painting clouds in watercolor
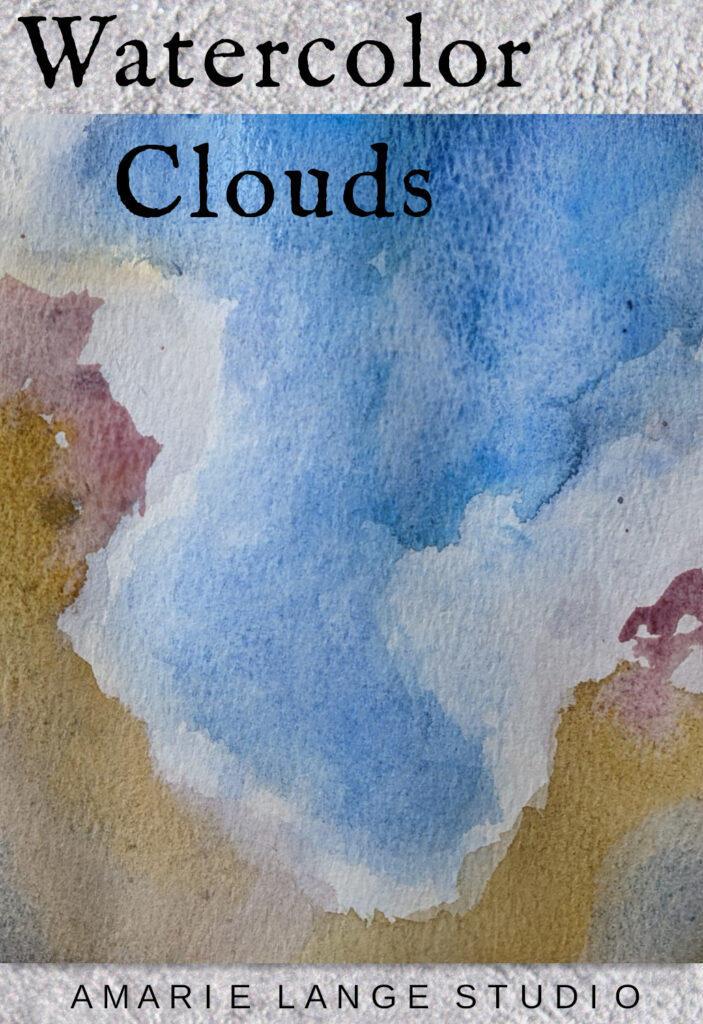
Learning how to paint clouds in watercolor can be freeing and intimidating at the same time.
What do I mean?
Clouds are actually the perfect subject for watercolour because their natural subtle color nuances are exactly what watercolor does best. Brushing on a blue sky and white clouds – whatever the type of cloud chosen – in a matter of minutes is, well…liberating.
However, creating a cloud painting that captures the fullness of the hues from the actual sky is, well…impossible. Really. Downright impossible.
The sky is changing literally second by second, so while it’s straightforward to paint a sky and clouds, it’s intimidating to paint something that’s so difficult to pin down.
I want to free you from all of that, however. In this blog post we’re going to explore how beginners can happily paint watercolor clouds.
The really good news here is that there’s not just one method for doing so. There are as many methods of cloud painting as there are clouds.
And I’ve found that when I paint clouds, no two are ever alike.
That’s their beauty!
So let’s look at several methods of painting gorgeous watercolor clouds.
Get out your ultramarine blue…cerulean blue…cobalt blue, burnt sienna, alizarin crimson and even yellow ochre. These are standard cloud colors but you needn’t be bound by them. I also use a fair amount of Payne’s gray and I’ve been known to occasionally use acrylic paints (usually for the opaque white when necessary). No oil paints though! Ha!
So let’s get started learning how to paint clouds in watercolor!
How do you paint wispy clouds in watercolour?
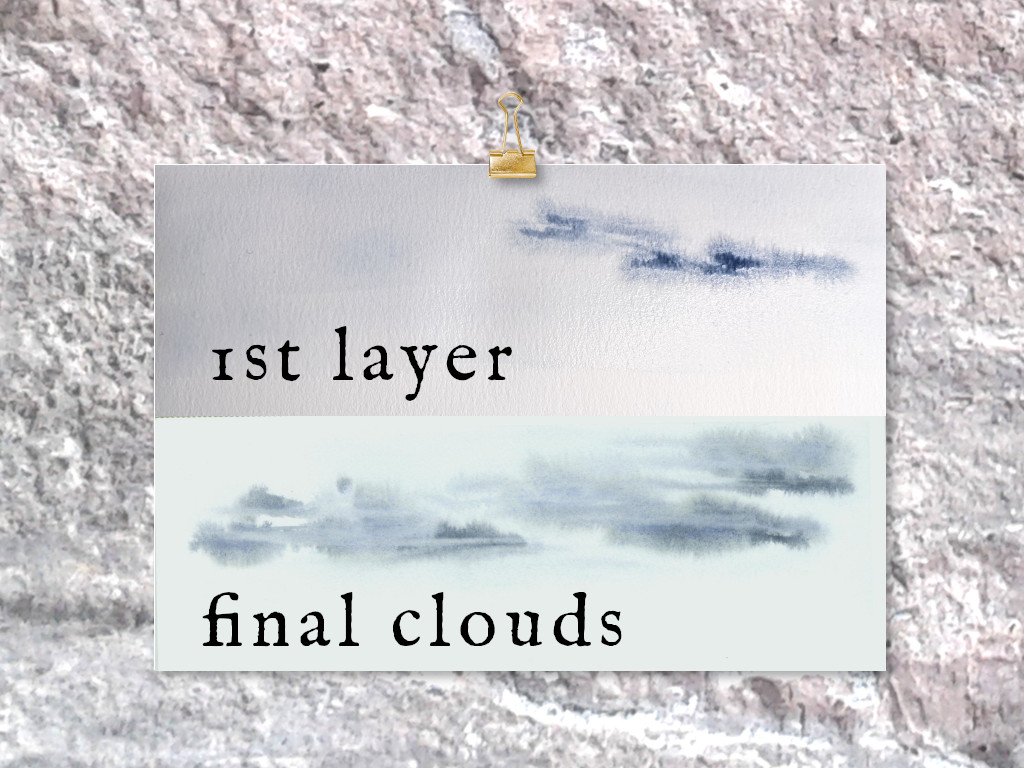
Cirrus clouds are great clouds to start painting.
They are very forgiving!
I used a wet technique for these somber clouds.
On my watercolor paper, the first thing I did was to use clean water and a damp brush to wet the top white area.
Using a flat brush on its edge, I dabbed in a darker shade of Payne’s gray for the first layer. Use horizontal strokes to make these clouds and use a light touch.
Since the paper was wet, I used the flat brush to clean up the edges of the clouds that were bleeding to control a bit of an edge. This is one method of creating wispy cirrus clouds.
I want the color to bleed but not too much. Water control is a helpful thing to practice if you’re new to watercoloring. Don’t be afraid to gently dab at excess water with a clean paper towel.
I did my cirrus clouds as dark clouds in a study of gray paint on a white sky. You can certainly do a set of wispy white clouds in a blue sky. One method would be to paint your wispy clouds with masking fluid using a light hand and an old paint brush (masking fluid is hard on brushes; you’ll want to dedicate an old brush to the task or clean it very quickly).
Add a blue color wash over your dried masking fluid. Let dry thoroughly and remove the masking fluid. Your white wispy clouds will be beautiful.
How do you make watercolor clouds fluffy?
We’ll stay with a loose watercoloring method for this puffy clouds painting, too.
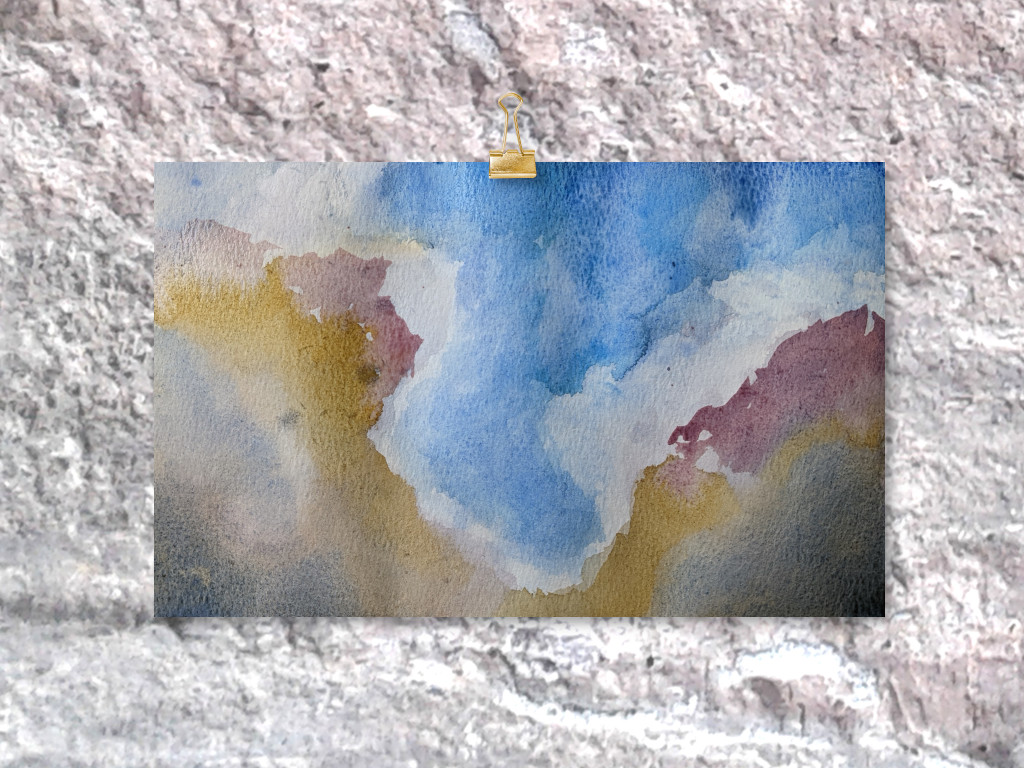
This is a great way to loosen up your hand and paint dramatic clouds. I like to watercolor both in loose style and detailed style (there is a cloud painting coming up showing detailed).
The best way I’ve found to create fluffy clouds in your watercolor sky, is by painting the sky around the cumulus clouds.
There are different ways to do this, of course. I’m showing you a way I really enjoy.
The wonderful thing about painting cloud areas – and especially storm clouds – with this method is you can keep building up layers of watercolor, especially on the undersides of the clouds. This will easily give you real depth in your painting and also give you the chance to see how you can manipulate the watercolor over and over again.
This helps in tamping down that intimidation factor we talked about earlier.
I love to learn from other painters, so to show you how easy it is to paint alongside someone, I found a video tutorial that I followed to paint these watercolor clouds. Learning new watercolor painting techniques is the best way to improve and really enjoy painting.
I already knew many of the techniques this painter demonstrates, but I also learned a few new things. I really enjoyed his ability to stay loose and keep working layers with his watercolors.
The position of the clouds and the different shapes of the clouds are formed easily with these techniques.
You don’t want dry paper with this method. The watercolor paper must be quite wet and sometimes that means you’ll be struggling with excess water on your paper. Remember to keep plenty of dry paper towels handy and tape your watercolor paper down in advance with masking tape or some other sturdy method.
This is the wet on wet method of watercolor and your paper will need to stay damp throughout the process. You will use much paint for this type of painting; at least I do when painting this way.
As you paint, use a spray bottle if you find you have dry areas or use a wet brush in select areas to add a little bit of water.
This type of painting often requires a way to lift excess watercolor paint. There are different lifting techniques, but the one I used is a simple way – a paper towel.
And don’t forget: it’s way easier to follow along with a professional artist or use reference photos (or both) when you’re a beginner painter.
Use careful observation techniques (in other words, really study what you’re seeing). This will help you learn more quickly, whatever your subject.
These are really beautiful storm clouds. Take your time and practice a bit. Paint along with me or whoever you’re observing.
I’ve been doing this awhile and I still need to paint several times to get the effects I want.
Enjoy the painting process when you create with watercolor paints.
Shape of the clouds
I did a stormy sky cloud study in grays and used the natural paper for the white of the cloud. Doing so gives such a moody effect.
To be happy with this – especially if you’re new to watercolor painting – take a little time to practice your grays.
For example, I did 2 small gray graduated washes with Payne’s Gray, using both a wet brush on wet paper and a dry technique with a dry brush.
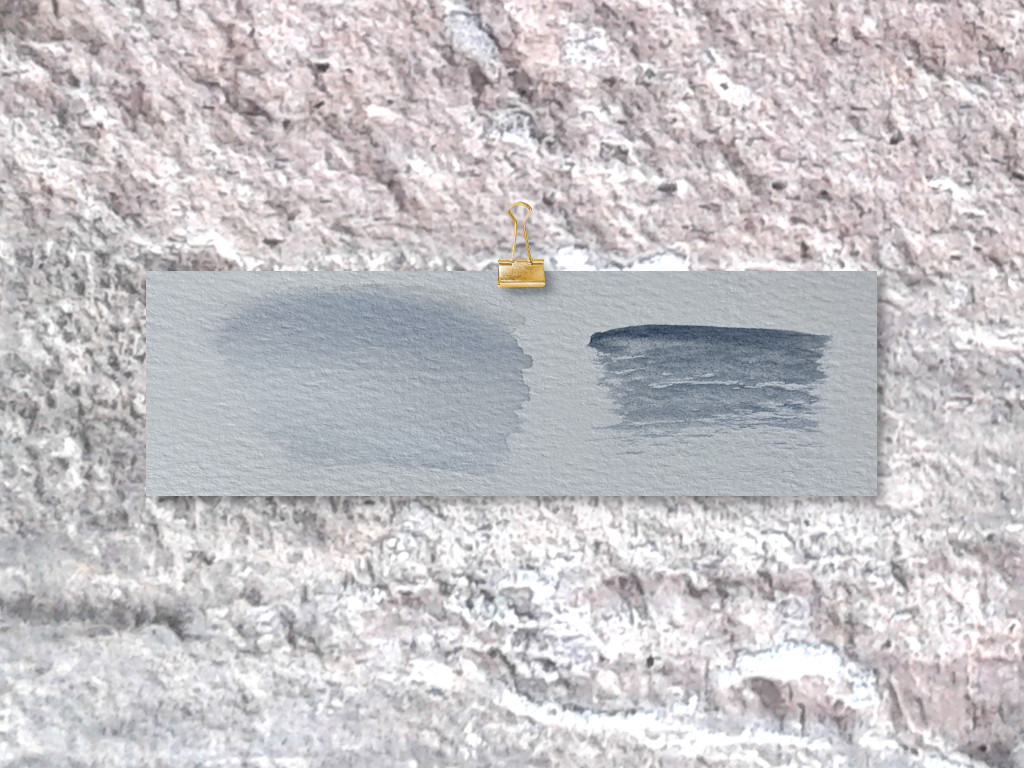
You can see the difference. This will help you decide when you want to use the different techniques in your cloud shape.
Remember you can combine these techniques, too. Just let the wet technique dry before using the dry technique on top for best results.
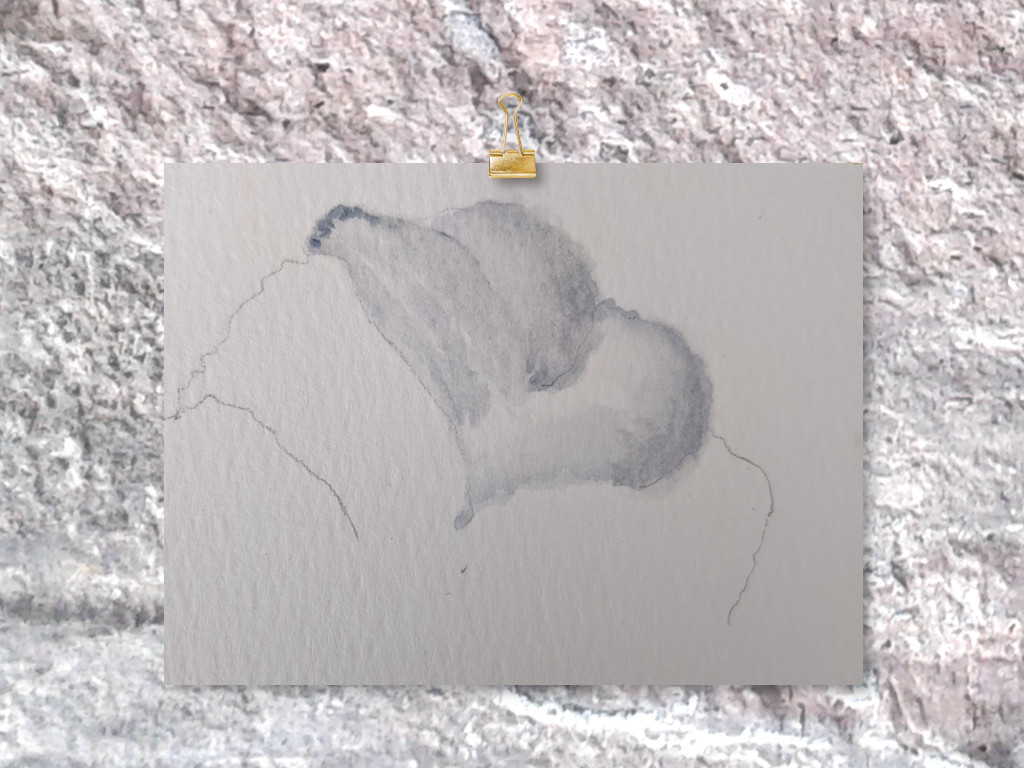
Next I sketched my cloud shape. Then I filled it in with graduated washes for the first layer. Vary the saturation of the washes keeping in mind which direction the light is coming from in your landscape painting.
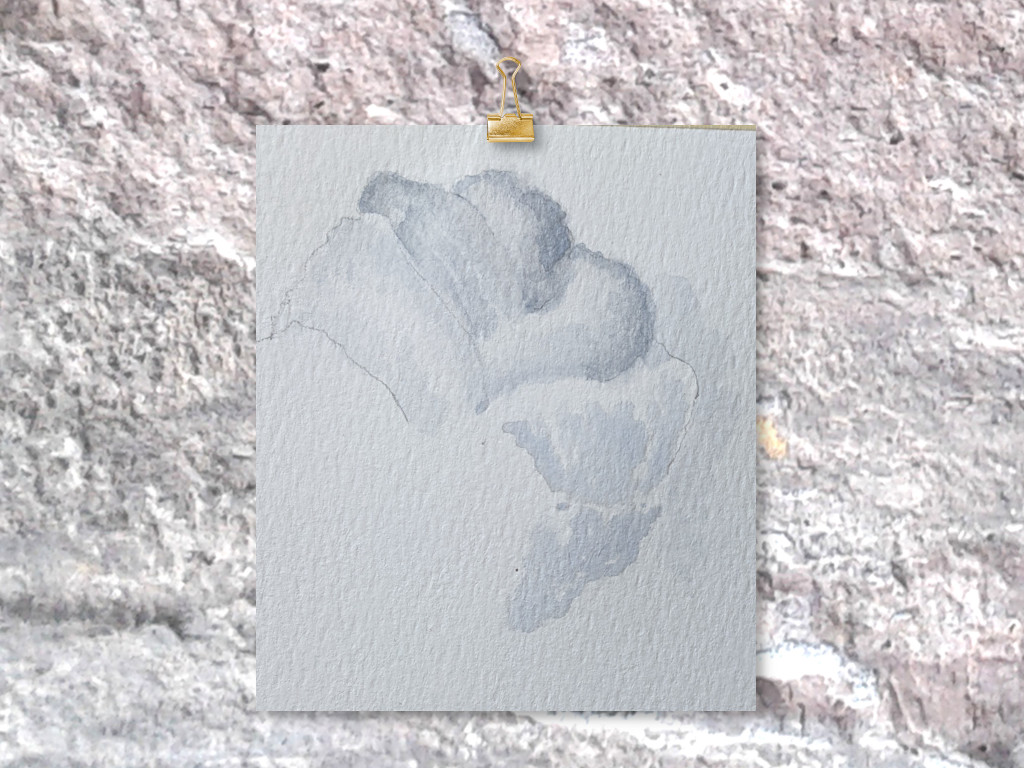
I added additional layers of washes until I was satisfied.
Clouds: hard edges and soft edges
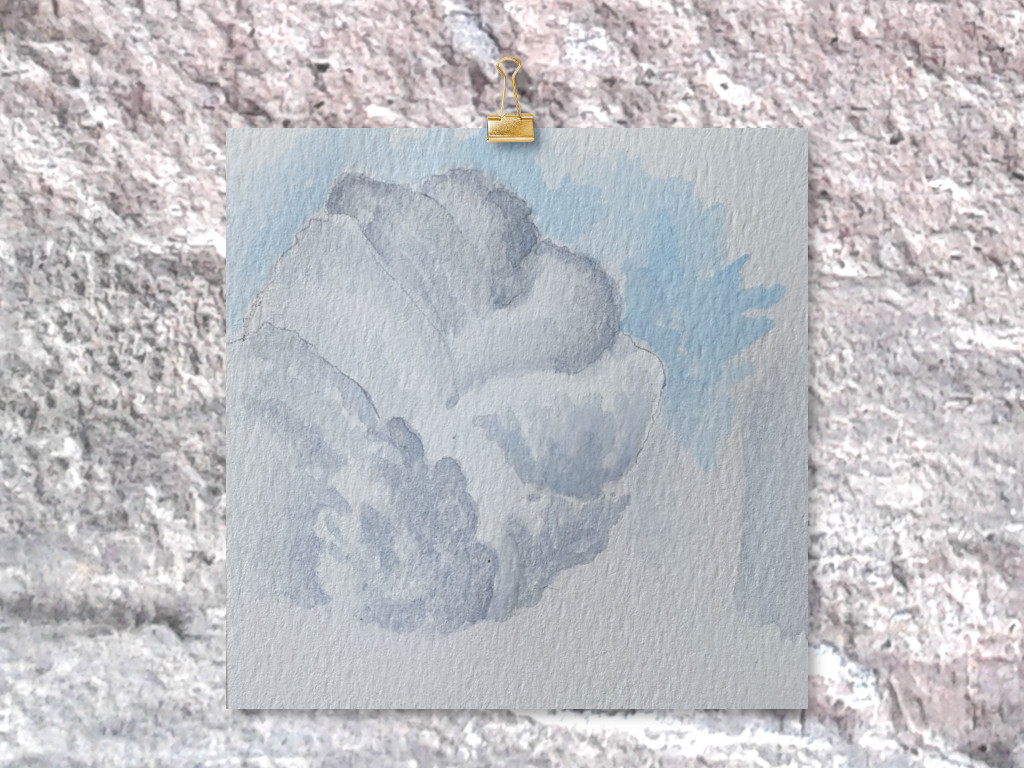
Continuing on with the gray cloud study, I layered gray washes carefully until I had the desired effect.
I have a combination of hard edges and soft edges in this cloud painting.
Because I painted this in detail and not loose, I immediately had hard edges on my clouds. I kept some of those edges and softened others. When the watercolor paint was still wet, I could take a damp brush and soften the edges easily where needed.
Once the watercolor paper was dry, I took a mostly dry brush and scrubbed the hard edges to soften them, sometimes using a paper towel to dab away extra paint.
You’ll need to experiment with these techniques to see the differences and learn when you want to use which technique.
They’re both effective when working with the edges of the clouds.
You’ll note this is a very different watercolor method than the one we talked about above.
Instead of loose, this method is quite controlled.
I painted on dry paper with a small round brush to put the paint – and keep the paint – exactly where I wanted it.
I also stayed with just the white paper and the gray watercolor paint for the cloud itself.
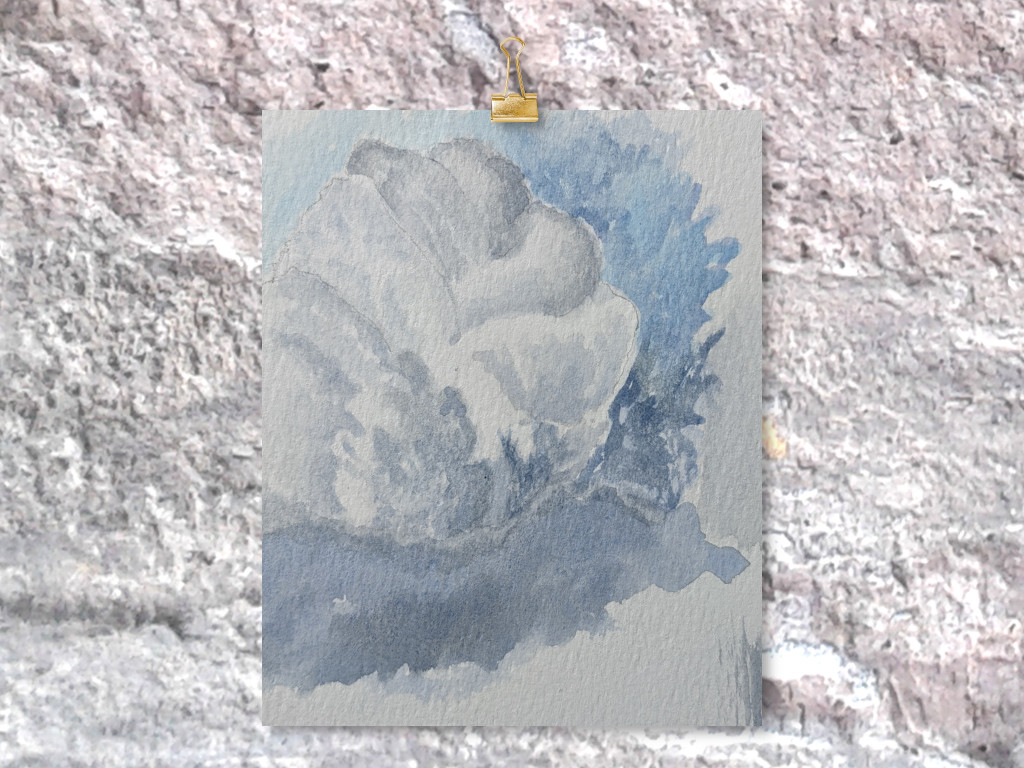
As I progressed, I added in layers of blue paint for sky colors around the cloud to help it pop.
I kept adding and deepening these layers of shadow color, even using dark paint underneath the cloud to suggest storm clouds.
Note how the paint colors you surround your clouds with will tell the viewer more about the cloud.
Keep using clear water when you wash your brushes with this method or the white areas of your cloud could get muddied.
Creating clouds with watercolor pencils
I love to combine watercolor painting with watercolor pencils.
I did a preliminary contour drawing for the clouds. This is a great way to do clouds if you’re a beginner watercolorist.
Then I sketched on dry paper using the blue sky colors I wanted. Using the watercolor pencils gives you precision with ease. Not something that happens regularly with watercolors!
I drew with 2 watercolor pencil colors exactly where I wanted that color. Sketching on watercolor paper often means when you brush out the colors with water (I used a medium-sized round brush) it’s easy to have sketch marks left behind.
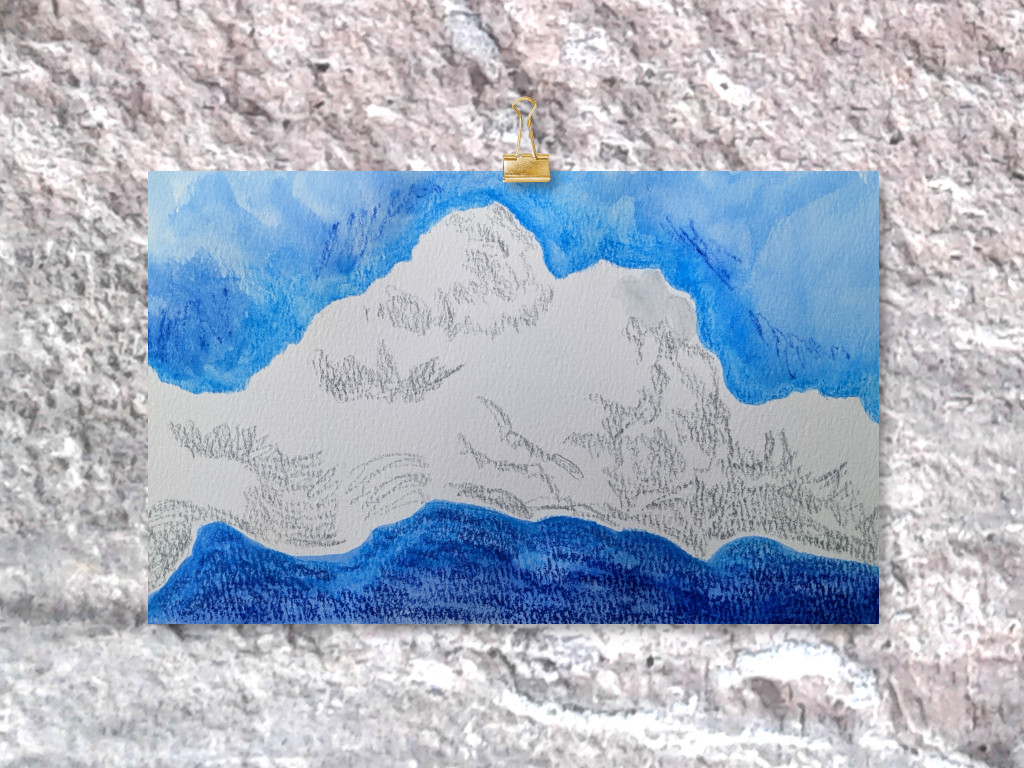
You can leave them for texture (I often do) or scrub them a bit to loosen the watercolor pencil pigment and float it to where you want it.
I thought carefully about how to brush out my watercolor pencil color. Work from light to dark and clean your brush regularly to avoid covering up the lighter paint with the dark.
I added a second layer of pencil in select areas I wanted darker. Watercolor pencils are great for getting intense darks exactly where you want them, such as where the cloud shadows are.
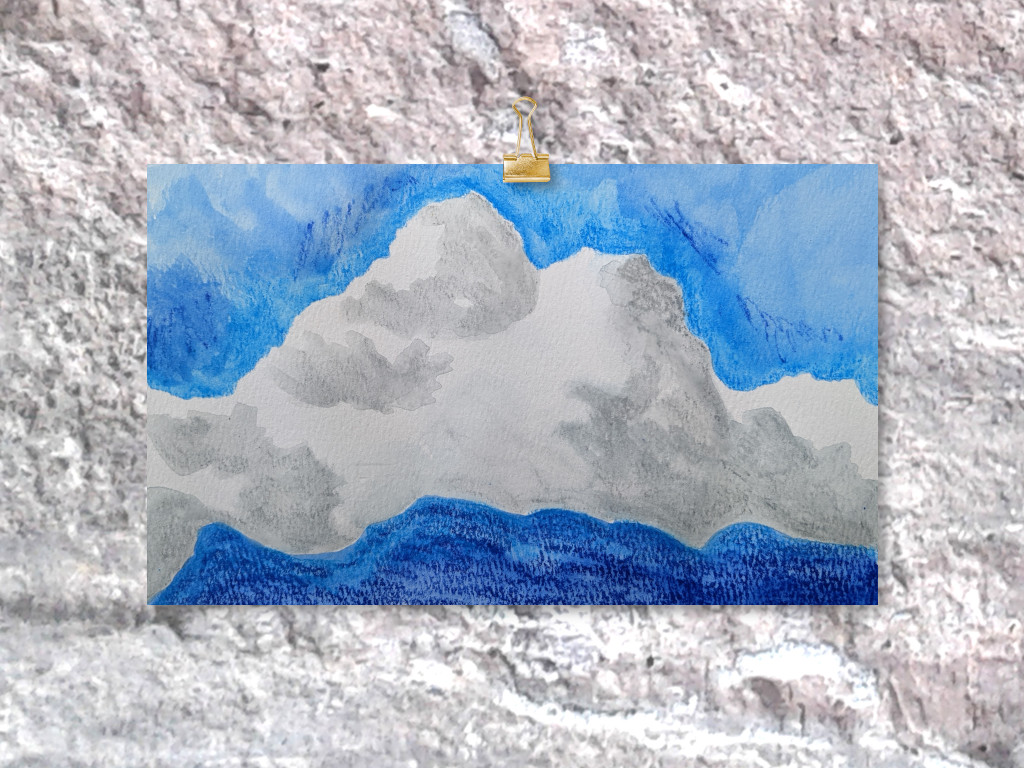
You’ll notice my sky area is more intense and darker underneath the clouds. It helps when painting blue skies to vary the blues.
Using watercolor pencils can be an easy way to add more bold to your color palette. They tend to dry truer to the actual color whereas watercolors tend to dry lighter requiring you to add more layers.
Both ways are fine. If you are a beginning watercolor painter, you’ll probably want to explore both ways. Both are simple and easy in their own way.
How to paint clouds in watercolor – Summary
We’ve learned a lot about how to paint clouds in watercolor!
Abstract, loose painting and controlled, detailed painting.
Painting blue skies and white clouds. Or gray storm clouds. Or a colorful stormy sky.
I really encourage you to paint along with me (or someone else you enjoy) to continue to experience the joy of watercolors. You can do this! And watercolor painting is so much fun!
What else do you want to paint in watercolor?
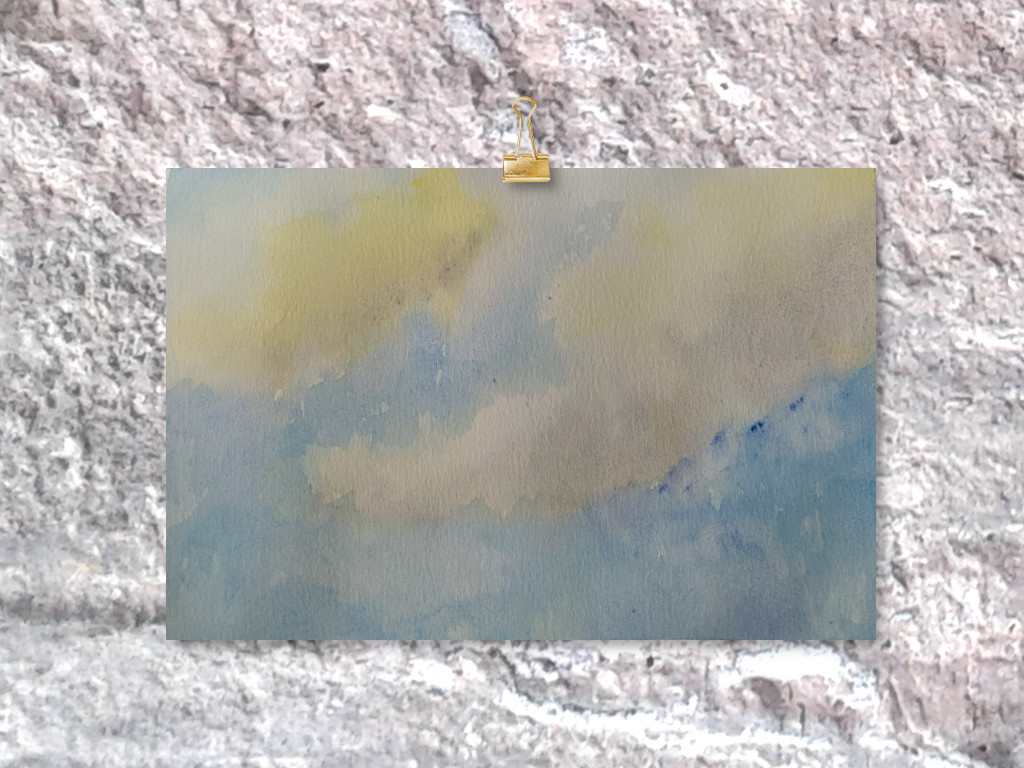
You might also like my post of 75+ easy watercolor painting ideas. There’s a watercolor clouds painting shown there, as well.
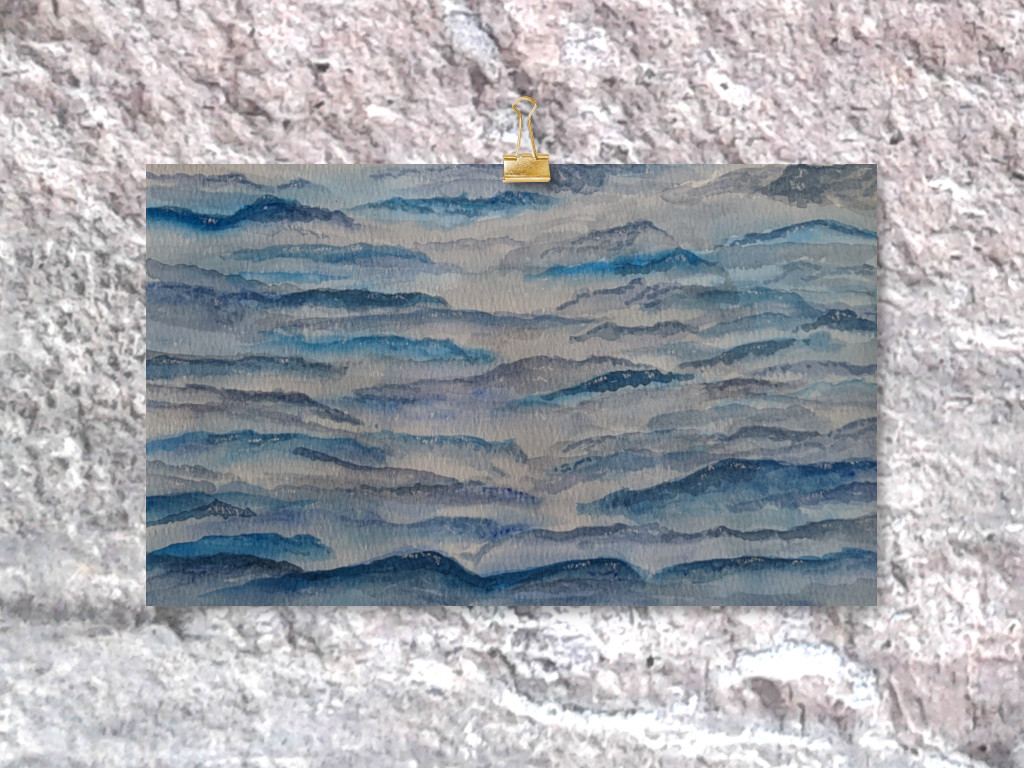
You can also see a great post on how to paint water with watercolor. It’s also beginner friendly. Check it out!
